In today’s fast-paced world, the accumulation of paper clutter in your home office can become overwhelming. Not only does it consume physical space, but it also complicates your workflow and can lead to stress. With the increasing need for efficiency and sustainability, finding ways to go paperless has never been more urgent.
By following this guide, you will learn how to transition to a paperless system that will streamline your office processes, reduce clutter, and enhance your productivity. Imagine a clean, organized workspace where all your documents are just a click away, allowing you to focus on what truly matters.
This guide will provide you with practical steps to help you digitize your paperwork, implement effective document management solutions, and maintain an organized digital workspace. Whether you’re a beginner or have some experience, this guide is designed for you. You’ll be able to complete it in approximately 2-3 hours.
Difficulty Level: beginner
Time Estimate: 2-3 hours
TL;DR Summary
- Identify and gather all paper documents in your home office.
- Choose suitable scanning tools and software for digitizing documents.
- Organize digital files systematically for easy access.
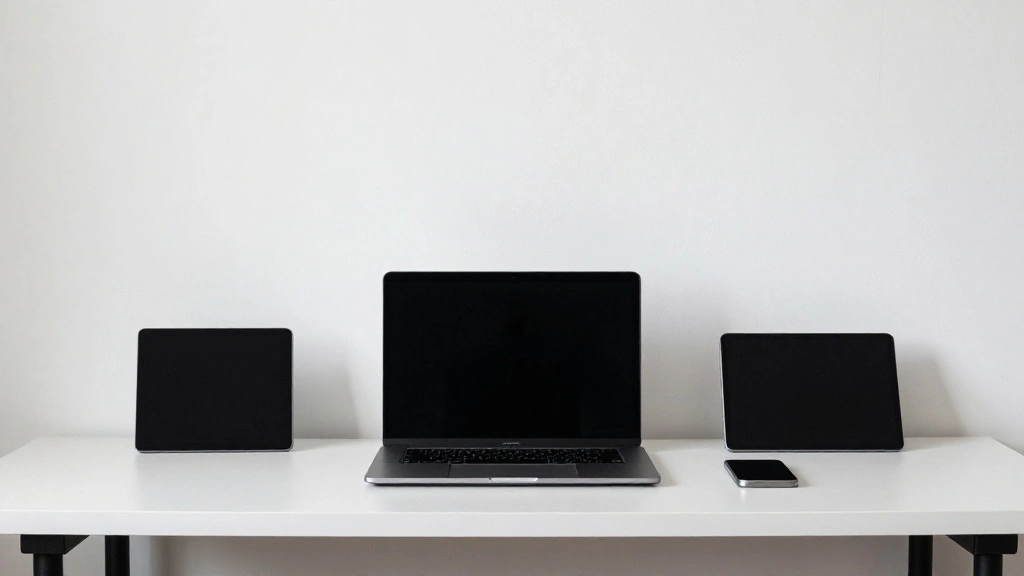
- Implement cloud storage solutions to safeguard and share documents.
TL;DR Summary
Editor’s Choice

Epson Workforce ES-400 II Color Duplex Desktop Document Scanner for Comp…


PocketCloud Portable NAS, M.2 NVMe & SD Card Slots, Up to 8TB Capacity (…
Prerequisites/Materials Needed
- Scanner (flatbed or multifunction device)
- Document management software (e.g., Evernote, OneDrive)
- Cloud storage account (e.g., Google Drive, Dropbox)
- Computer or laptop
- External hard drive (optional for backups)
Skill Level & Time Estimate
Skill Level: beginner
Total Time Estimate: 2-3 hours
Breakdown of time by major steps:
1. Gather documents – 30 minutes
2. Choose scanning tools – 15 minutes
3. Scan documents – 1-2 hours
4. Organize digital files – 30 minutes
Skill Level & Time Estimate
Editor’s Choice

Seagate Portable 2TB External Hard Drive HDD — USB 3.0 for PC, Mac, Pl…

Brother DS-640 Compact Mobile Document Scanner, (Model: DS640)
Step 1: Gather All Paper Documents
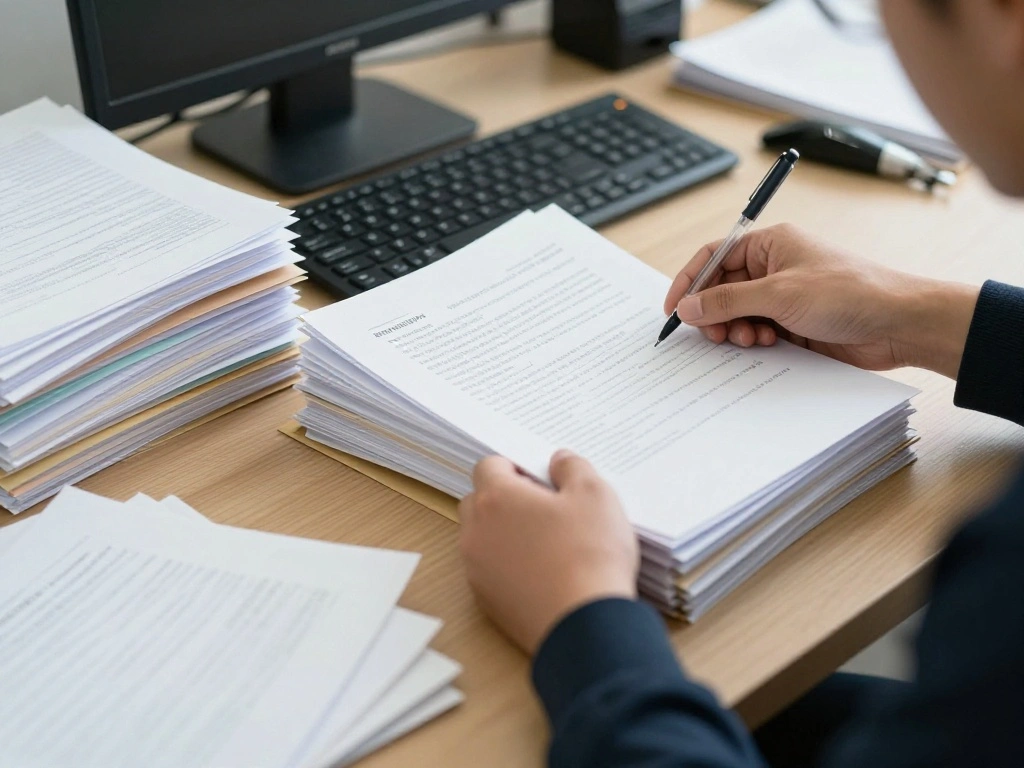
Start by collecting all the paper documents scattered throughout your home office. This includes bills, reports, notes, and any other paperwork.
- Designate a specific area to sort your documents.
- Separate documents into categories (e.g., bills, personal, work-related).
- Remove any duplicates or unnecessary papers.
Pro Tip: Use a large box or folder to keep everything organized during this process. This step is essential as it sets the foundation for your paperless transition.
Time Estimate: 30 minutes
Step 1: Gather All Paper Documents
Editor’s Choice

Bankers Box 12 Pack Standard Duty File Storage Boxes, Standard Assembly,…

Bonsaii 12-Sheet Cross Cut Paper Shredder, 5.5 Gal Home Office Heavy Dut…

Nelko Label Maker Machine with Tape, P21 Bluetooth Label Printer, Wirele…
Step 2: Choose Your Scanning Tools
Select the right scanning tools that fit your needs. You can use a flatbed scanner, a multifunction printer, or even a mobile app for scanning.
- Research and compare different scanning devices available on the market.
- If using a mobile app, download the app (e.g., Adobe Scan, CamScanner).
- Ensure you have enough storage space on your device or computer for scanned files.
Warning: Avoid using low-quality scanners as they can compromise the readability of documents. Choosing the right tool is crucial for efficient and effective scanning.
Time Estimate: 15 minutes
Step 2: Choose Your Scanning Tools
Editor’s Choice

ArtiDiag600 Pro OBD2 Scanner Diagnostic Tool – TOPDON Automotive Scan To…

Brother DCP-L2640DW Wireless Compact Monochrome Multi-Function Laser Pri…

Epson Perfection V19 II Color Photo and Document Flatbed Scanner with 48…
Step 3: Scan Your Documents
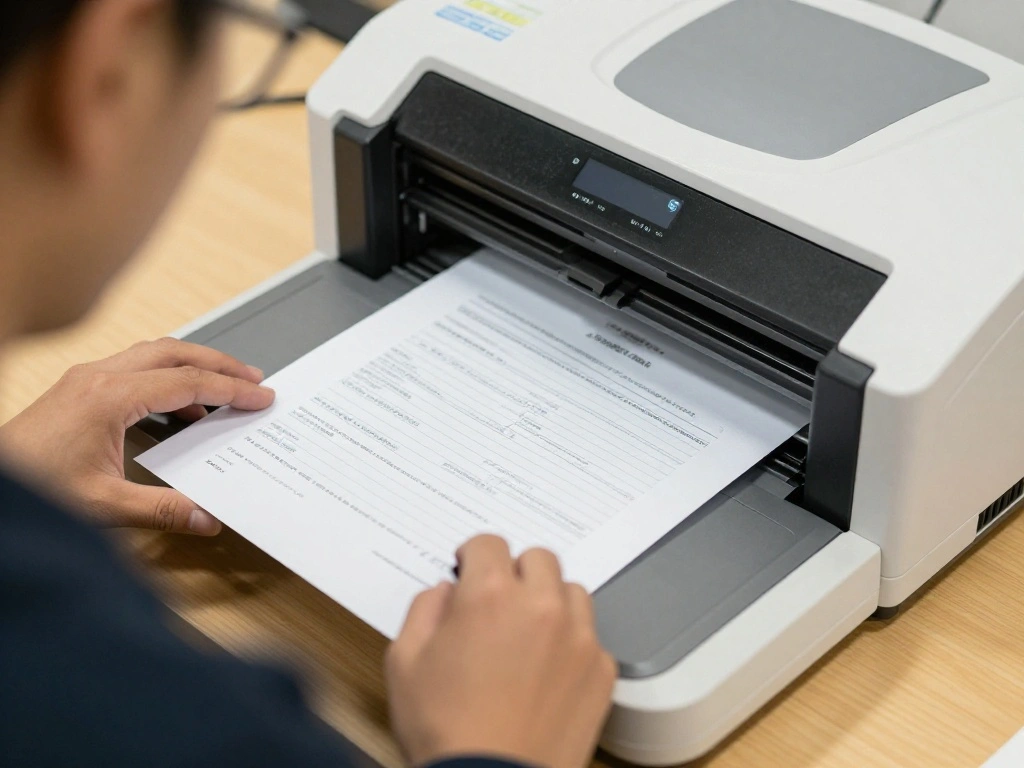
Begin scanning your documents to create digital copies. Follow these steps for the best results:
- Set your scanner to a resolution of at least 300 DPI for clarity.
- Start with one category of documents at a time.
- Organize scanned files into appropriate folders on your computer.
Pro Tip: Use OCR (Optical Character Recognition) features if available, as it will allow you to search for text within scanned documents. This step transforms your physical documents into a digital format, making them easier to manage.
Time Estimate: 1-2 hours
Step 3: Scan Your Documents
Editor’s Choice

Brother ADS-1800W Wireless Compact Desktop Scanner | Scan Speeds of Up t…


The 2027-2032 World Outlook for Optical Character Recognition Software
Step 4: Organize Your Digital Files
Once your documents are scanned, it’s time to organize them digitally. This is key for efficient access and retrieval.
- Create a folder structure on your computer (e.g., Work, Personal, Bills).
- Label each document clearly, including dates and relevant details.
- Consider using tags or keywords for easier searching.
Pro Tip: Regularly audit your digital files to keep them organized and up-to-date. Organizing your files correctly ensures that you can find what you need without hassle.
Time Estimate: 30 minutes
Step 4: Organize Your Digital Files
Editor’s Choice
Nelko Label Maker Machine with Tape, P21 Bluetooth Label Printer, Wirele…

Seagate Portable 2TB External Hard Drive HDD — USB 3.0 for PC, Mac, Pl…

Computer Organization and Design of hardware and software interfaces (in…
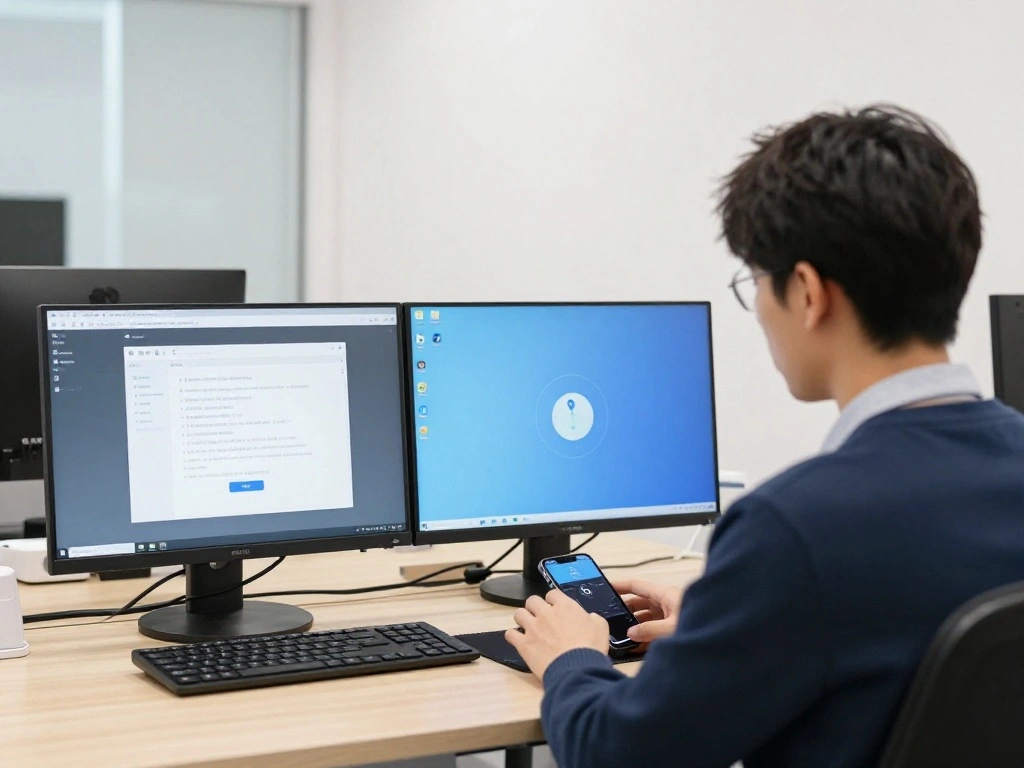
Step 5: Implement Cloud Storage Solutions
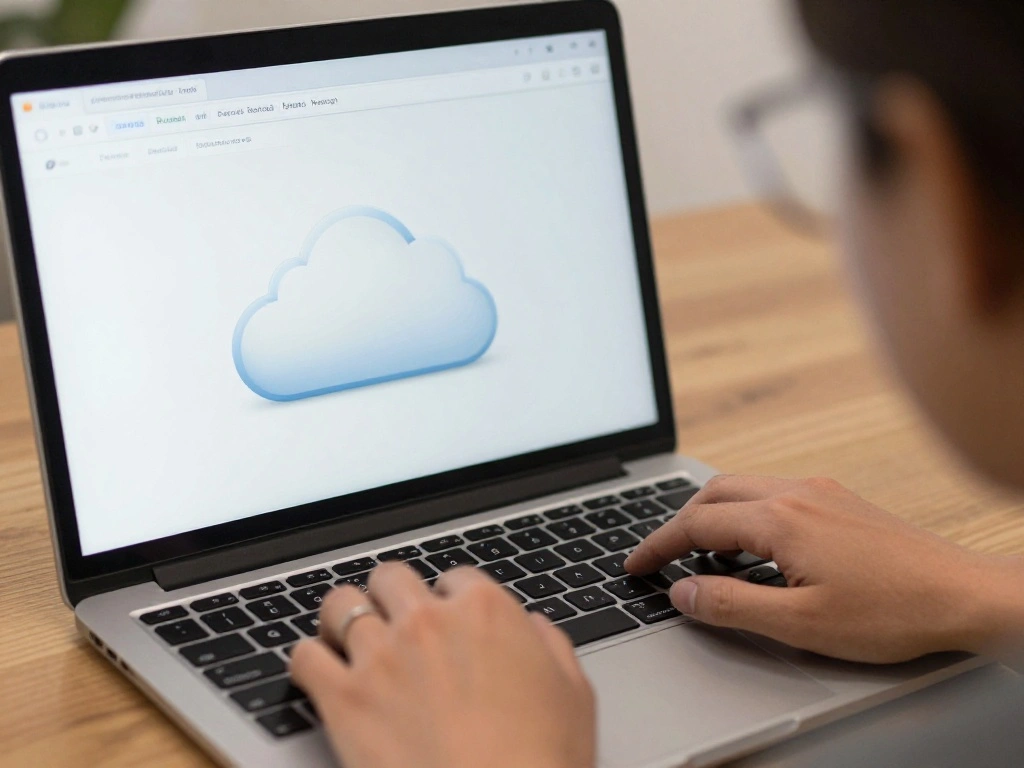
Utilize cloud storage to keep your documents safe and accessible from anywhere. Follow these steps:
- Choose a cloud service (e.g., Google Drive, Dropbox).
- Create an account and set up necessary folders mirroring your local structure.
- Upload your organized files to the cloud.
Warning: Ensure that you read the terms of service and understand the privacy policies of your chosen cloud provider. Cloud storage provides a backup solution and enables easy file sharing, enhancing collaboration.
Time Estimate: 30 minutes
Step 5: Implement Cloud Storage Solutions
Editor’s Choice
Step 6: Set Up a Document Management System
Consider implementing a document management system (DMS) for enhanced organization and retrieval of files. Here’s how:
- Research and select a DMS that fits your needs (e.g., Evernote, Mendeley).
- Import your digital files into the DMS.
- Set up categories and tags for easy navigation.
Pro Tip: Look for a DMS that integrates with your existing tools to streamline your workflow. A DMS simplifies document tracking and enhances productivity.
Time Estimate: 30 minutes
Step 6: Set Up a Document Management System
Editor’s Choice

The Neat Company Neatdesk Desktop Scanner Digital Filing System for Pc a…

Doxie Go SE – The Intuitive Portable Document Scanner with Rechargeable …
Step 7: Implement a Routine for New Documents

To maintain a paperless office, establish a routine for handling new documents as they come in. Follow these steps:
- Set a weekly schedule to process new paperwork.
- Scan or digitize new documents immediately.
- Organize them as per your established structure.
Pro Tip: Make it a habit to go paperless from the start to avoid future clutter. A consistent routine helps keep your digital workspace organized and reduces overwhelm.
Time Estimate: 15 minutes weekly
Step 7: Implement a Routine for New Documents
Editor’s Choice
Brother DS-640 Compact Mobile Document Scanner, (Model: DS640)

Step 8: Regularly Review Your System
Finally, set aside time to review your paperless system regularly. This helps to ensure everything remains organized and effective.
- Schedule quarterly reviews of your digital files.
- Delete outdated documents and reorganize as necessary.
- Assess whether your tools and systems still meet your needs.
Pro Tip: Continuous improvement of your system will keep it efficient and aligned with your workflow. Regular reviews help you stay on top of your digital organization.
Time Estimate: 30 minutes quarterly
Pro Tips
- Backup Regularly: Ensure you regularly back up your digital files to an external drive or additional cloud service.
- Use Digital Signatures: Implement digital signatures for important documents to avoid printing and signing.
- Automate with Tools: Explore automation tools that can help manage documents and reminders.
- Utilize PDF Features: Take advantage of PDF tools to annotate, highlight, and manage your documents digitally.
- Educate Yourself: Stay updated on new tools and techniques for going paperless to continually enhance your system.
Pro Tips
Editor’s Choice
Seagate Portable 2TB External Hard Drive HDD — USB 3.0 for PC, Mac, Pl…

The 2023 Report on Digital Signature Software: World Market Segmentation…

The Neat Company NeatDesk Desktop Scanner and Digital Filing System, Hom…
Common Mistakes to Avoid
- Warning: Skipping the organization step can lead to chaos. Always categorize your documents as you digitize.
- Warning: Not backing up your files can lead to data loss. Always have a backup solution in place.
- Warning: Using low-quality scans makes documents hard to read. Choose high-resolution settings when scanning.
Common Mistakes to Avoid
Editor’s Choice
Brother DS-640 Compact Mobile Document Scanner, (Model: DS640)

The Neat Company Neatdesk Desktop Scanner Digital Filing System for Pc a…
Troubleshooting Section
- Problem: Scanner not working.
Solution: Check power connections, ensure the scanner is properly connected to the computer, and update drivers if necessary. - Problem: Files not uploading to the cloud.
Solution: Verify your internet connection and ensure you have sufficient storage space in your cloud account. - Problem: Difficulty finding scanned documents.
Solution: Ensure all files are appropriately named and organized in correct folders.
Troubleshooting Section
Editor’s Choice
Seagate Portable 1TB External Hard Drive HDD – USB 3.0 for PC, Mac, Pl…

Epson Workforce ES-C220 Compact Desktop Document Scanner – 2-Sided Scann…
Variations/Alternative Methods
- Opt for a hybrid approach: Keep some essential documents in paper form while digitizing others.
- Use specialized software for specific types of documents, such as legal or medical, which may have unique requirements.
- Consider professional scanning services if you have a large volume of documents to digitize.
Variations/Alternative Methods
Editor’s Choice
Brother DS-640 Compact Mobile Document Scanner, (Model: DS640)
FAQs
- What if I don’t have a scanner? You can use mobile apps that allow you to scan documents using your smartphone’s camera.
- How long should I keep digital backups? It’s advisable to keep digital backups for at least one year or as per legal requirements.
- Is it safe to store sensitive documents in the cloud? Yes, if using reputable cloud services with encryption and strong security measures.
FAQs
Editor’s Choice
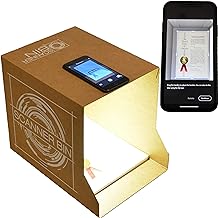
Scanner Bin – The Clever Document Scanning Solution

ScanSnap iX1300 Compact Wireless or USB Double-Sided Color Document, Pho…
Conclusion

Congratulations! You’ve successfully taken the steps to create a paperless home office. By eliminating paper clutter, you’ve enhanced your workspace’s efficiency and sustainability.
Now that you’ve digitized your documents, continue to maintain your system by regularly reviewing and organizing your files. Explore further resources on improving productivity and digital organization. You are now equipped to work smarter, not harder!