In today’s fast-paced world, having a dedicated workspace at home has become essential. Without a proper office nook, productivity can plummet, and distractions can multiply, leading to frustration and inefficiency. The urgency to establish a functional workspace is more relevant than ever, especially as remote work becomes the norm.
This guide will help you find the ideal location for your office nook, ensuring it boosts your productivity and comfort. By following these steps, you will learn how to evaluate your space, consider lighting and noise levels, and create an inspiring workspace that meets your needs.
In this article, you’ll specifically learn about the importance of location, how to assess your current environment, and tips for personalizing your office nook. Difficulty level: beginner
Time estimate: 1-2 hours to complete the process.
TL;DR Summary
- Identify the best location in your home to create an office nook.
- Consider factors like lighting, noise, and comfort.
- Personalize the space to enhance productivity and creativity.
- Follow the step-by-step guide for an easy setup.
TL;DR Summary
Editor’s Choice

Airlonv LED Desk Lamp for Office Home, Eye-Caring Desk Light with Steple…

Casaottima Tree Bookshelf with LED Lights, 6-Tier Narrow Bookcase for Sm…

TRALT Office Chair Ergonomic Desk Chair, 330 LBS Home Mesh Office Desk C…
Prerequisites/Materials Needed
- Measuring tape (1)
- Desk or workspace (1)
- Comfortable chair (1)
- Good lighting source (1)
- Power outlet access (1)
- Personal items for decoration (as desired)
Prerequisites/Materials Needed
Editor’s Choice
Airlonv LED Desk Lamp for Office Home, Eye-Caring Desk Light with Steple…

Digital Caliper, Rechargeable Digital Calipers with Backlight LCD & Auto…
TRALT Office Chair Ergonomic Desk Chair, 330 LBS Home Mesh Office Desk C…
Skill Level & Time Estimate
Skill Level: beginner
Total time estimate: 1-2 hours
Breakdown:
Step 1: 15-30 minutes
Step 2: 20-30 minutes
Step 3: 15-20 minutes
Step 4: 15-20 minutes
Step 5: 15-30 minutes
Step 6: 20-30 minutes.
Skill Level & Time Estimate
Editor’s Choice
Airlonv LED Desk Lamp for Office Home, Eye-Caring Desk Light with Steple…
TRALT Office Chair Ergonomic Desk Chair, 330 LBS Home Mesh Office Desk C…

WALI Desk File Organizer, 4 Tier Desktop Paper Letter Tray Organizer wit…
Step 1: Assess Your Space

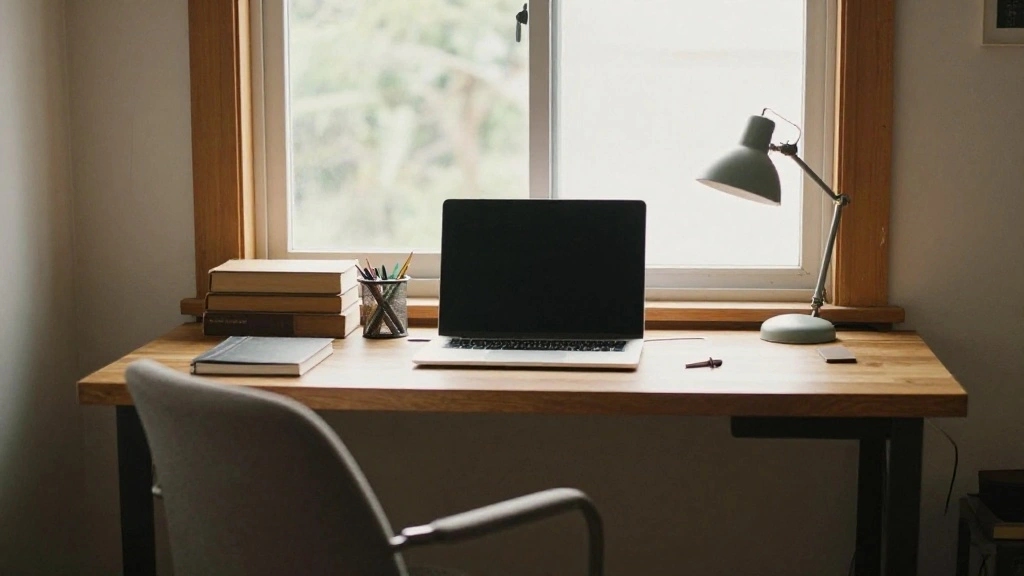
To begin choosing the right spot for your office nook, start by assessing your available space. Follow these steps:
- Walk around your home and take note of quiet areas.
- Check for natural light sources, such as windows.
- Consider areas with existing furniture that can be repurposed.
Warning: Avoid choosing a location near noisy appliances or high-traffic areas where distractions are common. Pro Tip: Use a measuring tape to ensure your desired nook will fit comfortably.
Why this matters: Selecting the right physical location sets the foundation for an effective workspace. A quiet, well-lit area will enhance your focus and productivity.
Time estimate for this step: 15-30 minutes.
Step 1: Assess Your Space
Editor’s Choice

54 Pack Sound Proof Foam Panels |12″×12″×1″ Quick-Recovery Soundproof …

SUNMORY Adjustable LED Beam Floor Lamps for Living Room, Reading Lamp wi…
WALI Desk File Organizer, 4 Tier Desktop Paper Letter Tray Organizer wit…
Step 2: Evaluate Lighting Conditions

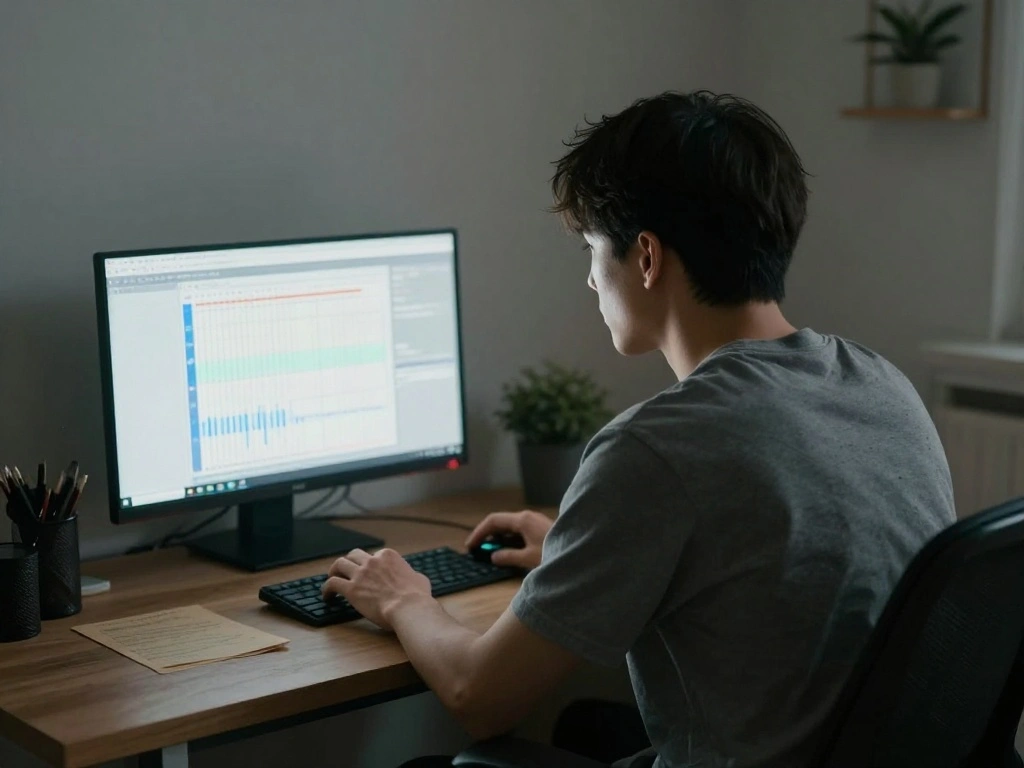
Once you have a potential area in mind, evaluate the lighting conditions. Follow these steps:
- Observe how much natural light comes into the area during the day.
- Identify any artificial lighting sources available.
- Consider the need for additional light fixtures, like desk lamps.
Warning: Poor lighting can strain your eyes and reduce productivity. Don’t choose a spot that is too dark or overly bright. Pro Tip: A combination of natural and artificial light works best for most home offices.
Why this matters: Proper lighting improves mood and reduces fatigue, making it easier to work for extended periods.
Time estimate for this step: 20-30 minutes.
Step 2: Evaluate Lighting Conditions
Editor’s Choice

Daylight Slimline 4™ LED Table Lamp in Brushed Steel – 6,000K, 3,200 L…

Lepro LED Desk Lamp, Metal Desk Light 9.5W 800lm, Best Task Lamp, 5 Colo…

Verilux HappyLight Lumi Plus – Light Therapy Lamp with 10,000 Lux, UV-Fr…
Step 3: Consider Noise Levels
Next, assess the noise levels in your chosen area. Follow these steps:
- Identify any potential sources of noise, such as traffic or household activities.
- Spend a few minutes sitting quietly in the area to judge the noise level.
- Consider whether soundproofing measures are needed, such as curtains or rugs.
Warning: Don’t ignore loud or frequent noises that could disrupt your concentration. Pro Tip: A white noise machine or noise-canceling headphones can help mitigate background sounds.
Why this matters: A quieter environment allows for better focus and efficiency while working.
Time estimate for this step: 15-20 minutes.
Step 3: Consider Noise Levels
Editor’s Choice
54 Pack Sound Proof Foam Panels |12″×12″×1″ Quick-Recovery Soundproof …

NICETOWN Grey Full Shade Curtain Panels, Pair of Energy Smart & Noise Bl…

18 Pcs Sound Absorbing Interlocking Floor Mats Pads, 15.7″ x 11.8″ x 0.3…
Step 4: Personalize Your Space
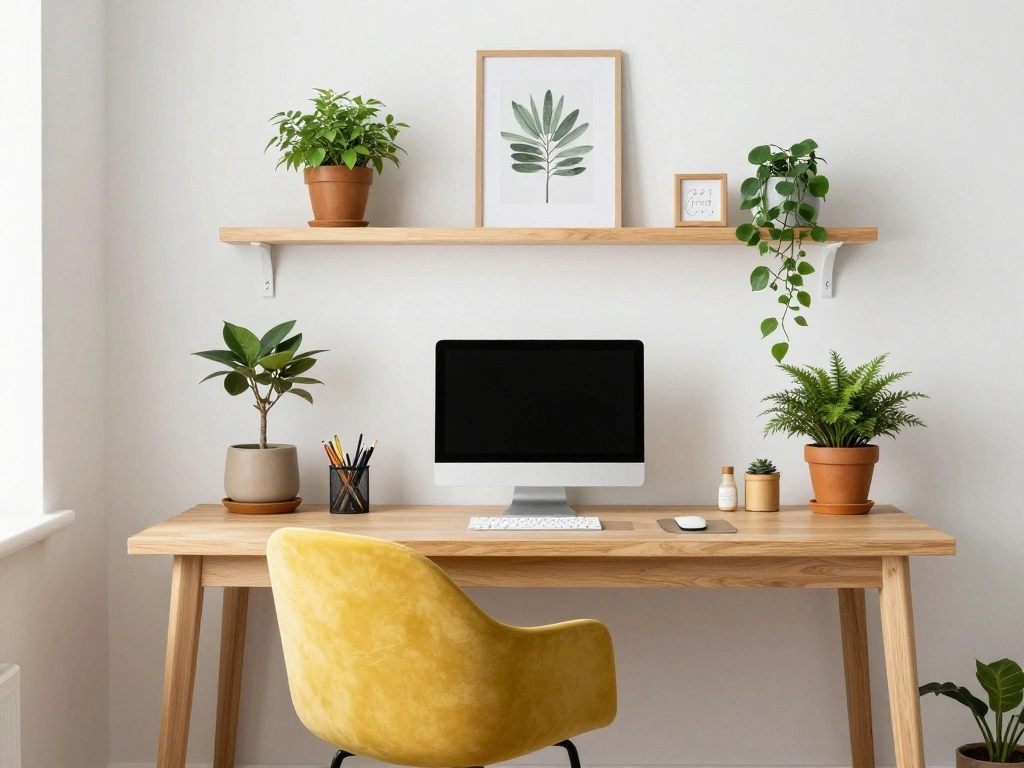
After assessing the location, it’s time to personalize your office nook. Follow these steps:
- Choose a color scheme or theme that inspires you.
- Add personal items, such as photos or artwork.
- Incorporate plants to improve air quality and aesthetics.
Warning: Avoid overcrowding the space with too many items, as this can lead to distraction. Pro Tip: Keep your desk organized and clutter-free to maintain focus.
Why this matters: A personalized space fosters creativity and makes you feel more comfortable and motivated while working.
Time estimate for this step: 15-20 minutes.
Step 4: Personalize Your Space
Editor’s Choice

DSHFG Motivational Inspirational Office Wall Art Decor Prints Set of 4, …
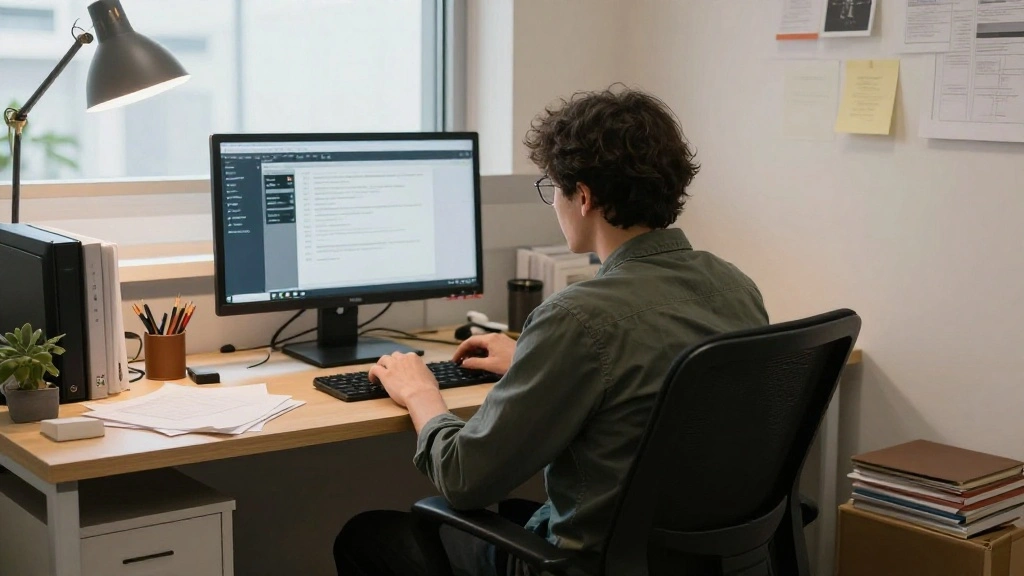
Step 5: Set Up Your Desk and Chair
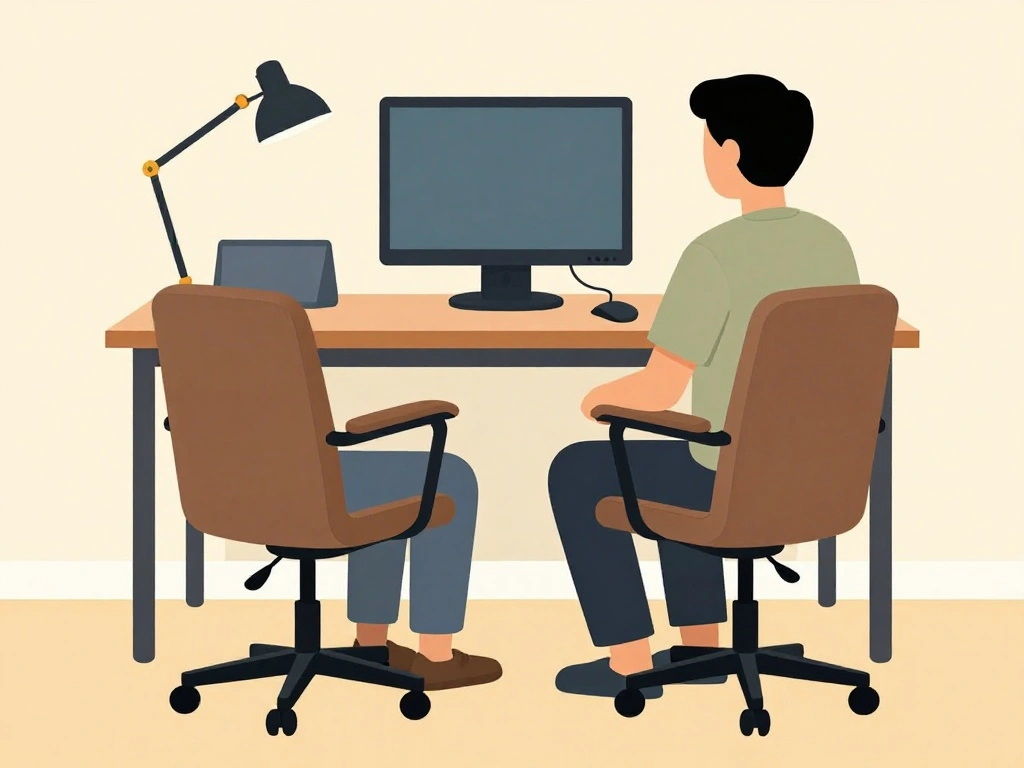
Now it’s time to set up your desk and chair for optimal comfort and ergonomics. Follow these steps:
- Position your desk so that you face the entrance of the room or towards a window.
- Adjust the chair height to ensure your feet rest flat on the floor.
- Arrange your computer screen at eye level to prevent strain.
Warning: Poor ergonomics can lead to discomfort and health issues over time. Pro Tip: Use a chair with lumbar support to maintain good posture.
Why this matters: A well-set-up workspace reduces physical strain and enhances your overall working experience.
Time estimate for this step: 15-30 minutes.
Step 5: Set Up Your Desk and Chair
Editor’s Choice

BestOffice | Ergonomic Office Chair | Mid-Back Swivel Desk Chair | Breat…

VIVO Height Adjustable VESA Adapter Stand for Individual Monitors up to …

ErGear Height Adjustable Electric Standing Desk, 48 x 24 Inches Sit Stan…
Step 6: Finalize and Test Your Nook
Finally, finalize your office nook and test it out. Follow these steps:
- Ensure all items are in place and organized.
- Spend some time working in the nook to see how it feels.
- Make adjustments as needed, such as changing the chair position or adding more light.
Warning: Don’t skip the testing phase; it’s crucial to determine if your nook truly meets your needs. Pro Tip: Invite feedback from family or friends on the setup.
Why this matters: Testing ensures that your office nook is functional and meets your personal working style.
Time estimate for this step: 20-30 minutes.
Step 6: Finalize and Test Your Nook
Editor’s Choice

Hbada E3 Air 2026 Ergonomic Office Chair, 3-Zone Lumbar Support, Comfy H…
Airlonv LED Desk Lamp for Office Home, Eye-Caring Desk Light with Steple…
Pro Tips
- Lighting Position: Position lights to eliminate shadows on your workspace.
- Ergonomic Accessories: Consider using keyboard trays and footrests for added comfort.
- Declutter Regularly: Keep your workspace clean to maintain focus.
- Incorporate Technology: Use apps to manage tasks and stay organized.
- Customize Your Environment: Change out elements seasonally to keep your space fresh.
Pro Tips
Editor’s Choice

HUANUO Keyboard Tray Under Desk, 360 Adjustable Ergonomic Sliding Keyboa…

HUANUO Adjustable Desk Footrest, Foot Rest for Under Desk at Work with M…

LED Desk Lamp with USB Ports,Touch Desk Lamps for Home Office with 5 Col…
Common Mistakes to Avoid
Warning: Don’t choose an area that feels cramped or unwelcoming. This can lead to reduced productivity.
Warning: Avoid neglecting ergonomics; poor setups can cause long-term health issues.
Warning: Don’t overcrowd your desk with unnecessary items; keep only essentials.
Warning: Ignoring lighting conditions can lead to eye strain.
Warning: Failing to test your setup can result in discomfort and distraction.
Common Mistakes to Avoid
Editor’s Choice
WALI Desk File Organizer, 4 Tier Desktop Paper Letter Tray Organizer wit…

BestOffice | Ergonomic Office Chair | Mid-Back Swivel Desk Chair | Breat…
Troubleshooting Section
Problem: The area is too noisy.
Solution: Use noise-canceling headphones or soundproof the space with rugs and curtains.
Problem: Insufficient lighting.
Solution: Add lamps or reposition your desk near a light source.
Problem: The desk feels uncomfortable.
Solution: Adjust the chair height or invest in a more ergonomic chair.
Problem: Too much clutter.
Solution: Regularly declutter and organize your workspace.
Problem: Items are out of reach.
Solution: Rearrange your setup to keep essentials within arm’s reach.
Variations/Alternative Methods
If the traditional desk setup isn’t for you, consider these alternatives:
1. Standing Desk: Ideal for those who prefer to stand while working. Pros: Reduces back pain. Cons: Can cause fatigue if used all day.
2. Mobile Office: Use a laptop and work from different areas in your home. Pros: Flexibility. Cons: May lack a dedicated work environment.
3. Shared Spaces: If you have a larger family, consider a shared workspace where everyone has a designated area. Pros: Collaboration. Cons: Can be noisy or distracting.
Variations/Alternative Methods
Editor’s Choice

Tonmom Laptop Stand for Desk, Adjustable Laptop Riser ABS+Silicone Folda…

VIVO 32 inch Desk Converter, K Series, Height Adjustable Sit to Stand Ri…
FAQs
What if I don’t have a separate room for my office nook? You can create a nook in a corner of your living room or bedroom, as long as it meets your needs for quiet and comfort.
How long should I spend setting up my office nook? Allocate around 1-2 hours to properly assess, set up, and personalize your space.
Is it safe to work near a window? Yes, as long as you have proper window treatments to manage light and glare.
What if I get easily distracted? Consider using noise-canceling headphones or setting boundaries with others in the home.
How can I make my nook more comfortable? Invest in a good chair, organize your desk, and personalize the space to your liking.
FAQs
Editor’s Choice
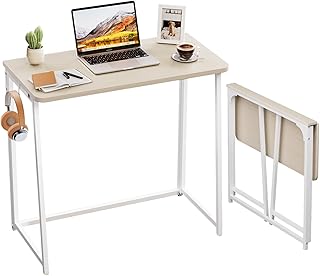
WOHOMO Folding Desk, Small Foldable Desk 31.5″ for Small Spaces, Space S…

GABRYLLY Ergonomic Office Chair, Big and Tall Mesh Chair with Lumbar Sup…
Conclusion

Congratulations! You’ve successfully set up your office nook. This dedicated space will enhance your productivity and comfort while working from home. Take a moment to enjoy your new workspace and make any final tweaks as needed.
Next steps include establishing a daily routine that helps you maximize your time in this nook. Consider exploring additional resources on home office organization or productivity techniques to further enhance your experience. Embrace this new chapter and enjoy the benefits of a well-designed workspace!