Working from home can be a challenge, especially when space is limited. Tiny home offices often lead to clutter and disorganization, making it difficult to concentrate and stay productive. If you’re struggling to find a way to create an efficient workspace in your small home office, you’re not alone. Many people face this dilemma, and the solution lies in maximizing your vertical space.
In this guide, you’ll learn how to transform your tiny office into a more functional and organized space. By utilizing vertical storage solutions, you can create more room for your essential items while keeping your workspace tidy and inspiring. You’ll discover practical tips and creative ideas to maximize every inch of wall space.
This guide is designed for beginners and is estimated to take about 2-3 hours to complete. Get ready to reclaim your office space and boost your productivity. You’ll learn how to install shelves, use wall organizers, and incorporate multifunctional furniture. Let’s get started!
TL;DR Summary
- Utilize wall shelves to free up desk space.
- Incorporate pegboards for versatile storage.
- Use vertical file organizers to manage paperwork.
- Opt for multifunctional furniture to save space.
TL;DR Summary
Editor’s Choice

INCLY 30PCS Peg Board Organizer Accessories Kit, Pegboard Hooks Assortme…

BAYKA Floating Shelves Set of 2, 22.5 inches Farmhouse Rustic Wood Wall …

Delifox Inclined Desk File Organizer,Vertical File Folder Holder Stand M…
Prerequisites/Materials Needed
- Wall-mounted shelves (at least 2)
- Pegboard and hooks
- Vertical file organizer
- Storage bins or baskets
- Measuring tape
- Drill and screws
- Level
Prerequisites/Materials Needed
Editor’s Choice

Spampur Peg Board, 4 Pack Metal Pegboard Panels with 50 Hooks, Black Peg…

BAYKA Floating Shelves for Wall, Wall Mounted Rustic Wood Shelves for Ba…

Kuntine.B Desk File Organizer Upright Mesh Desktop Organizer File Sorter…
Skill Level & Time Estimate
Skill Level: beginner
Total estimated time: 2-3 hours
Skill Level & Time Estimate
Editor’s Choice
Delifox Inclined Desk File Organizer,Vertical File Folder Holder Stand M…

Criusia Over the Door Organizer, 6-Shelf Closet Hanging Storage with 13 …

BAYKA Wall Mounted Floating Bathroom Shelves, Wood Wall Shelf for Bathro…
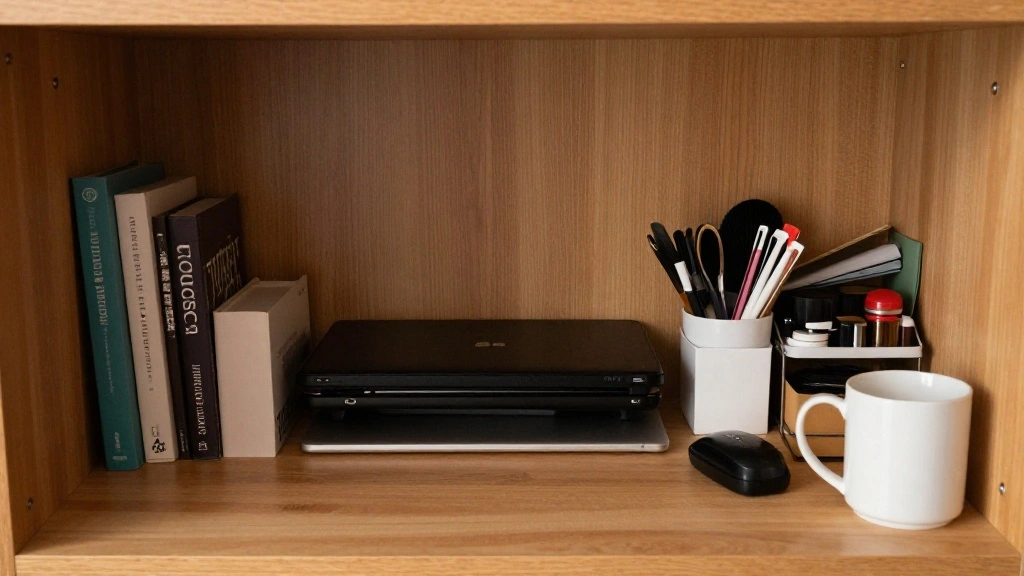
Step 1: Assess Your Space
Begin by evaluating your tiny office space. This step is crucial for understanding where to implement vertical storage solutions effectively.
- Clear your desk and surrounding areas of all items.
- Take measurements of your walls, noting any outlets or windows that may affect placement.
- Identify areas that feel cluttered and could benefit from vertical storage.
Pro Tip: Take a photo of your workspace to visualize potential changes. Warning: Ensure you do not block any outlets or vents when planning your storage. This step should take about 30 minutes.
Step 1: Assess Your Space
Editor’s Choice
Delifox Inclined Desk File Organizer,Vertical File Folder Holder Stand M…
BAYKA Floating Shelves Set of 2, 22.5 inches Farmhouse Rustic Wood Wall …

6U Vertical Wall Mount Server Rack Cabinet, 19 Inch Network Enclosure, 3…
Step 2: Choose Your Vertical Storage Solution
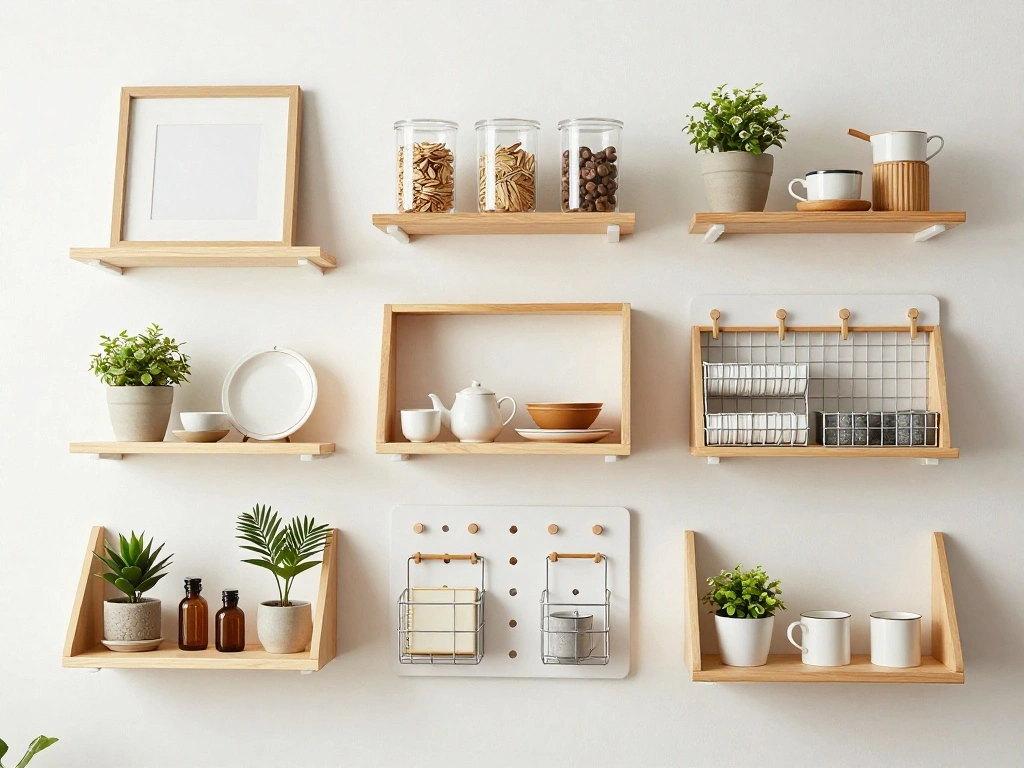
Now that you’ve assessed your space, select the vertical storage solutions that will work best for you. Consider your needs and preferences.
- Decide between wall shelves, pegboards, or wall-mounted organizers based on your storage needs.
- Choose materials that fit your aesthetic and are durable.
- Purchase the necessary hardware for installation.
Pro Tip: Use a combination of storage solutions to maximize efficiency. This step will take around 30 minutes.
Step 2: Choose Your Vertical Storage Solution
Editor’s Choice

SONGMICS Storage Shelf, Small Metal Wire Shelving Unit, Adjustable Shelv…
Spampur Peg Board, 4 Pack Metal Pegboard Panels with 50 Hooks, Black Peg…
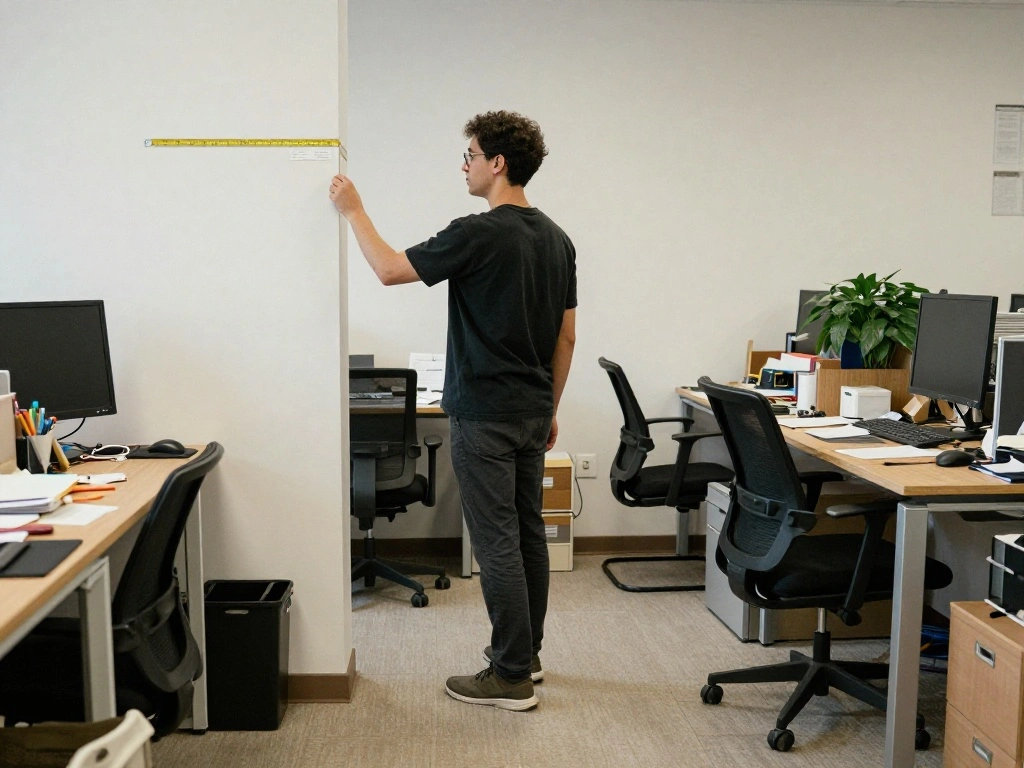
Step 3: Install Wall Shelves
Installing wall shelves is a straightforward way to utilize vertical space. This step can greatly enhance your office’s functionality.
- Use the measuring tape to determine the height for your shelves.
- Mark the spots for the brackets using a pencil.
- Drill holes and install the brackets securely.
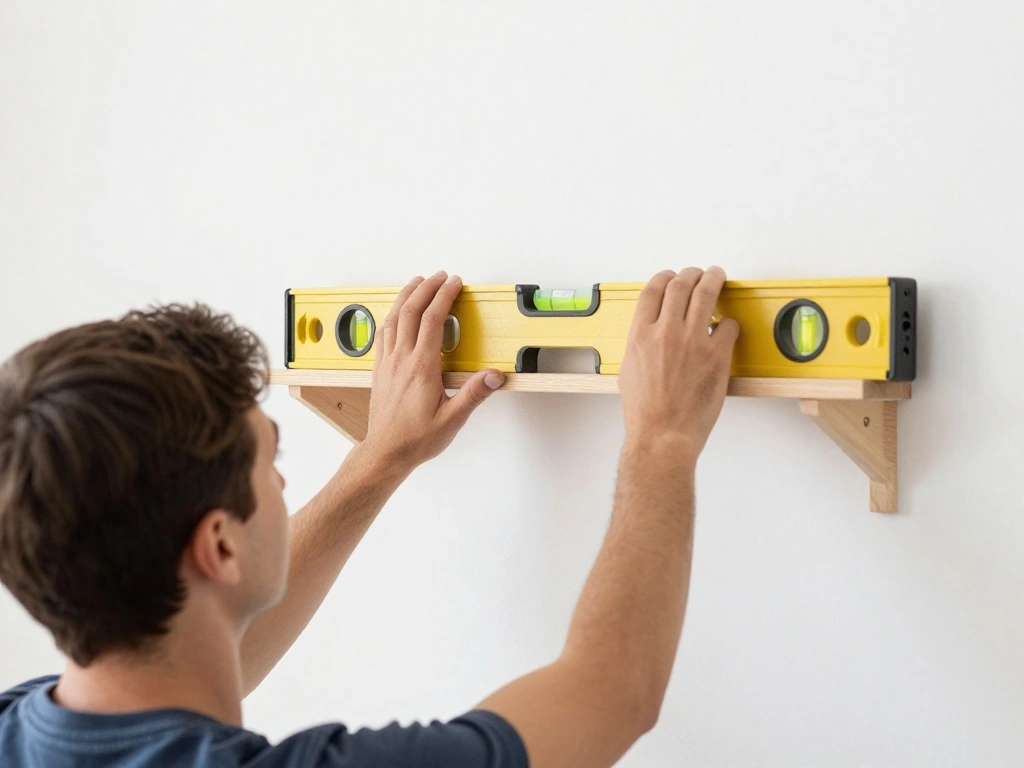
- Place the shelves on the brackets and ensure they are level.
Warning: Always use a level to ensure your shelves are straight to avoid items falling off. This installation should take about 1 hour.
Step 3: Install Wall Shelves
Editor’s Choice
BAYKA Floating Shelves Set of 2, 22.5 inches Farmhouse Rustic Wood Wall …

Torpedo Level Magnetic, Firecore 9 Inch Shockproof Small Leveler Tool wi…

12 Pack L22 x H 12″ Black Heavy Duty Shelf Brackets with Screws Metal Sh…
Step 4: Set Up a Pegboard
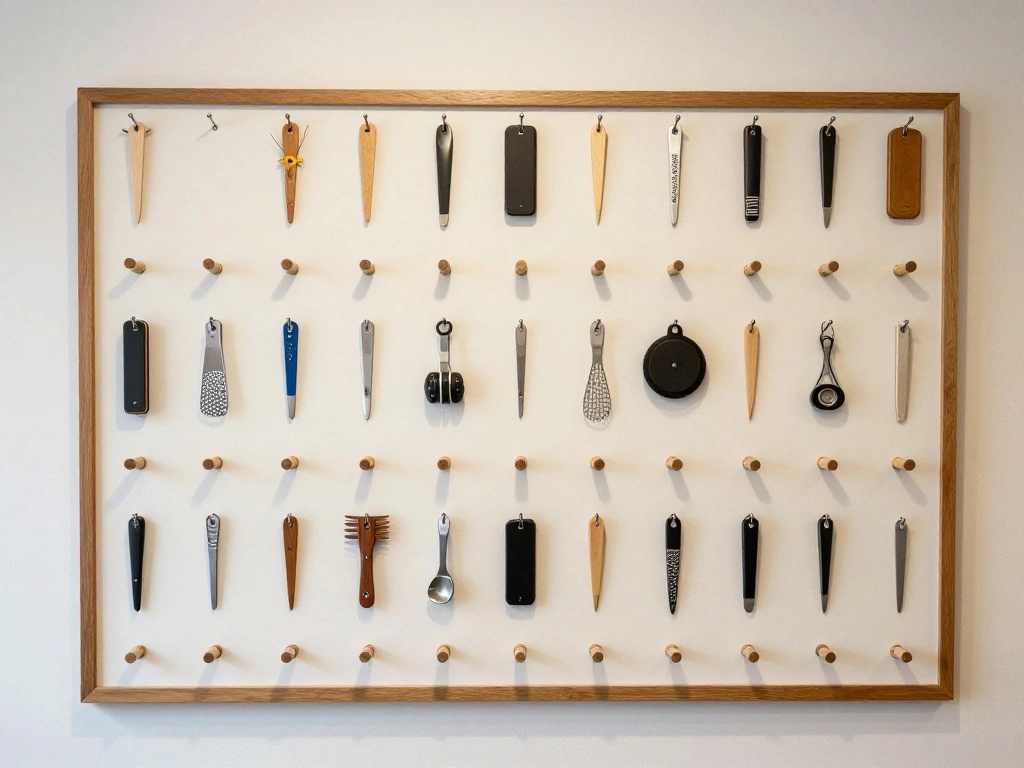
A pegboard offers flexible storage options and can help you organize tools, supplies, and decorative items.
- Decide where to place the pegboard on the wall, ensuring it’s within easy reach.
- Mark the mounting holes and drill accordingly.
- Attach the pegboard using screws.
- Add hooks and organizers based on what you need to store.
Pro Tip: Customize your pegboard with colors or patterns to make it visually appealing. Expect this to take around 1 hour.
Step 4: Set Up a Pegboard
Editor’s Choice

INCLY 120PCS Pegboard Accessories Organizer Kit, Peg Board Hooks Assortm…

PlanToys® Pattern Peg Board | Montessori Wooden Lacing Toy for Toddlers…
Spampur Peg Board, 4 Pack Metal Pegboard Panels with 50 Hooks, Black Peg…
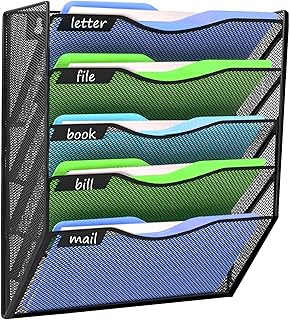
Step 5: Utilize Vertical File Organizers
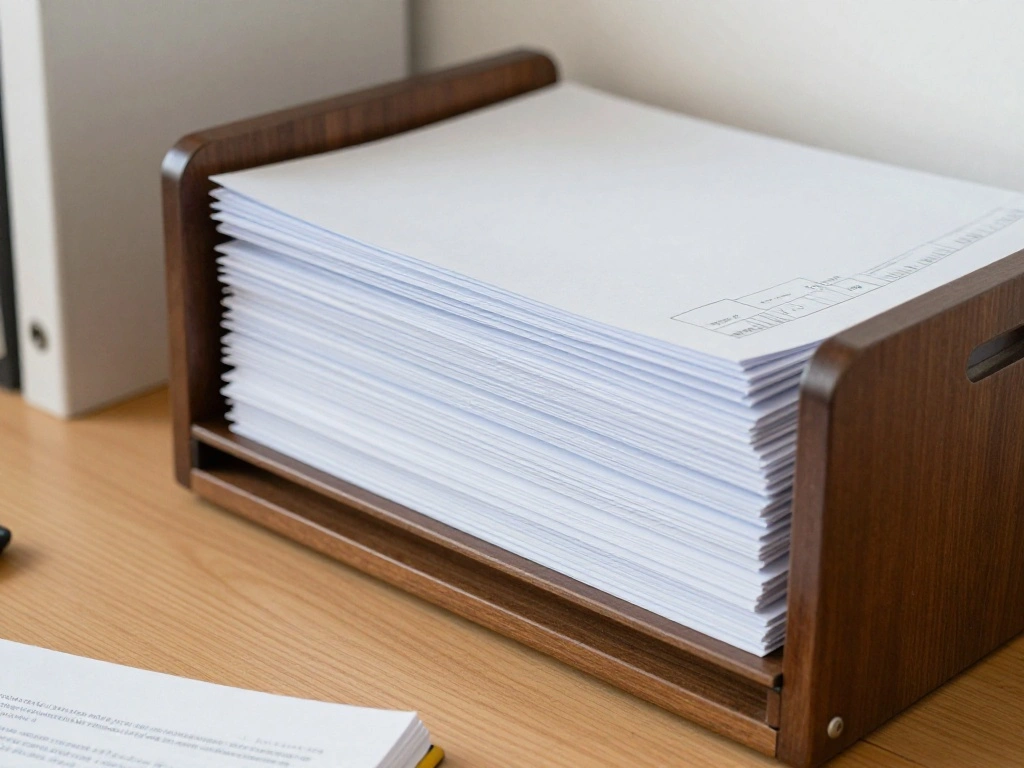
Vertical file organizers can help manage paperwork and office materials without taking up too much desk space.
- Choose a suitable location for your file organizer on your desk or mounted to the wall.
- Sort documents into categories that make sense for your workflow.
- Label each section for easy access.
Warning: Avoid overloading your organizer to prevent it from becoming a cluttered mess. This setup will take approximately 30 minutes.
Step 5: Utilize Vertical File Organizers
Editor’s Choice

Brother P-Touch, PTD210, Easy-to-Use Label Maker Bundle (4 Label Tapes I…

3 Pack Acrylic Sign Holder 8.5 x 11 Inches, Clear Menu Stand, Vertical F…
Kuntine.B Wall File Organizer Office Hanging Magazine Holder Wall File O…
Step 6: Incorporate Storage Bins

Storage bins are wonderful for keeping miscellaneous items organized while utilizing vertical space.
- Find bins that fit your shelves or can be stacked.
- Group similar items together in each bin.
- Label the bins for easy identification.
Pro Tip: Use clear bins to easily see the contents. This process should take about 30 minutes.
Step 6: Incorporate Storage Bins
Editor’s Choice

Homeforia Walnut 18 inch Floating Shelf, High End Solid Real Wood 18inch…

8 Pack Extra Large Heavy Duty Moving Bags, Clear Storage Bins with Lids,…

Nelko Label Maker Machine with Tape, P21 Bluetooth Label Printer, Wirele…
Step 7: Personalize Your Space
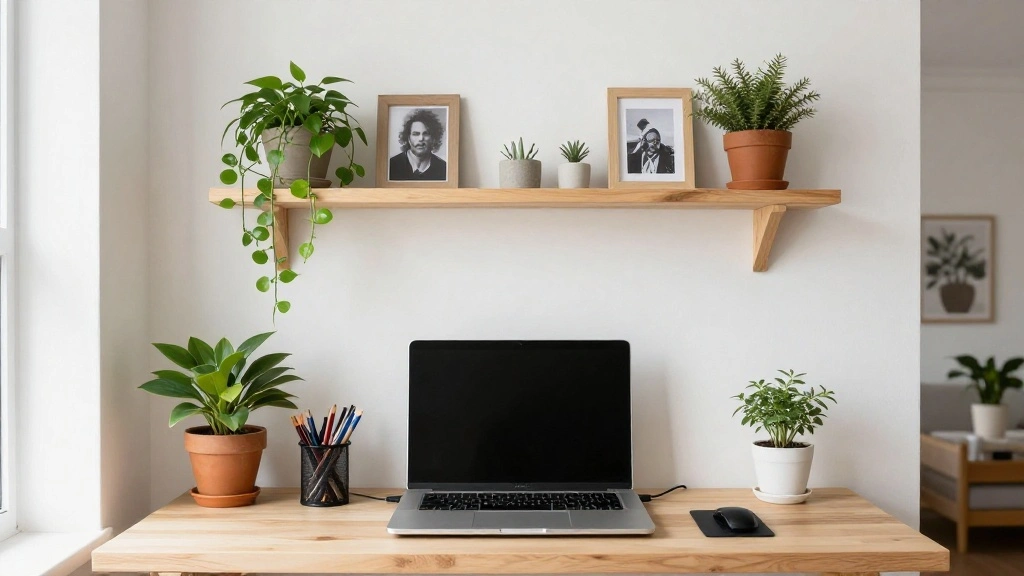
Finally, add personal touches to your office to make it inviting and motivating.
- Incorporate decorative items on shelves, like plants or photos.
- Ensure items are functional while also fitting your style.
- Regularly reassess your layout and adjust as needed for optimal organization.
Pro Tip: Changing decor seasonally can keep your workspace feeling fresh. This personalization should take around 30 minutes.
Step 7: Personalize Your Space
Editor’s Choice
BAYKA Floating Shelves Set of 2, 22.5 inches Farmhouse Rustic Wood Wall …

Der Rose 2 Pack Small Fake Plants Mini Artificial Potted Plants for Tabl…

LUCKYLIFE Picture Frames Collage Wall Decor 10-Pack, Gallery Wall Frame …
Pro Tips
- Tip for Lighting: Use wall-mounted lamps to save desk space while providing adequate lighting.
- Tip for Cable Management: Use cable clips on walls to keep cords organized and out of sight.
- Tip for Multi-Use Furniture: Consider a desk that doubles as storage to maximize function.
- Tip for Regular Maintenance: Schedule a monthly declutter session to keep your office organized.
- Tip for Color Coding: Use colored labels or bins to quickly identify categories and improve efficiency.
Pro Tips
Editor’s Choice

Huuger Computer Desk with 6 Drawers, Office Desk with Shelves, Reversibl…

TRLIFE Wall Sconce Plug in, Dimmable Wall Sconce with Switch Swing Arm W…

XHF 120 PCS Adhesive Cable Wire Clips Black, Outdoor Christmas Light Cli…
Common Mistakes to Avoid
Warning: Overloading shelves can lead to accidents. Make sure to distribute weight evenly.
Warning: Not securing items properly can cause them to fall. Always double-check your installations.
Warning: Ignoring your workflow needs can lead to disorganization. Tailor your space to fit how you work best.
Common Mistakes to Avoid
Editor’s Choice

Gawerk 5-Section Vertical Desktop Organizer, 5-Section Mesh File Folder …

NEODROP 4-Pack 12 Inch Heavy Duty Shelf Brackets, Large Wall Bracket for…
BAYKA Floating Shelves for Wall, Wall Mounted Rustic Wood Shelves for Ba…
Troubleshooting Section
Problem: My shelves are sagging.
Solution: Check if they are properly secured and redistribute weight.
Problem: Items keep falling off my pegboard.
Solution: Ensure hooks are securely attached and consider using additional pegboard accessories.
Problem: I’m out of desk space.
Solution: Move non-essential items to shelves or bins to clear the desk area.
Troubleshooting Section
Editor’s Choice

12 Pack L12 x H 8″ Black Heavy Duty Shelf Brackets with Screws Metal She…
Variations/Alternative Methods
Wall-mounted desks: These can fold down when not in use to save space.
Magnetic boards: Great for holding lightweight items, perfect for small tools or notes.
Over-the-door organizers: These can provide additional storage without requiring wall space.
Variations/Alternative Methods
Editor’s Choice

HOMCOM Foldable Convertible Writing Table, Wall Mounted Space-Saving Com…

MaxGear Acrylic Magnetic Whiteboard for Fridge, 12 x 8 Inch Dry Erase Bo…

JARLINK Over The Door Organizer Storage, 5 Shelf Hanging Door Organizer …
FAQs
What if I don’t have enough wall space? Consider using furniture that offers vertical storage, like tall bookshelves or cabinets.
How long should I wait before reassessing my organization? Check in every 3-6 months to see if adjustments are needed.
Is it safe to stack bins? Yes, as long as they are stable and not overloaded.
FAQs
Editor’s Choice

Delta Minimalistic Black Shelf Brackets Cycle, Set of 10 Fully Adjustabl…

IRONCK Tall Narrow Bookshelf 8 Tiers, Compact Corner Bookcase, Floor Sta…

Vtopmart 6 Pack Clear Stackable Storage Bins with Lids, Large Plastic Co…
Conclusion
Congratulations! You’ve successfully maximized the vertical space in your tiny home office. By implementing these strategies, you’ve created a more organized and productive workspace. Regular maintenance and personalization will ensure your office remains functional and inspiring.
As a next step, consider exploring additional storage solutions or decorative items to further enhance your space. Keep your productivity high, and enjoy your newly organized office!