Are you tired of feeling discomfort during your workday? Adjusting your standing desk to the right height is crucial for maintaining proper posture, reducing fatigue, and preventing long-term health issues. An improperly set desk can lead to neck pain, back strain, and decreased productivity. Don’t let this happen to you!
In this guide, you’ll learn how to properly adjust your standing desk to achieve a comfortable working position. By following these steps, you will enhance your work experience and promote better health. You’ll understand the importance of desk height, how to measure your ideal height, and the adjustments needed for your specific desk model.
This guide is designed for beginners and can be completed in about 30 minutes. We’ll walk you through each step, making the process easy and straightforward.
Let’s get started!
TL;DR Summary
- Measure your height and desk space for the right fit.
- Adjust the desk height based on your measurements.
- Ensure proper monitor and keyboard placement for ergonomic positioning.
- Test the setup for comfort and make final adjustments.
TL;DR Summary
Editor’s Choice

Single LCD Computer Monitor Free-Standing Desk Stand Mount Riser for 13 …

HUANUO Keyboard Tray Under Desk, 360 Adjustable Ergonomic Sliding Keyboa…

VIVO 32 inch Desk Converter, K Series, Height Adjustable Sit to Stand Ri…
Prerequisites/Materials Needed
- Standing desk
- Tape measure
- Chair (optional for comparison)
- Computer or monitor
- Keyboard and mouse
Prerequisites/Materials Needed
Editor’s Choice

Anker 2.4G Wireless Vertical Ergonomic Optical Mouse for Work, Multi-Dev…

FITUEYES Height Adjustable Standing Desk 32” Wide Sit to Stand Convert…

iBayam 2 Pack Tape Measure Measuring Tape for Body Fabric Sewing Tailor …
Skill Level & Time Estimate
Skill Level: beginner
Total Time Estimate: 30 minutes
Skill Level & Time Estimate
Editor’s Choice

Dasqua 12″/300mm Double Beam Digital Height Gauge with Feed Wheel, Heavy…

VIVO 32 inch Desk Converter, K Series, Height Adjustable Sit to Stand Ri…
Step 1: Measure Your Height
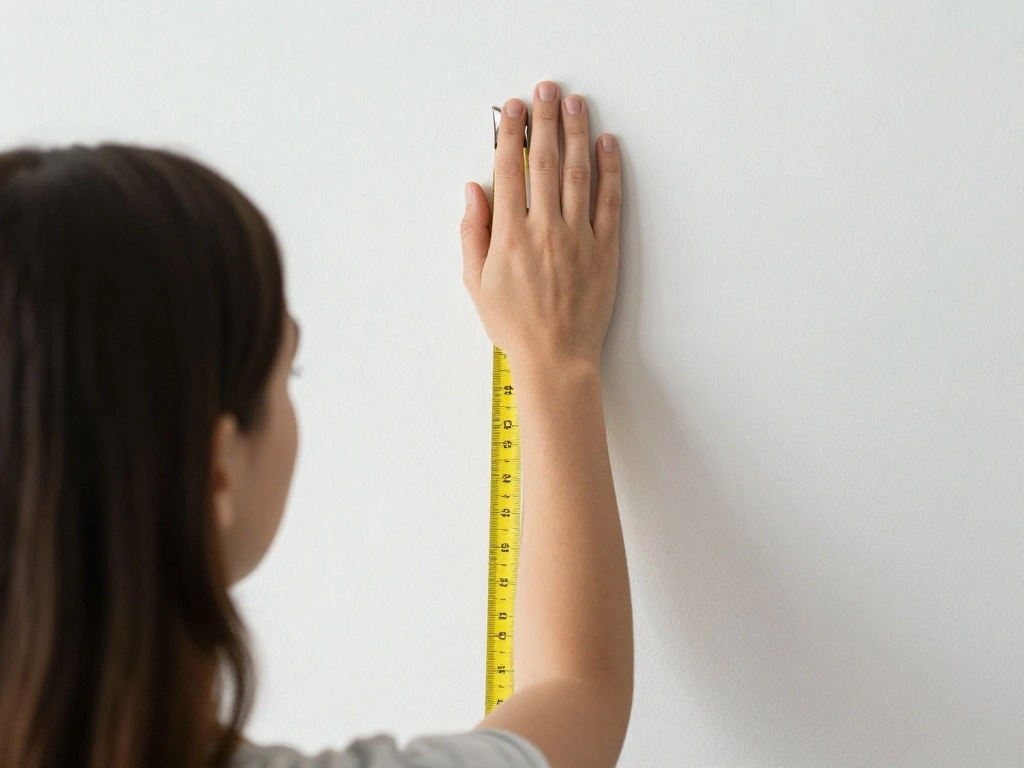
Start by measuring your height to determine the appropriate desk height. This is crucial for ensuring that your arms, wrists, and eyes are properly aligned when standing.
1. Stand straight against a wall without shoes.
2. Use the tape measure to find your height from the floor to the top of your head.
3. Note down your height.
Pro Tip: If you’re between heights, round up to ensure comfort.
Why this matters: Understanding your height helps set the desk to a level that promotes good posture.
Time estimate: 5 minutes.
Step 1: Measure Your Height
Editor’s Choice

Anti Fatigue Kitchen Floor Mat Comfort Standing Mat, Portable Office Sta…
FITUEYES Height Adjustable Standing Desk 32” Wide Sit to Stand Convert…
iBayam 2 Pack Tape Measure Measuring Tape for Body Fabric Sewing Tailor …
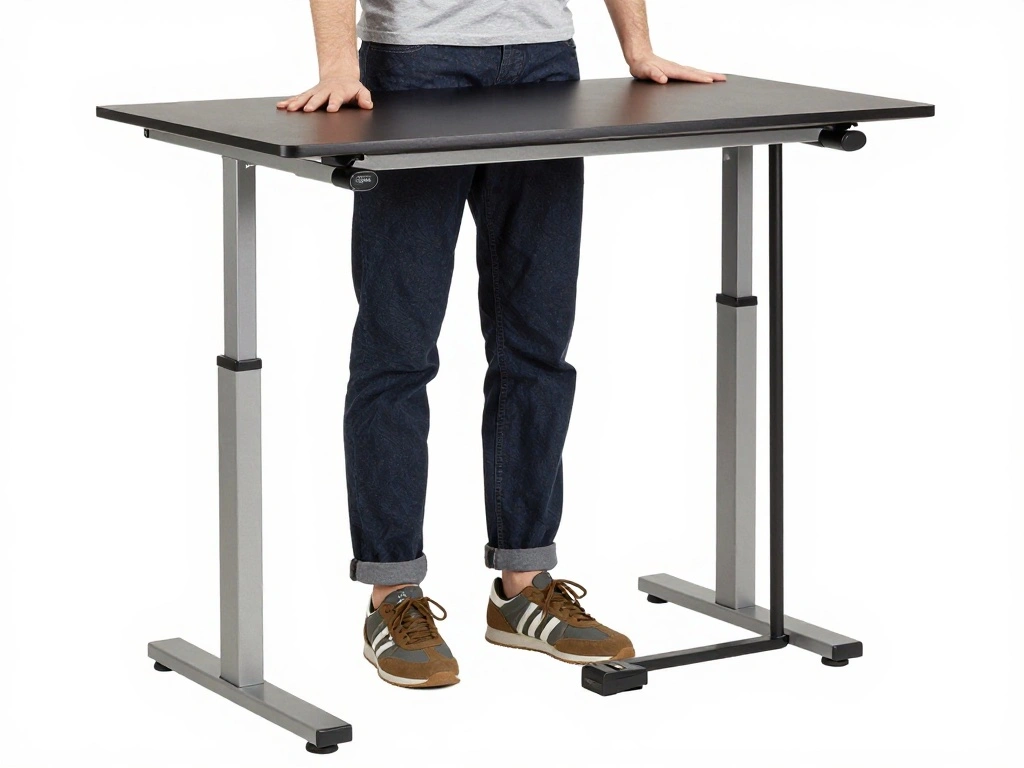
Step 2: Determine Desk Height

Next, determine the ideal desk height based on your height measurement. This helps in finding the perfect fit for comfortable standing.
1. Multiply your height in inches by 0.4 to find the ideal desk height.
2. For example, if you are 68 inches tall, the calculation would be: 68 x 0.4 = 27.2 inches.
3. Round to the nearest whole number for simplicity.
Pro Tip: Aim for a desk height where your elbows are at a 90-degree angle when typing.
Why this matters: Correct desk height reduces strain on your arms and neck.
Time estimate: 5 minutes.
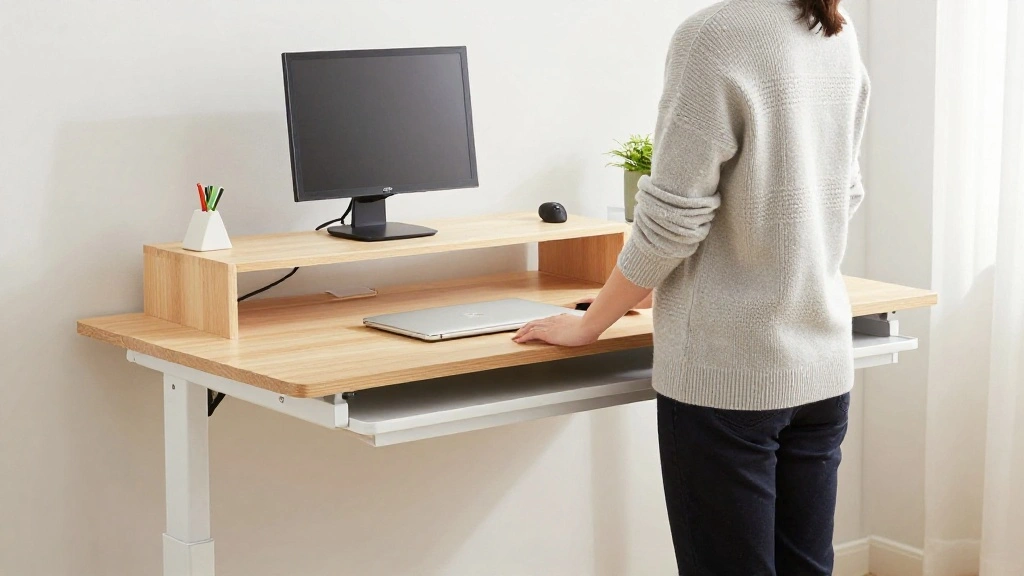
Step 3: Adjust the Desk Height
Now it’s time to adjust your standing desk to the calculated height.
1. Locate the height adjustment mechanism on your desk (this could be a lever, button, or crank).
2. If it’s electronic, press the up or down button until the desk reaches the desired height.
3. For manual adjustments, turn the crank or pull the lever to elevate or lower the desk.
Pro Tip: Make small adjustments to find the most comfortable height.
Why this matters: Proper desk height is essential for reducing discomfort during long hours of work.
Time estimate: 5 minutes.
Step 3: Adjust the Desk Height
Editor’s Choice

FEATOL Anti Fatigue Mat for Standing, 9/10 Extra Thick Ergonomic Standin…

Mount-It! Standing Desk Converter Dual Monitor, 2 Screen Mounts Included…
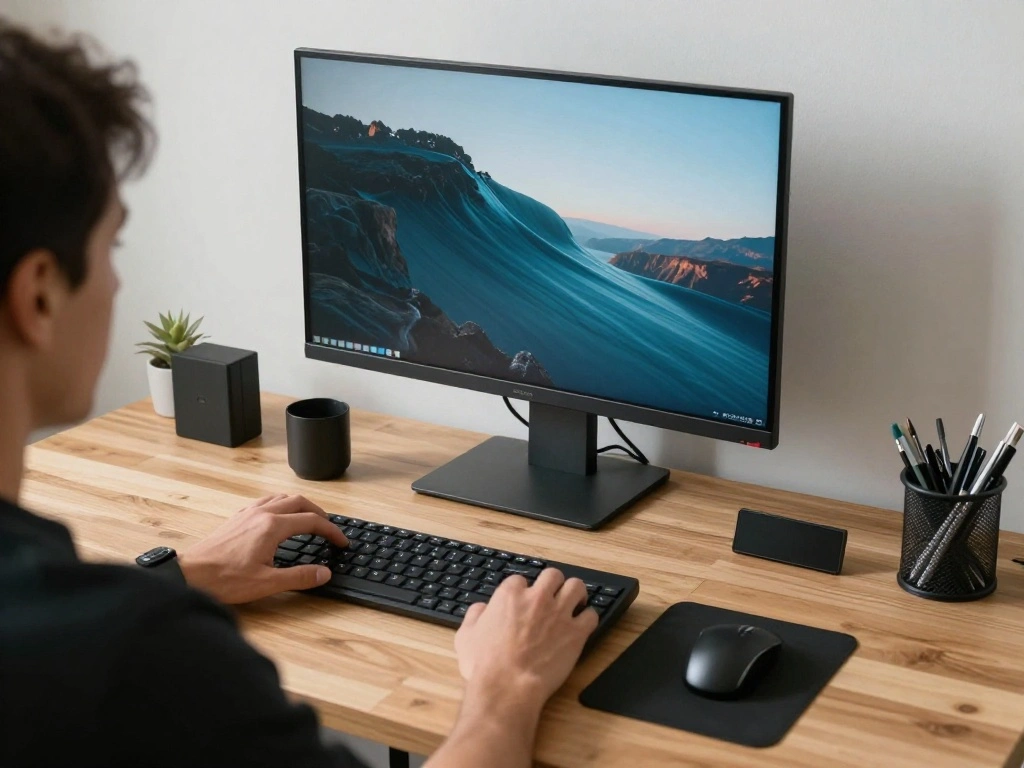
Step 4: Position Your Monitor

After adjusting the desk, position your monitor for optimal viewing.
1. The top of your monitor screen should be at or just below eye level.
2. Sit or stand in front of the monitor and adjust its height as needed.
3. Make sure to keep the monitor about an arm’s length away from your face.
Pro Tip: Use a monitor stand if your monitor is too low.
Why this matters: Proper monitor height prevents neck strain and helps maintain focus.
Time estimate: 5 minutes.
Step 5: Adjust Keyboard and Mouse Position
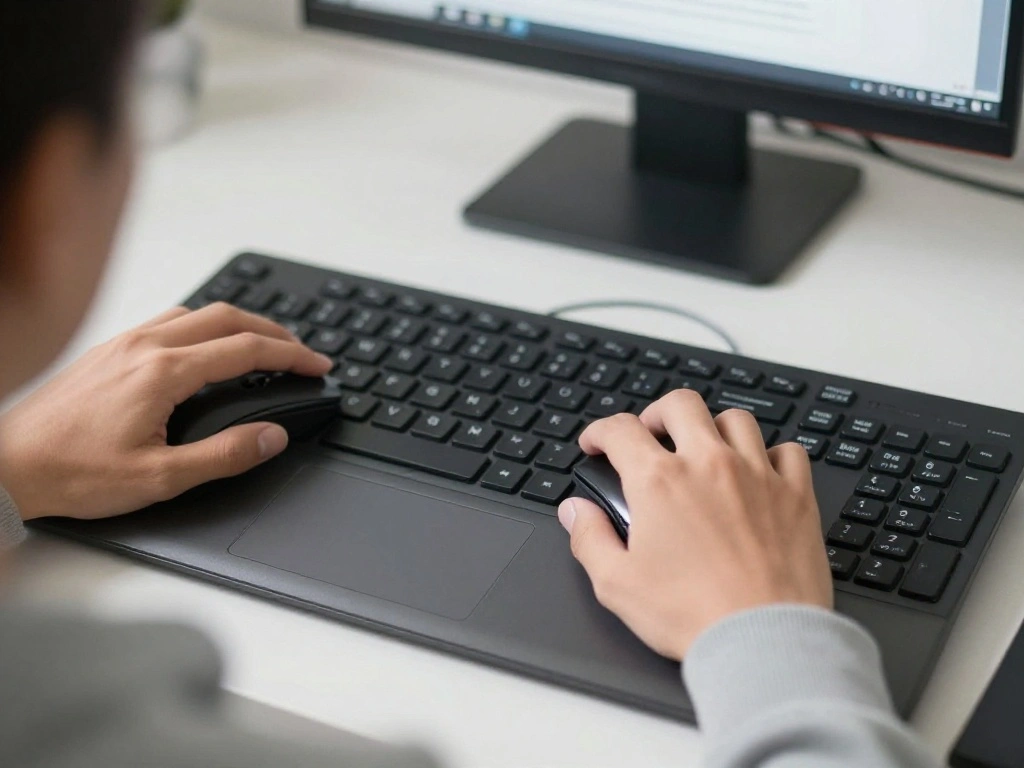
Next, adjust the keyboard and mouse for ergonomic use.
1. Place the keyboard directly in front of you, at elbow height.
2. Your wrists should be straight and not bent while typing.
3. Position the mouse close to the keyboard to avoid reaching.
Pro Tip: Use a wrist rest for added comfort.
Why this matters: Proper keyboard and mouse placement reduces wrist strain and enhances typing efficiency.
Time estimate: 5 minutes.
Step 5: Adjust Keyboard and Mouse Position
Editor’s Choice

ProtoArc Ergonomic Mouse, EM11 NL Bluetooth Rechargeable Wireless Vertic…

Gimars Upgrade Enlarge Silky and Superfine Fabric Gel Memory Foam Keyboa…
HUANUO Keyboard Tray Under Desk, 360 Adjustable Ergonomic Sliding Keyboa…
Step 6: Test Your Setup

Now that everything is set up, it’s time to test your workspace.
1. Stand at your desk and type for a few minutes. Notice any discomfort.
2. Adjust the height of your desk or the position of your monitor and keyboard if necessary.
3. Make sure you feel comfortable and that your body is aligned properly.
Pro Tip: Take short breaks every hour to stretch and move around.
Why this matters: Testing ensures that your workspace is comfortable for extended use.
Time estimate: 5 minutes.
Step 6: Test Your Setup
Editor’s Choice
VIVO 32 inch Desk Converter, K Series, Height Adjustable Sit to Stand Ri…
Step 7: Make Final Adjustments
After testing, make any final adjustments to your setup.
1. If you noticed any discomfort during the test, go back and tweak the height of the desk or change the position of your monitor.
2. Check that your feet are flat on the ground and not dangling.
3. Ensure that your shoulders are relaxed and your elbows are at a 90-degree angle.
Pro Tip: Use an anti-fatigue mat for added comfort when standing.
Why this matters: Final adjustments ensure your workspace is tailored to your comfort and productivity.
Time estimate: 5 minutes.
Step 7: Make Final Adjustments
Editor’s Choice
FEATOL Anti Fatigue Mat for Standing, 9/10 Extra Thick Ergonomic Standin…

VIVO Ergonomic Height Adjustable Foot Rest Relief Platform, Elevated Sto…

MSI MAG MT101G – Gas Spring Single Monitor Stand Arm, Supports 17-32″ an…
Step 8: Incorporate Movement
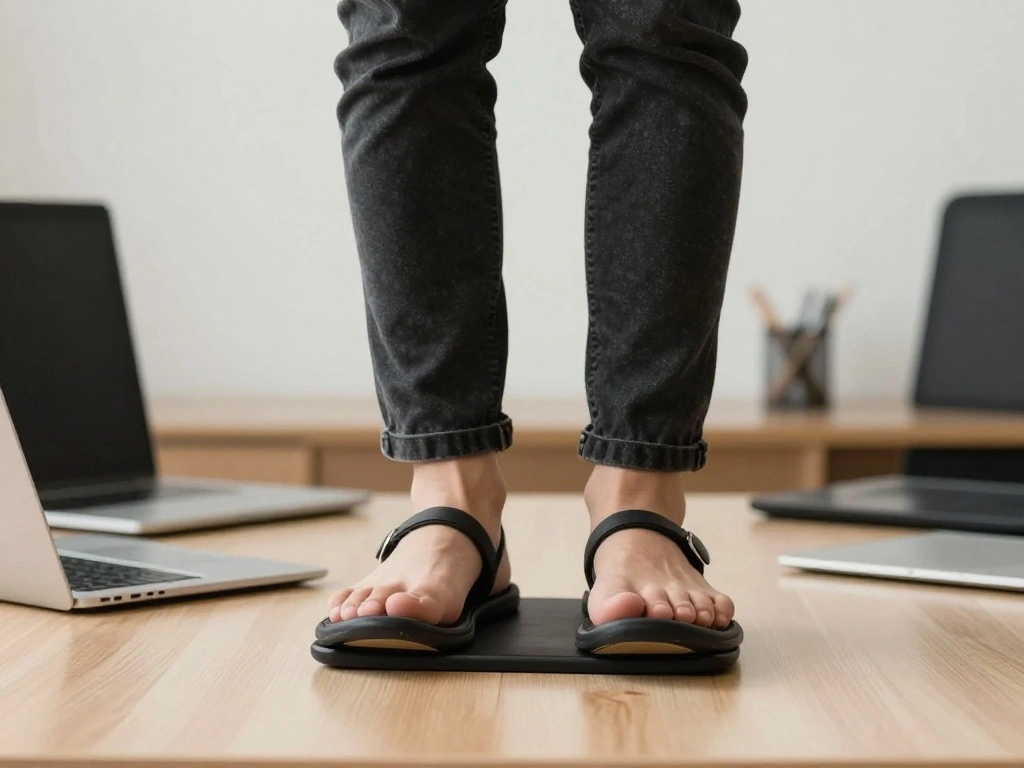
To enhance your standing desk experience, incorporate movement into your routine.
1. Shift your weight from one foot to the other periodically.
2. Take short walking breaks every hour to promote circulation.
3. Consider adding a footrest to alternate foot positioning.
Pro Tip: Set a timer to remind yourself to move.
Why this matters: Movement helps prevent fatigue and keeps you energized throughout the day.
Time estimate: 5 minutes.
Step 8: Incorporate Movement
Editor’s Choice

Antonki 2 Pack Digital Timer for Kids, Magnetic Countdown Kitchen Timers…
VIVO Ergonomic Height Adjustable Foot Rest Relief Platform, Elevated Sto…

FEATOL Anti Fatigue Mat Industrial, Ergonomic Standing Floor Mat for Wor…
Step 9: Monitor Your Comfort

Keep track of your comfort levels as you adjust to your new setup.
1. Pay attention to any signs of discomfort or fatigue as you work.
2. Note if adjustments are needed after a few days of use.
3. Make changes as necessary to maintain comfort.
Pro Tip: Keep a journal of your comfort levels and adjustments made.
Why this matters: Regular monitoring ensures that your setup remains effective and comfortable over time.
Time estimate: 5 minutes.
Step 9: Monitor Your Comfort
Editor’s Choice

FEATOL Anti Fatigue Mat for Standing, 9/10 Extra Thick Ergonomic Standin…
VIVO 32 inch Desk Converter, K Series, Height Adjustable Sit to Stand Ri…

CasaZenith Foot Rest, Six Heights Adjustable Foot Rest for Under Desk at…
Step 10: Educate Yourself on Ergonomics

Finally, learn about ergonomics to optimize your workspace further.
1. Research best practices for desk setups and posture.
2. Explore ergonomic accessories that can enhance your workspace.
3. Stay informed about new ergonomic products and trends.
Pro Tip: Attend workshops or online courses on workplace ergonomics.
Why this matters: Understanding ergonomics can lead to a healthier and more productive work environment.
Time estimate: 5 minutes.
Step 10: Educate Yourself on Ergonomics
Editor’s Choice

WALI Computer Monitor Stand for Desk, Adjustable Laptop Riser, Desk Moni…
Gimars Upgrade Enlarge Silky and Superfine Fabric Gel Memory Foam Keyboa…
Pro Tips
- Footwear Matters: Wear supportive shoes to enhance comfort while standing.
- Adjust Frequently: Change desk height regularly throughout the day to prevent fatigue.
- Limit Screen Glare: Position your monitor to minimize glare from windows or overhead lights.
- Stay Hydrated: Keep water at your desk to encourage regular breaks.
- Use Visual Reminders: Place notes to remind you to check your posture and make adjustments.
Pro Tips
Editor’s Choice

Dr. Scholl’s Work All-Day Superior Comfort Insoles (with) Massaging Gel,…

FITUEYES Height Adjustable Standing Desk 36” Wide Sit to Stand Convert…
Common Mistakes to Avoid
Warning: Avoid setting your desk too high or too low. This can lead to discomfort and strain. To fix it, adjust the height immediately.
Warning: Don’t forget to adjust your monitor height. A low monitor can cause neck strain. Ensure it’s eye level.
Warning: Be cautious of standing for too long without breaks. To avoid fatigue, incorporate movement into your routine.
Warning: Don’t overlook your keyboard placement. If it’s too far away, it can lead to shoulder strain. Keep it close to your body.
Warning: Avoid using a hard surface without an anti-fatigue mat. This can lead to discomfort in your legs and feet.
Common Mistakes to Avoid
Editor’s Choice
VIVO 32 inch Desk Converter, K Series, Height Adjustable Sit to Stand Ri…
FEATOL Anti Fatigue Mat for Standing, 9/10 Extra Thick Ergonomic Standin…

WALI Computer Monitor Stand for Desk, Adjustable Laptop Riser, Desk Moni…
Troubleshooting Section
Problem: Desk won’t adjust.
Solution: Check the power source or mechanism for any obstructions.
Problem: Monitor is too low.
Solution: Use a monitor stand to elevate it to eye level.
Problem: Keyboard feels too high.
Solution: Lower the desk to align it with your elbows.
Problem: Feet are tired after standing.
Solution: Use an anti-fatigue mat for comfort.
Problem: Back pain persists.
Solution: Re-evaluate the desk height and monitor placement for proper posture.
Troubleshooting Section
Editor’s Choice

KitchenClouds Kitchen Mat Cushioned Anti Fatigue Rug 17.3″x28″ Water Res…

VERSADESK PowerPro 40 Inch Electric Standing Desk Converter – Push-But…
WALI Computer Monitor Stand for Desk, Adjustable Laptop Riser, Desk Moni…
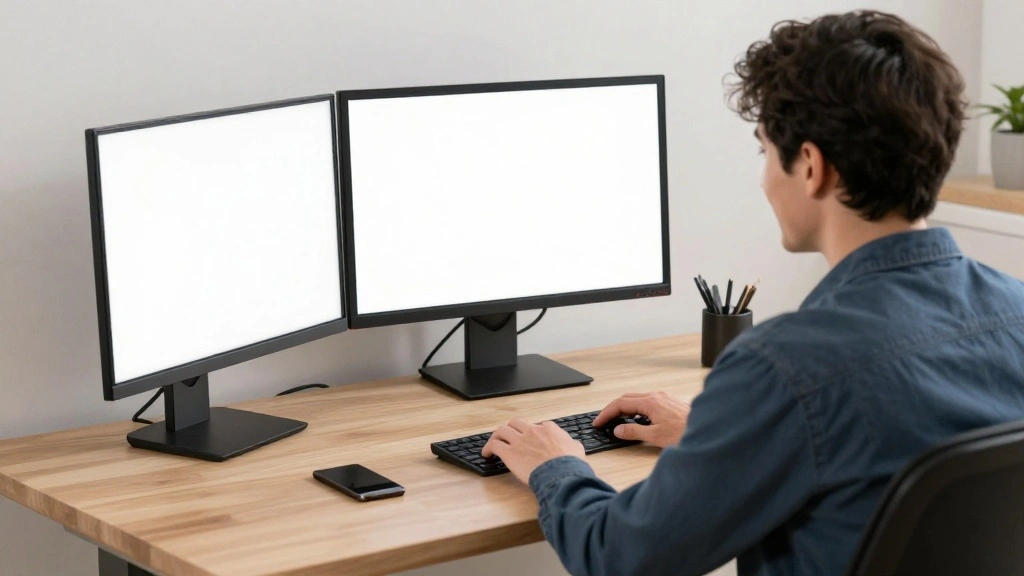
Variations/Alternative Methods
Consider these alternatives:
Convert a Standard Desk: If you don’t have a standing desk, you can use desk risers to elevate your workspace.
Use a Sitting-Standing Converter: This device allows you to switch between sitting and standing easily, maintaining flexibility.
Try a Walking Desk: If your office allows, consider using a treadmill desk for movement while you work.
Variations/Alternative Methods
Editor’s Choice

Amztabler Small Standing Desk Adjustable Height, Mobile Stand Up Desk wi…
VIVO 32 inch Desk Converter, K Series, Height Adjustable Sit to Stand Ri…
VIVO 32 inch Desk Converter, K Series, Height Adjustable Sit to Stand Ri…
FAQs
What if I don’t have a standing desk? You can use desk risers or converters to achieve a standing position.
How long should I stand at my desk? Start with 15-30 minutes and gradually increase as you get used to it.
Is it safe to use a standing desk all day? It’s best to alternate between sitting and standing to avoid fatigue.
Do I need special equipment for a standing desk? Ergonomic accessories like a footrest and anti-fatigue mat can enhance comfort.
FAQs
Editor’s Choice

HUANUO Adjustable Desk Footrest, Foot Rest for Under Desk at Work with M…
FEATOL Anti Fatigue Mat for Standing, 9/10 Extra Thick Ergonomic Standin…
VIVO 32 inch Desk Converter, K Series, Height Adjustable Sit to Stand Ri…
Conclusion
Congratulations! You’ve successfully adjusted your standing desk to the right height. You should now feel more comfortable and productive at work. Remember to regularly assess your setup and make adjustments as needed.
As you continue to use your standing desk, consider exploring additional ergonomic tools, such as chair cushions and monitor stands, to further enhance your workspace. Stay proactive about your comfort and health, and don’t hesitate to reach out for more resources on ergonomics.
Keep up the great work, and enjoy the benefits of your newly optimized workspace!