Are you tired of working from a cluttered table or an uncomfortable space? Creating a dedicated workspace can greatly improve your productivity and comfort. By transforming a solid wood door into a stylish desk, you can achieve a functional and aesthetically pleasing workspace without breaking the bank.
In this guide, you will learn to construct a sturdy desk using a wooden door, providing you with a unique piece of furniture tailored to your needs. From selecting the right door to assembling the legs and finishing touches, we will cover all the steps you need. By the end of this project, you’ll have a beautiful desk that enhances your workspace.
This project is rated as intermediate in difficulty and should take approximately 2-3 hours to complete. Grab your tools and let’s get started!
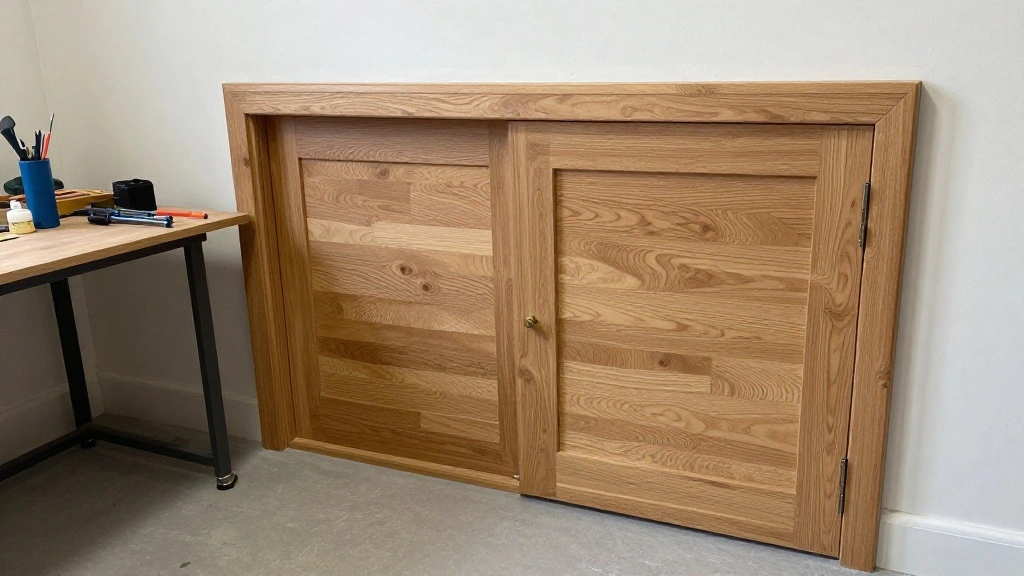
[Screenshot: A workspace with tools and a solid wood door ready for transformation]
TL;DR Summary
- Transform a solid wood door into a functional desk.
- Follow 10 detailed steps for a smooth build process.
- Estimated completion time: 2-3 hours.
- Skill level: intermediate.
TL;DR Summary
Editor’s Choice

SMARTSTANDARD 16″ Hairpin Furniture Legs, Metal Home DIY Projects for Ni…

Titebond Original Wood Glue 5063, Industry Standard for Woodworking, Fur…
Prerequisites/Materials Needed
- Materials:
- 1 solid wood door (36″ x 80″ recommended)
- 4 wooden legs (preferably 28″ long)
- Wood screws (2.5 inches)
- Wood glue
- Sandpaper (medium and fine grit)
- Varnish or paint (optional)
- Tools:
- Drill with bits
- Screwdriver
- Measuring tape
- Saw (circular or miter)
- Clamps
Prerequisites/Materials Needed
Editor’s Choice

SmartStandard 36in x 84in Sliding Barn Wood Door Pre-Drilled Ready to As…

Titebond III Ultimate Wood Glue, 16-Ounces #1414

LIONMAX Deck Screws 2-1/2 Inch, Wood Screws #10 x 2-1/2″, 300 PCS, Rust …
Skill Level & Time Estimate
Skill Level: Intermediate
Estimated Time: 2-3 hours
Breaking it down:
- Gathering materials: 30 minutes
- Cutting and preparing wood: 1 hour
- Assembling the desk: 1 hour
- Finishing touches: 30 minutes
Skill Level & Time Estimate
Editor’s Choice
Titebond Original Wood Glue 5063, Industry Standard for Woodworking, Fur…

VEVOR Bar Clamps for Woodworking, 4-Pack 36 inch Opening, Lockable F-Cla…

JET 16″ Ready-to-Wrap Sandpaper, 220 Grit (60-6220)
Step 1: Gather Your Tools and Materials
Before starting your project, make sure you have all the necessary tools and materials.
1. Check your list and gather the following:
- Solid wood door
- Wooden legs
- Wood screws
- Wood glue
- Sandpaper
- Varnish or paint
Pro Tip: Choose a solid wood door that matches your desired desk height and style.
Why this matters: Having everything ready ensures a smooth workflow without interruptions.
Estimated time: 30 minutes.
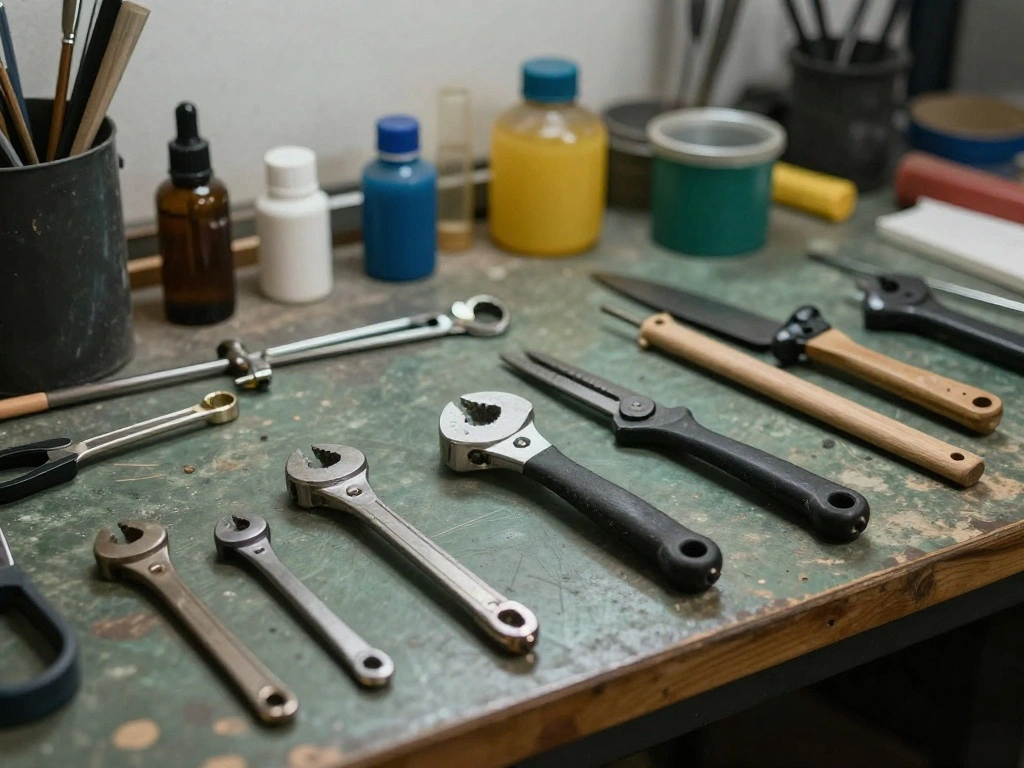
[Screenshot: Tools and materials laid out on a workbench]
Step 1: Gather Your Tools and Materials
Editor’s Choice

Gorilla Wood Glue, 8 oz., Water Resistant PVA Wood Glue for Indoor & Out…

Wood Screws Assortment Kit, FIXLINK 240 PCS High Hardness Flat Head Wood…
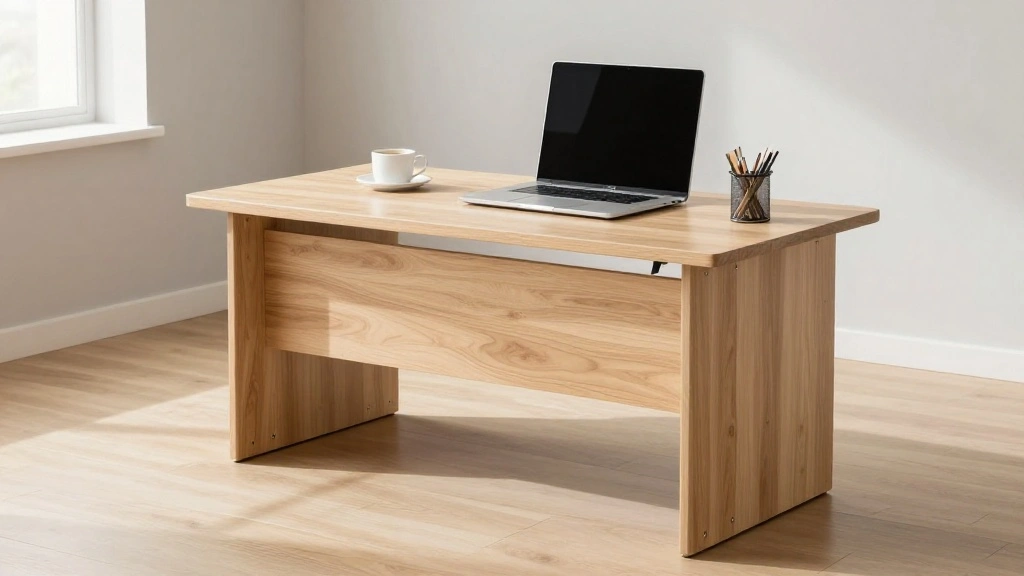
Step 2: Choose the Right Door

Select a solid wood door that fits your space and style.
1. Measure your desired desk height (usually 28-30 inches).
2. Look for a door that is at least 36 inches wide and 80 inches tall for a spacious surface.
3. Consider the wood type; oak or maple is durable and attractive.
Pro Tip: Check local hardware stores or salvage yards for affordable options.
Why this matters: The right door will influence not only the desk’s aesthetics but also its functionality.
Estimated time: 30 minutes.
[Screenshot: A selection of solid wood doors in a store]
Step 2: Choose the Right Door
Editor’s Choice
VEVOR 28 Inch Adjustable Furniture Legs, Square Reinforced Steel Office …

Varathane Water-Based Crystal-Clear Ultimate Polyurethane | Interior Woo…
Step 3: Cut the Door to Desired Size
Prepare your door for the build by cutting it to the desired dimensions.
1. Measure the length you want your desk to be. Mark it clearly.
2. Use a circular saw or miter saw to cut the door carefully.
3. Sand the edges to prevent splinters and ensure a smooth finish.
Warning: Always wear safety goggles when handling power tools.
Why this matters: Proper measurements and cuts ensure that your desk fits perfectly in your space and looks professional.
Estimated time: 30 minutes.
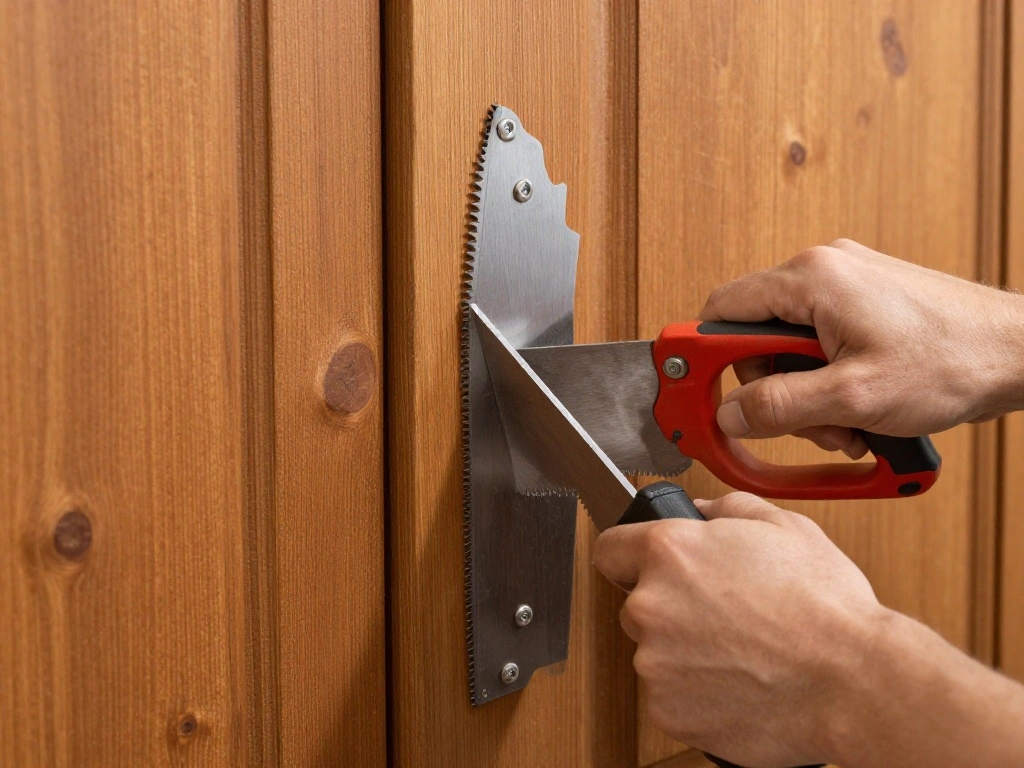
[Screenshot: Cutting a wooden door with a saw]
Step 3: Cut the Door to Desired Size
Editor’s Choice

NoCry Clear Safety Glasses for Men and Women with Anti-Fog and Scratch R…
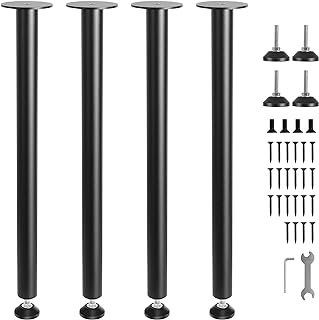
Step 4: Prepare the Legs
Select and prepare the legs that will support your desk.
1. Choose four wooden legs that are 28 inches long.
2. Sand the legs to smooth out any rough areas.
3. If you plan to paint or stain the legs, do this now and allow them to dry.
Pro Tip: Adjustable legs can be used for custom height adjustments.
Why this matters: Well-prepared legs will provide stability and enhance the overall look of your desk.
Estimated time: 30 minutes.
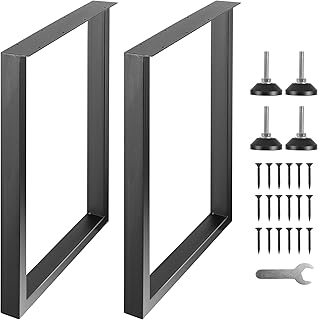
[Screenshot: Sanding the legs of the desk]
Step 4: Prepare the Legs
Editor’s Choice
VEVOR 28 Inch Adjustable Desk Legs, Reinforced Steel Office Table Furnit…

Romeda 8-Pack Sanding Sponge, Four Grits Per Pack 60/80/120/220, Washabl…
Step 5: Attach the Legs to the Door
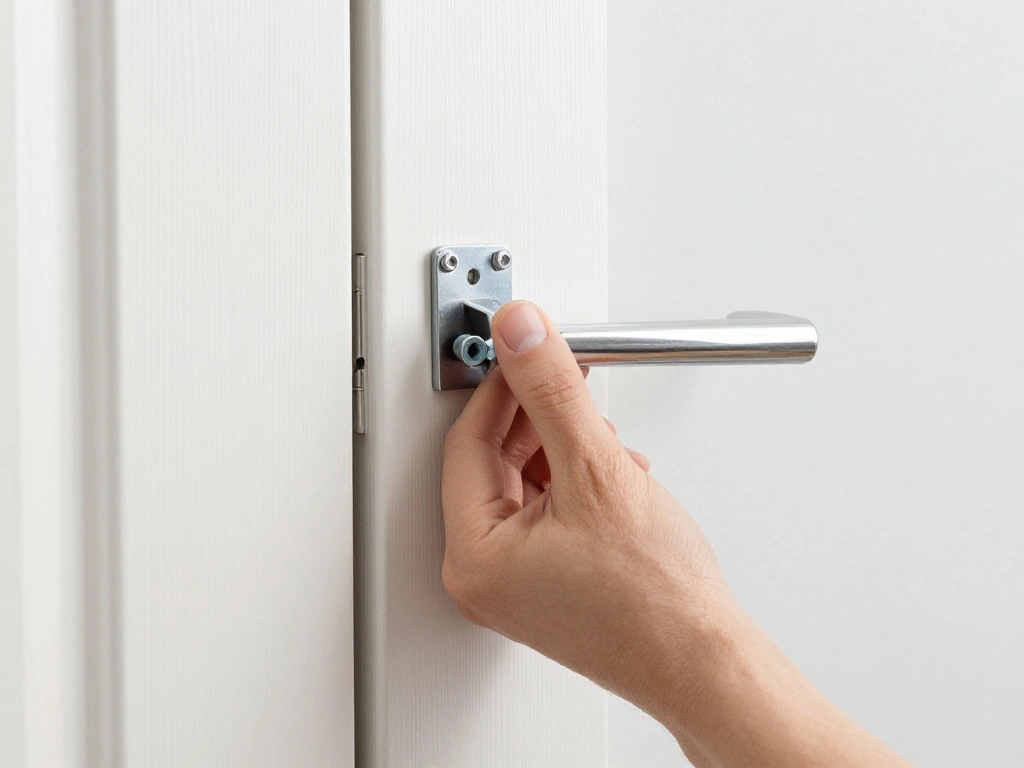
Securely attach your legs to the door.
1. Position each leg at the corners of the door.
2. Use clamps to hold the legs in place while you work.
3. Drill pilot holes through the legs into the door and secure them with wood screws.
Warning: Ensure the legs are level before tightening screws to avoid wobbling.
Why this matters: A sturdy attachment is key to the desk’s stability and longevity.
Estimated time: 30 minutes.
[Screenshot: Attaching legs to the door with screws]
Step 6: Apply Wood Glue for Extra Stability
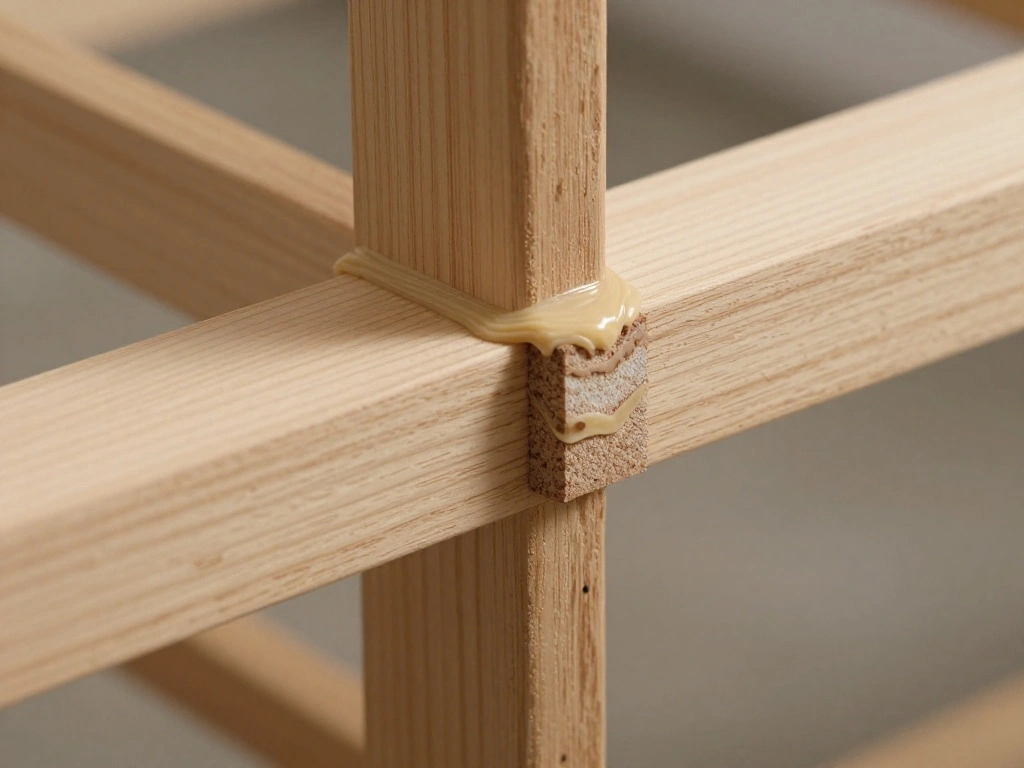
For added reinforcement, apply wood glue at the joints where the legs meet the door.
1. Apply a generous amount of wood glue to the connection points.
2. Press the legs firmly against the door.
3. Wipe away any excess glue with a damp cloth.
Pro Tip: Use clamps to hold the legs in place while the glue dries.
Why this matters: Wood glue strengthens the bond and helps prevent any future wobbling.
Estimated time: 15 minutes.
[Screenshot: Applying wood glue to the joints]
Step 6: Apply Wood Glue for Extra Stability
Editor’s Choice

HORUSDY 8-Pack Bar Clamps for Woodworking, 12″ and 6″ Bar Clamps, Wood W…

Gorilla Max Strength Construction Adhesive, 2.5 oz (Pack of 1), Clear, W…

Scrub Daddy Damp Duster Towel – Durable Sponge-Like Dust Cleaner for Mul…
Step 7: Sand and Finish the Surface
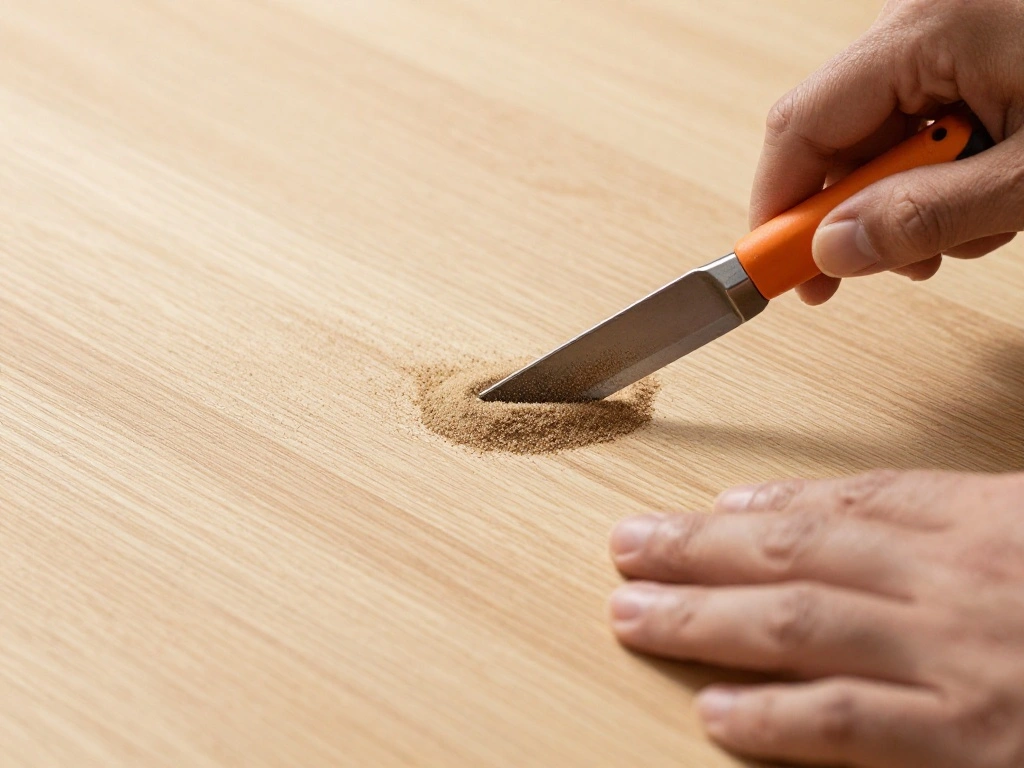
Smooth out the desk surface for a professional finish.
1. Use medium-grit sandpaper to sand the top and edges of the desk.
2. Follow up with fine-grit sandpaper for a smooth finish.
3. Wipe down the surface with a damp cloth to remove dust.
Pro Tip: If desired, apply a coat of varnish or paint for a polished look.
Why this matters: A well-finished surface not only looks great but also protects the wood.
Estimated time: 30 minutes.
[Screenshot: Sanding the desk surface]
Step 7: Sand and Finish the Surface
Editor’s Choice

Varathane Triple Thick Polyurethane Clear Wood Finish | Self-Leveling Fo…

24 Pcs Sanding Sponge 80-3000 Grit Sandpaper Assortment, Washable & Reus…

8 Pack Sanding Sponge, Sanding Blocks 60/80/120/220 Grit Assortment, San…
Step 8: Let the Finish Dry
Allow the finish to cure properly for the best results.
1. Place the desk in a well-ventilated area.
2. Follow the manufacturer’s instructions for drying time.
3. Avoid placing items on the desk until fully cured.
Warning: Rushing this step can lead to an uneven finish.
Why this matters: Giving the finish adequate time to dry ensures durability and a professional look.
Estimated time: 1-2 hours (drying time).
[Screenshot: A freshly finished desk drying in a well-ventilated area]
Step 8: Let the Finish Dry
Editor’s Choice

NiHome 5-Inch Wood Conditioner, Wax & Oil Applicator 4-Pack, Reusable Mi…

Honeywell TurboForce Air Circulator, Small Tabletop Fan, Quiet Personal …

Tried & True Original Wood Finish, 8 oz. – Linseed Oil & Beeswax Blend, …
Step 9: Add Final Touches

Customize your desk to suit your style.
1. Consider adding drawer pulls or knobs if you have storage.
2. Add desk organizers or decorative items to enhance aesthetics.
3. Ensure all screws and joints are tightened before use.
Pro Tip: Personalize your workspace with plants or artwork for inspiration.
Why this matters: Final touches give your desk character and make it uniquely yours.
Estimated time: 20 minutes.
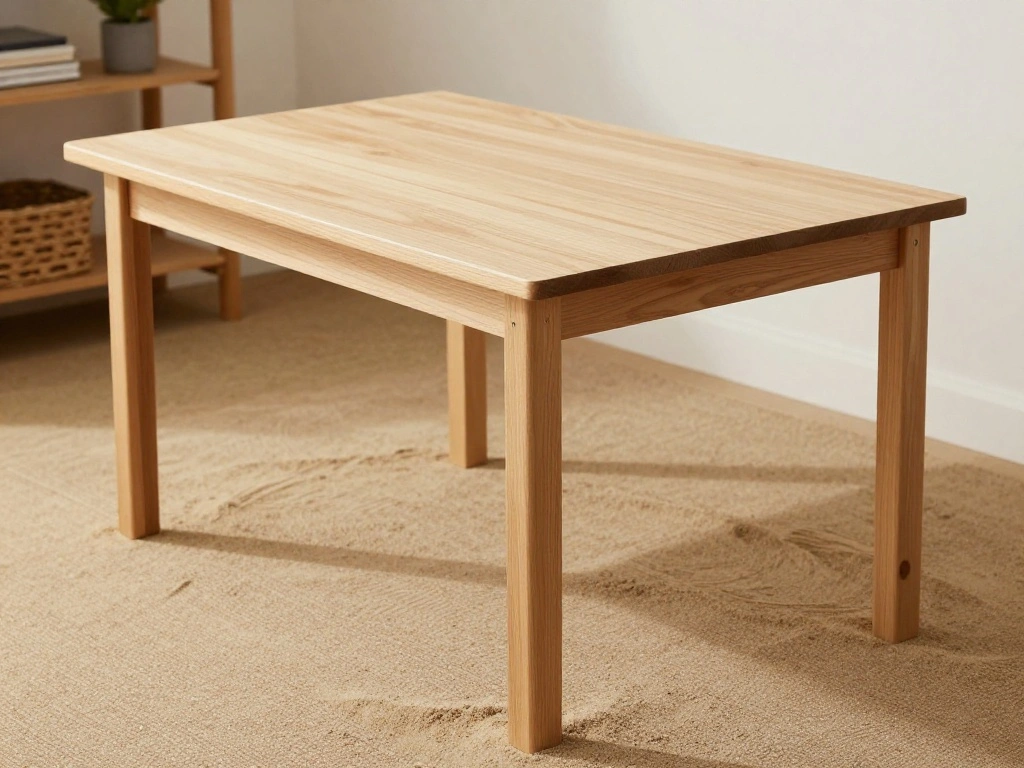
[Screenshot: A beautifully decorated desk with personal touches]
Step 9: Add Final Touches
Editor’s Choice

Aegero 10 Pack Cabinet Pulls Matte Black Stainless Cabinet Handles, for …

NUTIKAS Desk Shelves Desktop Organizer Shlef – White Office Organization…

Der Rose 4 Pack Fake Plants Mini Artificial Greenery Potted Plants for H…
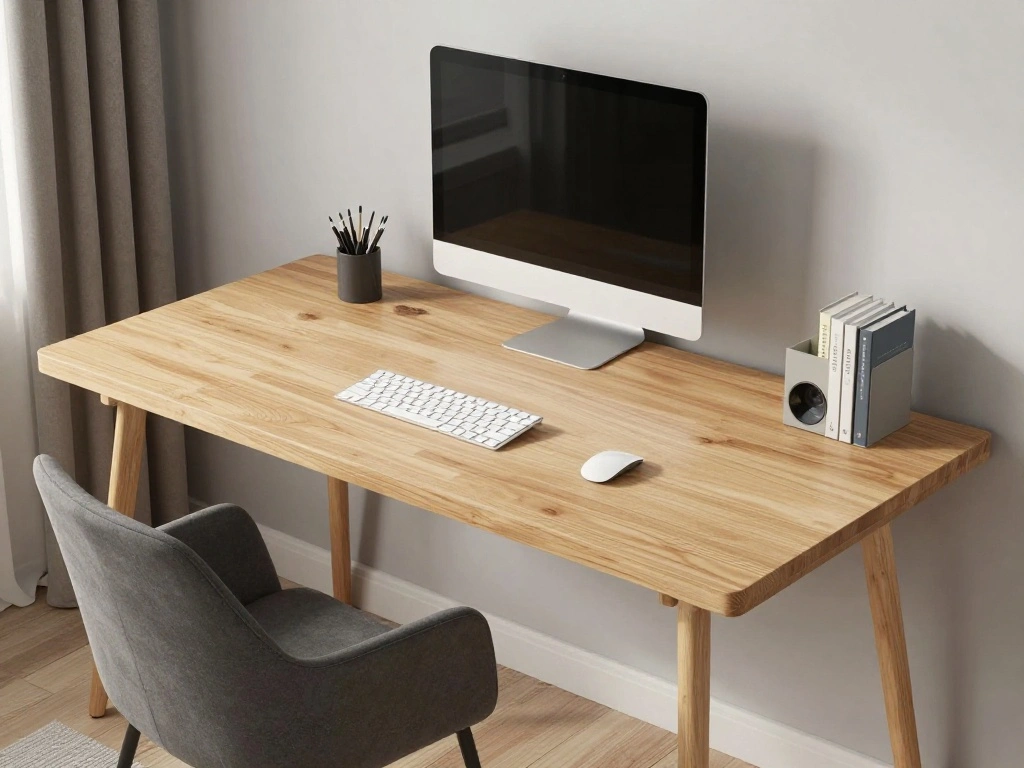
Step 10: Place Your Desk in Position
Position your newly built desk in your designated workspace.
1. Choose a location with good lighting and minimal distractions.
2. Adjust the height of the desk if using adjustable legs.
3. Arrange your work materials and equipment on the desk.
Pro Tip: Ensure there’s enough space for your chair and movement.
Why this matters: The right position maximizes comfort and productivity while working.
Estimated time: 15 minutes.
[Screenshot: The desk positioned in a well-lit workspace]
Step 10: Place Your Desk in Position
Editor’s Choice

WALI Desk File Organizer, 4 Tier Desktop Paper Letter Tray Organizer wit…

BestOffice | Ergonomic Office Chair | Mid-Back Swivel Desk Chair | Breat…

ErGear Electric Standing Desk Legs, 4 Memory Height Settings Height Adju…
Pro Tips
- Tip for Choosing Legs: Consider using hairpin legs for a modern look.
- Tip on Finishing: Test a small area before applying varnish to ensure color match.
- Tip for Sanding: Always sand in the direction of the wood grain to avoid scratches.
- Tip on Assembly: Use a level to check that the desk is even while attaching the legs.
- Tip for Maintenance: Regularly clean with a damp cloth to keep the surface looking new.
Pro Tips
Editor’s Choice

Varathane Water-Based Crystal-Clear Ultimate Polyurethane | Interior Woo…

SMARTSTANDARD 16 Inch Hairpin Table Legs, 3 Steel Rods 1/2 Inch Pipe Dia…

SKIL 5” Random Orbital Sander with Cyclonic Dust Box & 3pc Sanding She…
Common Mistakes to Avoid
Warning: Not measuring correctly can lead to a poorly sized desk.
Solution: Always double-check measurements before cutting.
Warning: Skipping the sanding process can result in a rough finish.
Solution: Always sand all surfaces thoroughly.
Warning: Using the wrong type of glue can weaken the structure.
Solution: Use wood glue specifically designed for furniture.
Warning: Rushing the drying time can ruin your finish.
Solution: Allow sufficient time for drying according to product instructions.
Common Mistakes to Avoid
Editor’s Choice

iBayam 2 Pack Tape Measure Measuring Tape for Body Fabric Sewing Tailor …
Gorilla Wood Glue, 8 oz., Water Resistant PVA Wood Glue for Indoor & Out…

Hand Sanding Block Set of 16,Interchangeable Assorted Contoured Profile …
Troubleshooting Section
Problem: Desk wobbles after assembly.
Solution: Check that all screws are tightened and that the legs are even. Adjust as necessary.
Problem: Finish is uneven.
Solution: If the finish is wet, allow it to dry completely, then sand lightly and reapply.
Problem: Glue does not hold.
Solution: Ensure you used the correct wood glue and allow it to cure fully.
Problem: Stains appear on the surface.
Solution: Clean spills immediately and consider adding a protective finish.
Problem: The desk is too high or too low.
Solution: If using adjustable legs, modify the height accordingly.
Variations/Alternative Methods
Alternative Legs: Instead of traditional legs, consider using a sturdy table base for a modern look.
Alternative Finish: Use chalk paint for a rustic finish instead of varnish.
Alternative Size: For smaller spaces, consider a half-door desk or a door cut down to size.
Variations/Alternative Methods
Editor’s Choice

Door Hinges Brushed Nickel – 3 Pack Satin Nickel 3.5 Inch Rounded Interi…

Rust-Oleum Linen White Chalked All-in-One Ultra Matte Paint | One Coat C…
FAQs
What if I don’t have a solid wood door? You can use a hollow core door, but ensure it is reinforced for stability.
How long should I let the finish dry? Follow the manufacturer’s instructions; typically, 4-6 hours for a coat.
Is it safe to use power tools? Yes, as long as you follow safety precautions, including wearing goggles and ear protection.
What if I make a mistake while cutting? Measure twice and cut once; if you make a mistake, wood filler can help fix small gaps.
Can I customize the size of the desk? Absolutely! Just adjust the dimensions of the door and legs to fit your space.
FAQs
Editor’s Choice

Safety GlassesClear Anti-Fog Goggles Over-Spec Glasses Protective Eye We…

Minwax 233334444 Polycrylic Protective Wood Finish, Clear Satin, ½ Pint

BLACK+DECKER 20V MAX POWERCONNECT Power Drill Cordless Drill Driver Elec…
Conclusion
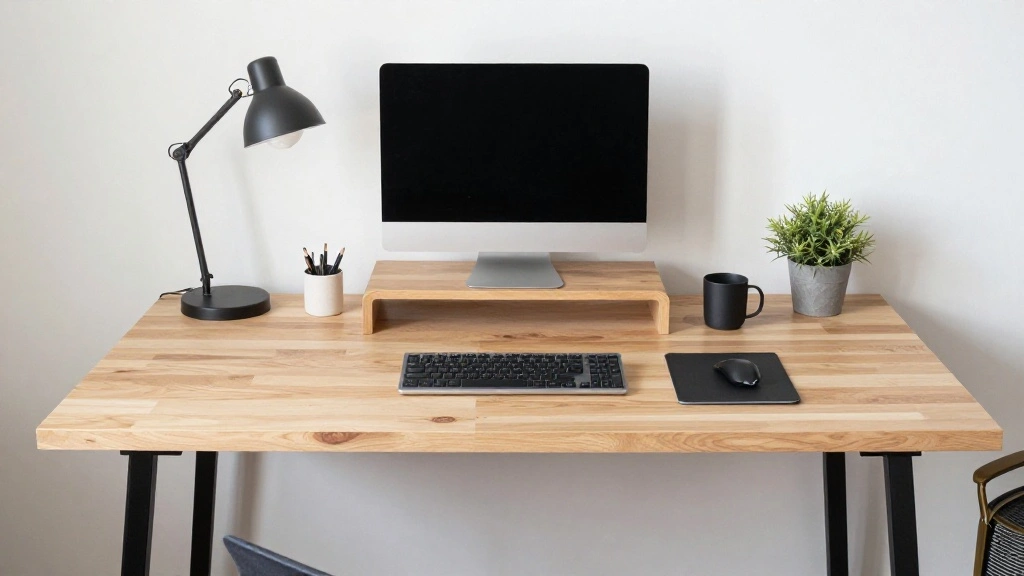
Congratulations on building your very own desk from a solid wood door! You’ve not only created a functional workspace but also a unique piece of furniture that reflects your style.
Now that you have your desk, consider adding personal touches like artwork or desk organizers to enhance your work environment. Explore other DIY projects to further personalize your space or improve your home. Enjoy your beautiful new workspace and the productivity it brings!
[Screenshot: A beautifully completed desk setup with personal touches]