

Are you struggling with a cluttered workspace that lacks functionality? A corner desk can be the perfect solution to maximize your available space while providing a dedicated area for productivity. In this guide, you will learn how to build a custom corner desk that fits snugly into your room and meets your specific needs.
By following this step-by-step process, you will end up with a stylish and practical desk that enhances your workspace. From choosing the right materials to assembling the desk, you will gain essential skills in woodworking and design.
Difficulty Level: Beginner
Estimated Time: 2-3 hours
Get ready to transform your working environment and boost your productivity with a personalized corner desk!
TL;DR Summary
- Learn to build a corner desk tailored to your space.
- Gather necessary materials and tools before starting.
- Follow eight simple steps to complete the project.
- Enhance your productivity with a functional workspace.
Recommended Products

Self-adhesive Edge Banding- No glue or soldering iron required, can be installed directly by hands.
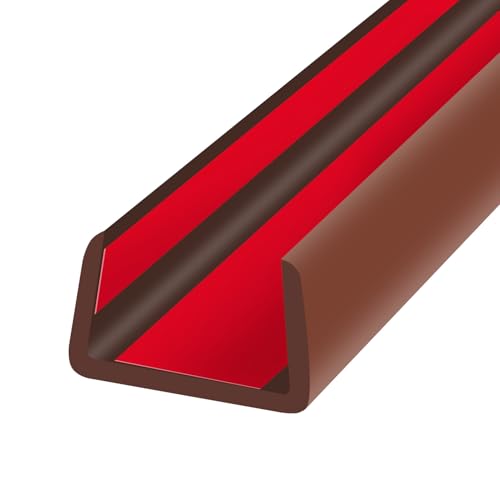
Self-adhesive Edge Banding- No glue or soldering iron required, can be installed directly by hands.
TL;DR Summary
Editor’s Choice

QLLY 28 inch Adjustable Metal Desk Legs, Heavy Duty Furniture Table Legs…


Wood Carving Kit, 33Pcs Wood Carving Tools Set with Thick Leather Storag…

Desks: With Plans and Complete Instructions for Building Seven Classic D…
Prerequisites/Materials Needed
- Wood: 1 sheet of plywood (48″ x 48″ x ¾”)
- Legs: 4 wooden table legs (29″ height)
- Wood screws: 1 ½” screws (box of 50)
- Wood glue: 1 bottle
- Sandpaper: 120 and 220 grit
- Stain or paint: Your choice
- Tools: Drill, saw, screwdriver, measuring tape, level
Recommended Products

Recommended Table Top Sizes: Table Length for Main Desk at 24″ Width: 43″, Table Length for Return Desk at 24″ Width: 43"

Compatible Tabletop Sizes: Flexible L-shaped frame fits custom desktops: Main Desk Length 47.2” to 70.9” (Option A) / 55.1” to 70.9” (Option B), Return Desk Length 43.3” to 63.0”, with a recommended tabletop depth of 23.6” to 31.5”. Supports reversible left or right corner setups to maximize your office layout.

Recommended Table Top Sizes: Table Length for Main Desk at 24" and 30" Width: 43.5" to 94", Table Length for Return Desk at 24" Width: 32.8" to 75.3", Table Length for Return Desk at 30" Width: 29.8" to 72.3"
Prerequisites/Materials Needed
Editor’s Choice

48 Pack Basswood Sheets 1/8x12x12 Inch, Unfinished Wood for Crafts, 3mm …

Wood Screws Assortment Kit, FIXLINK 240 PCS High Hardness Flat Head Wood…

29×3.5×3.5 inch Wooden Chunky Farmhouse Table Legs, Set of 4 Solid Wood …
Skill Level & Time Estimate
Skill Level: Beginner
Total Time Estimate: 2-3 hours
Breakdown of time by major steps:
1. Planning and measurement: 30 minutes
2. Cutting wood: 1 hour
3. Assembly: 1 hour
4. Finishing touches: 30 minutes
Recommended Products

【VARIOUS SIZES】FIXLINK wood screws assortment kit provides you with 8 common sizes from short to long. Contains #6 X 1/2", 5/8" and #8 x 3/4", 1", 1-1/4", 1-1/2", 2", 2-1/2". The wood screws set and M7 screw anchors meet your daily needs

Anti-corrosion coating: four layers of high-performance coating makes the screws less prone to rust in outdoor construction, and the flat head wood screws are made of high-quality heat-treated steel.

Sturdy Construction: Made from zinc-plated carbon steel, these threaded insert nuts offer exceptional strength and corrosion resistance for lasting performance.
Skill Level & Time Estimate
Editor’s Choice

The Complete Book of Woodworking: Step-by-Step Guide to Essential Woodwo…

Bookcases, Cabinets & Built-Ins: The Maker’s Guide to Custom Storage

Howard Products RF4016 RF3016 Restor-A-Finish, 16 oz, Walnut, 16 Fl Oz
Step 1: Measure Your Space
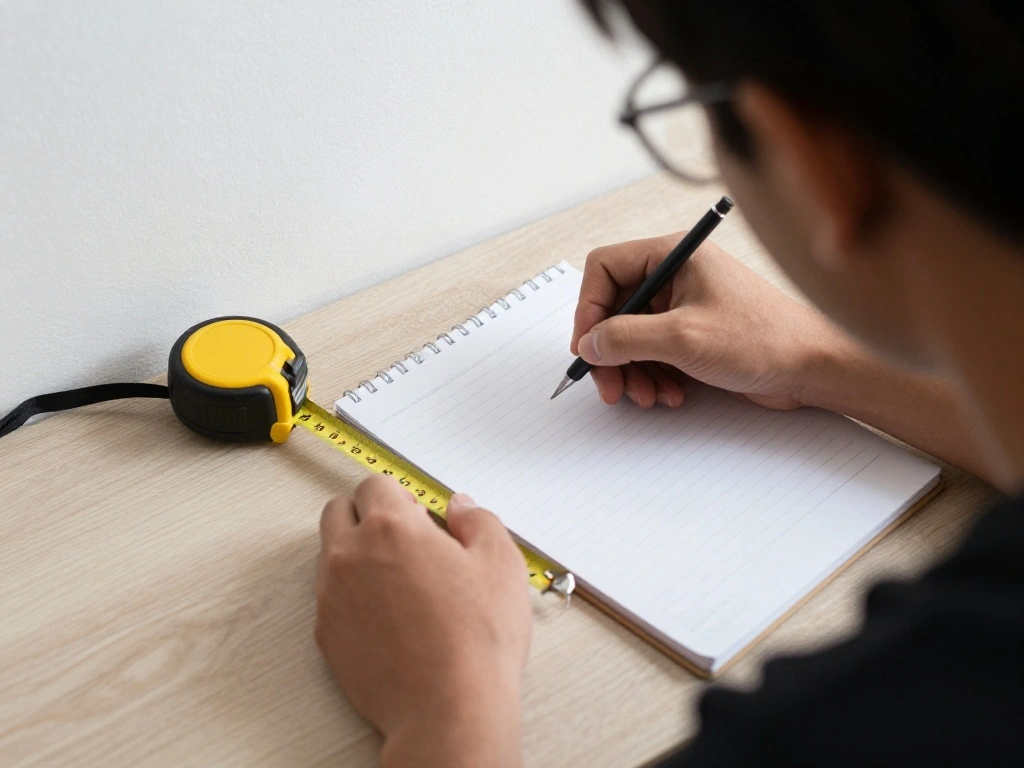
Start by measuring the corner space where you plan to place your desk. Follow these sub-steps:
- Use a measuring tape to find the width and depth of the corner.
- Consider the height of the desk in relation to your chair.
- Make note of any obstructions like outlets, windows, or shelves.
Why this matters: Accurate measurements ensure that your desk will fit seamlessly into the space without hindrances.
Warning: Double-check all measurements to avoid mistakes when cutting the wood.
Estimated time: 30 minutes.
Recommended Products

8 Common Hole Saw Sizes: This 12-piece hole saw kit includes 8 hole saw sizes: 3/4" (19mm), 7/8" (22mm), 1-1/8" (28mm), 1-1/4" (32mm), 1-1/2" (38mm), 1-3/4" (44mm), 2-1/8" (54mm), and 2-1/2" (64mm), covering common cutting needs for home DIY and woodworking projects.

Durable Carbon Steel Construction:Made of heat-treated carbon steel with a black coated surface to help resist rust and wear. Provides steady cutting performance for common home materials and general DIY tasks

Complete Wood Drilling Set: 21-piece set includes brad point, spade bits, and hole saws; tackle various drilling tasks in wood, plastic, PVC, and drywall with ease
Step 1: Measure Your Space
Editor’s Choice

Digital Caliper, Rechargeable Digital Calipers with Backlight LCD & Auto…

Desks: With Plans and Complete Instructions for Building Seven Classic D…
Step 2: Choose Your Design
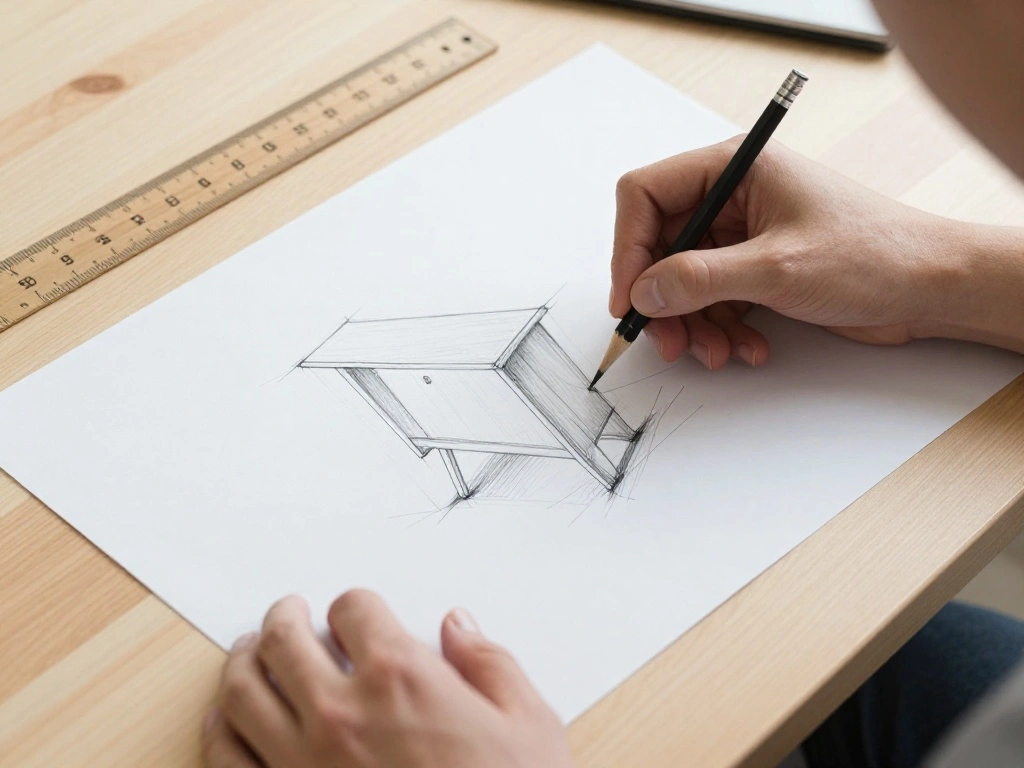
Decide on the design of your corner desk based on the space and your needs. Consider these options:
- Flat surface vs. L-shaped design.
- Incorporate shelves or storage options.
- Choose an ergonomic height for comfort.
Why this matters: The design of your desk influences its functionality and aesthetics, making it integral to your overall workspace.
Pro Tip: Sketch your design on paper to visualize the final product.
Estimated time: 30 minutes.
Recommended Products

PRODUCT DETAILS - This 13 piece kit includes 6 Repair Markers, 6 paper wrapped wax sticks and 1 wax stick sharpener packaged in a blister card.

Product Details: 13 pieces furniture repair kit, 6 touch up markers and 6 wax sticks with 1 sharpener.It has both markers and crayon type filler, very easy to fill the scratch, discoloration, hole or separation gaps, Ideal for any kind of wooden furniture.

Premium spray wood stain provides quick, even coverage on interior furniture, cabinets, doors and more
Step 2: Choose Your Design
Editor’s Choice

Guasslee Desk Calendar 2026-2027, 19-Month School Year Calendar, 2026 Ju…

BAYKA Floating Shelves for Wall, Wall Mounted Rustic Wood Shelves for Ba…
Step 3: Cut the Wood

Once you have your design, it’s time to cut the plywood to size. Follow these steps:
- Mark the dimensions on the plywood with a pencil.
- Use a circular saw or jigsaw to cut along the marked lines carefully.
- Sand down the edges with 120-grit sandpaper for a smooth finish.
Why this matters: Proper cutting ensures that all pieces fit together correctly when assembling the desk.
Warning: Always wear safety goggles and follow safety precautions when using power tools.
Estimated time: 1 hour.
Recommended Products

Self-adhesive Edge Banding- No glue or soldering iron required, can be installed directly by hands.
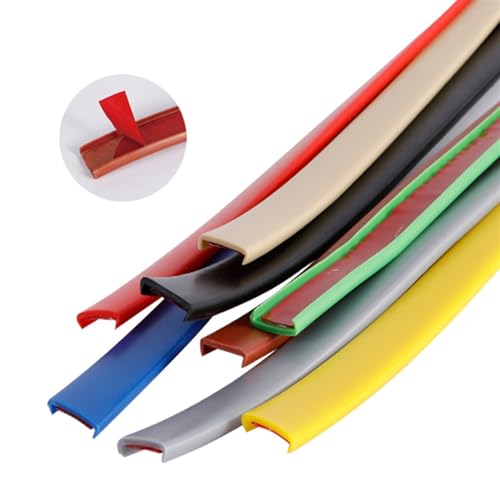
【Furniture Edge Protection】Our edge banding can cover the blemishes or burrs on the edge of the furniture, presenting a beautiful appearance, protecting your family and pets from rough burr edges of wood boards.
【Furniture Edge Protection】Our edge banding can cover the blemishes or burrs on the edge of the furniture, presenting a beautiful appearance, protecting your family and pets from rough burr edges of wood boards.
Step 3: Cut the Wood
Editor’s Choice

DEWALT 20V MAX XR Jig Saw, 3,200 Blade Speed, Cordless, Brushless Motor,…

Sandpaper 120 Grit 20 PCS, Wet Dry Sanding Sheets 9 x 11 Inch, Purple Al…

SKIL 15 Amp 7-1/4 Inch Circular Saw with Single Beam Laser Guide – 5280-01
Step 4: Assemble the Desk Frame
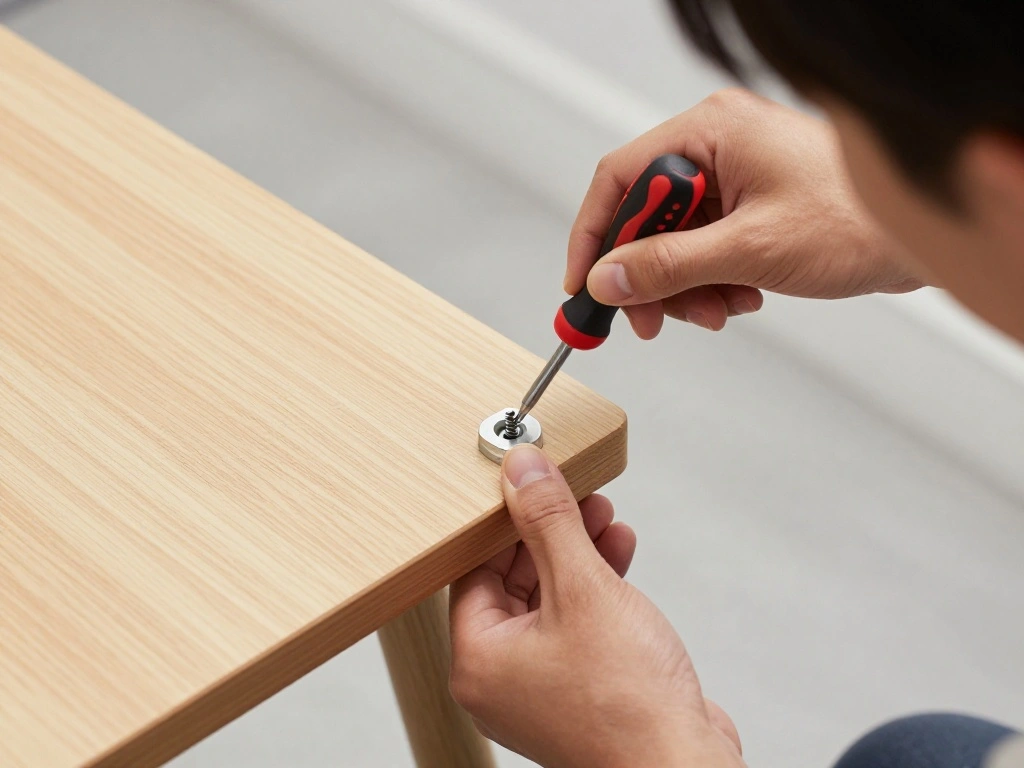
Begin assembling the desk frame. Follow these steps:
- Attach the four legs to the underside of the desk surface using wood screws.
- Ensure the legs are positioned at the corners for stability.
- Use a level to ensure the desk is even.
Why this matters: A sturdy frame provides the necessary support for your desk, ensuring it can hold weight without wobbling.
Pro Tip: Pre-drill holes to prevent the wood from splitting.
Estimated time: 30 minutes.
Recommended Products

Size: QLLY Adjustable Table Leg has a adjustable length of 60, 65, 70, 75, 80, 85, 90, 95, 100 cm. You can adjust the length to 24, 26, 28, 30, 32, 34, 36, 38, 40 Inch. Screw mechanism on the bottom can adjust about 0.6 inch/1.5cm, mounting plate is about 0.4 inch/1cm height.

Ergonomic Comfort & Height Flexibility: This ErGear electric standing desk frame can enhance your workspace with adjustable desk height from 28.3″ to 46.5″ tall. Enjoy seamless transition between sitting and standing work positions for more comfort and task productivity.

Create Instant Active Standing: Go from sitting to standing in one smooth motion with this complete corner workstation providing comfortable viewing angles and customized user heights. Perfect for a corner desk or office space divider. --Patent Pending--
Step 4: Assemble the Desk Frame
Editor’s Choice
Wood Screws Assortment Kit, FIXLINK 240 PCS High Hardness Flat Head Wood…

Torpedo Level Magnetic, Firecore 9 Inch Shockproof Small Leveler Tool wi…

12Pcs HSS Adjustable Countersunk Drill Bits for Woodworking, Sizes #4, #…
Step 5: Attach the Desk Surface
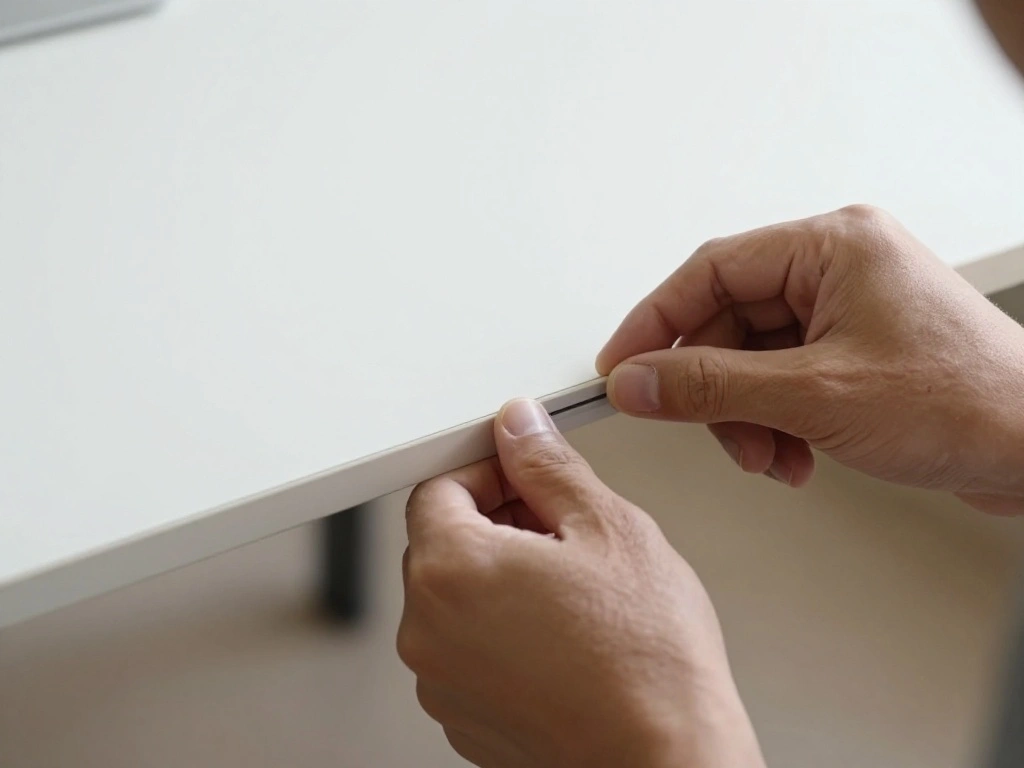
With the frame assembled, it’s time to attach the desk surface. Here’s how:
- Position the cut plywood on top of the frame.
- Use wood screws to secure the surface to the frame.
- Make sure the surface is aligned properly with the edges of the legs.
Why this matters: A well-secured surface ensures the desk is functional and can withstand daily use.
Warning: Ensure the screws are not too long to avoid damaging the surface.
Estimated time: 20 minutes.
Recommended Products

【Durable & Corrosion-Resistant Carbon Steel Construction】 – Made from high-quality carbon steel with a black phosphate finish, these #6 wood screws offer excellent rust and corrosion resistance. Engineered for strength, they resist bending and breaking during normal use, ensuring reliable performance for woodworking, drywall installation, and cabinet hardware projects.

Durable Material: These insert nuts are crafted from high-quality zinc-plated carbon steel, offering strength, hardness, and toughness. The zinc plating provides excellent corrosion resistance, enhancing their durability, aesthetic appeal, and lifespan.

SUPERIOR ANTI-RUST COATING: Tan coated exterior wood screws 2 inch through 1500 hours salt spray test against erosion and rust. These deck screws for exterior can be exposed to the sun, humidity, rain and snow condition for a long time
Step 5: Attach the Desk Surface
Editor’s Choice

Mr. Pen- Wood Screws Assortment Kit, 152 pcs, Silver, Phillips Flat Head…

QSJ 8 Pack Black Flat Mending Plate 3.15×1.57‘’ & 2.36×1.49”, Stain…

36 Pack Basswood Sheets,12″x12″x1/8″ 3mm Basswood Plywood,Craft Wood,Unf…
Step 6: Sand and Finish the Desk
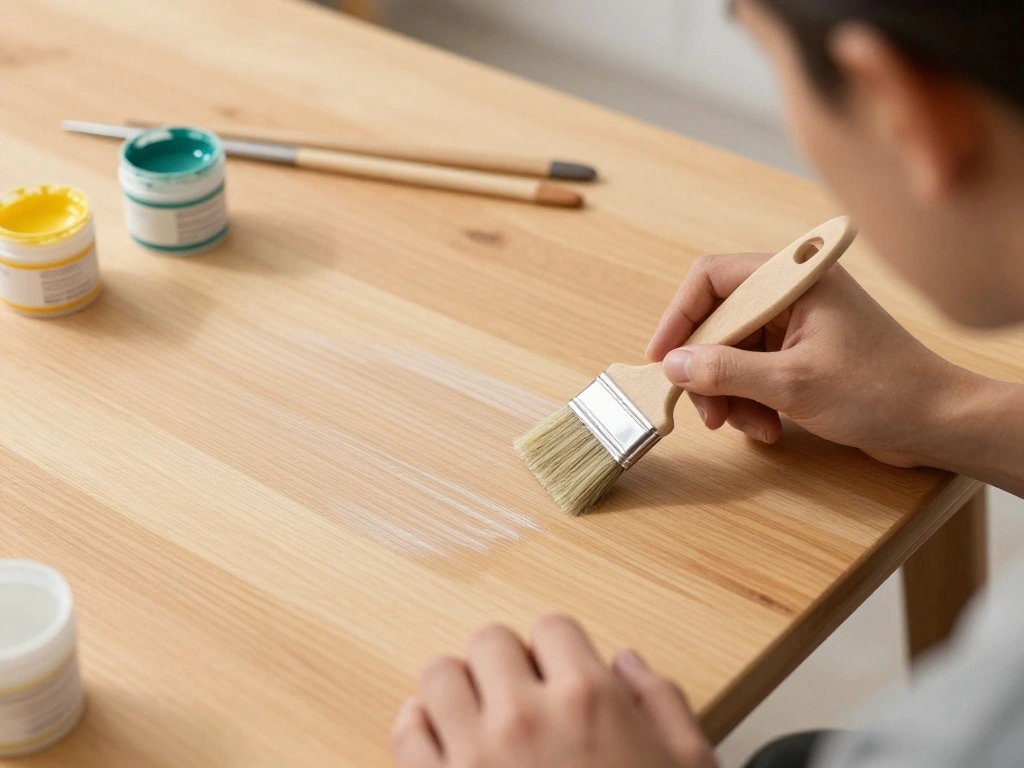
Now it’s time to sand and finish your desk. Follow these steps:
- Use 220-grit sandpaper to sand the entire surface smoothly.
- Clean off any dust with a damp cloth.
- Apply your choice of stain or paint evenly across the surface.
Why this matters: Sanding prepares the surface for finishing, ensuring a professional look and feel.
Pro Tip: Apply multiple coats of stain or paint for a richer color and better durability.
Estimated time: 30 minutes.
Recommended Products

6-Pieces Saw Drill Bit Set - 3.0mm, 4.0mm, 5.0mm, 6.0mm, 6.5mm, 8.0mm in cutting diameter

Manual for woodworkers.

Common Size: Included most common sizes for Homeowners/Crafts, 5 PCS hole saws 1" (25 mm), 1-1/4" (32 mm), 1-1/2" (38 mm), 2" (51 mm), 2-1/8" (54 mm), 1 pc mandrels, 2 pc drill bits, 1 pc hex key in storage case for everyday home drilling hole projects
Step 6: Sand and Finish the Desk
Editor’s Choice

Varathane Premium Fast Dry Wood Stain | 1 Hour Dry Time | 1 Coat Color |…

3M Sandpaper, 220 Grit, 5 Sheets, 9 in x 11 in, Sands Paint, Wood & Meta…
Step 7: Allow to Dry
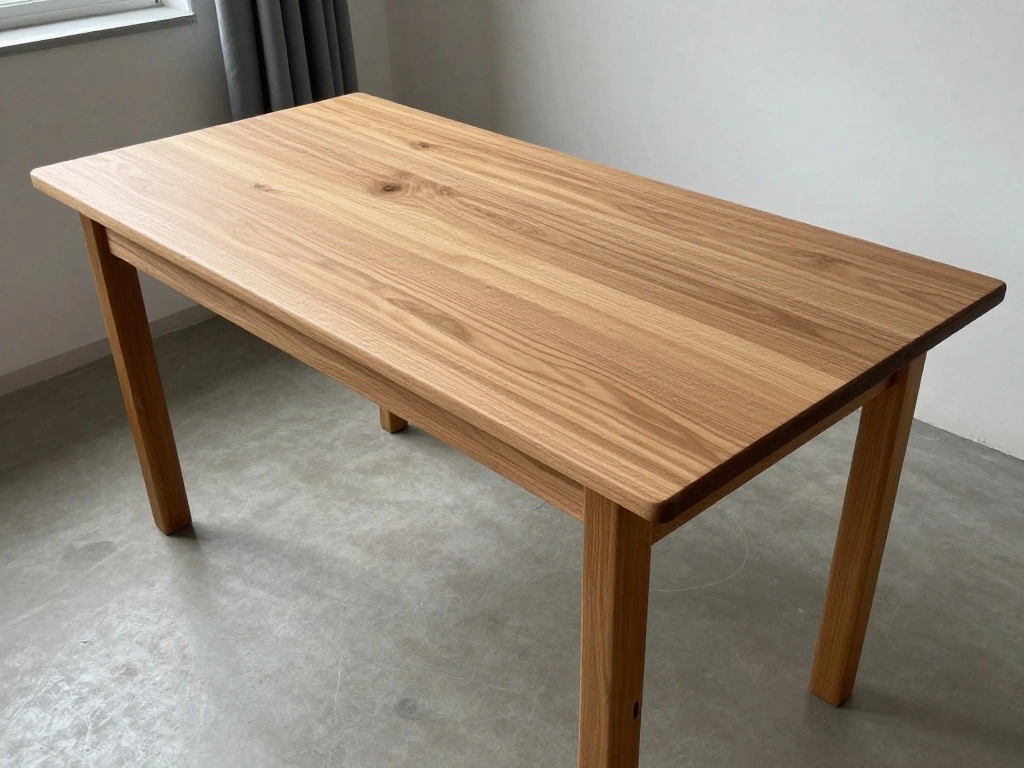
After finishing your desk, it’s crucial to allow it to dry properly. Follow these steps:
- Set the desk in a well-ventilated area.
- Allow the finish to dry according to the manufacturer’s instructions.
- Once dry, inspect for any imperfections and sand lightly if necessary.
Why this matters: Proper drying ensures the longevity of your finish, protecting the wood from wear.
Warning: Avoid using the desk until the finish is completely dry to prevent damage.
Estimated time: 1-2 hours (drying time varies).
Recommended Products

WIDE RANGE OF USE - It has both markers and crayon type filler, very easy to fill the scratch, discoloration, hole or separation gaps, Ideal for any kind of wooden furniture.

Ideal for use on all interior wood projects: furniture, cabinets, doors, trim and paneling

This product is Non-toxic
Step 7: Allow to Dry
Editor’s Choice

BOSHCRAFT 50 Pcs 1/4 Sheet Sand Paper 5.5″ x 4.5″ – 80/150/320/400 Gri…

Minwax 233334444 Polycrylic Protective Wood Finish, Clear Satin, ½ Pint

Honeywell TurboForce Air Circulator, Small Tabletop Fan, Quiet Personal …
Step 8: Place and Organize Your Desk
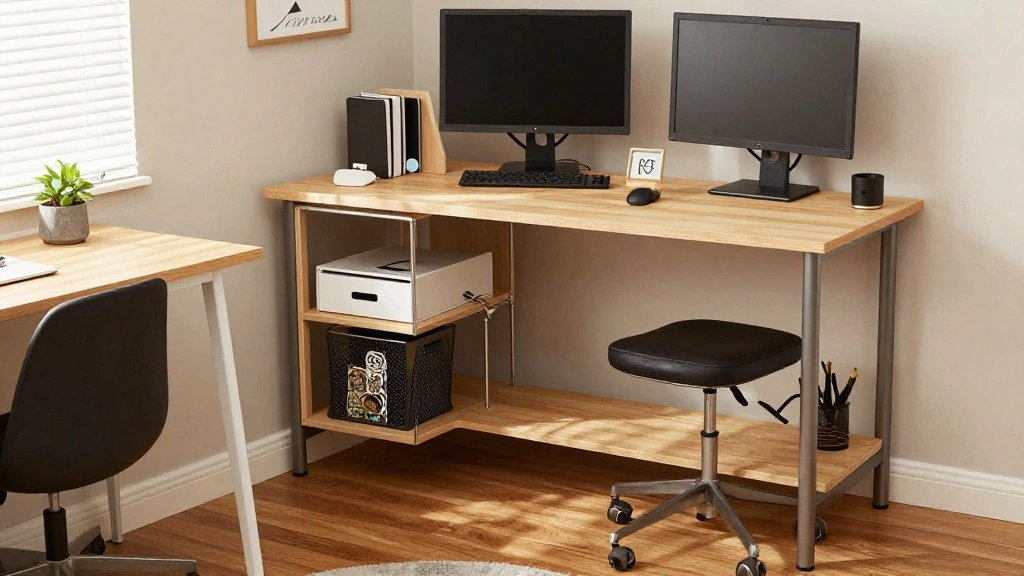
Finally, place your new corner desk in its designated spot and organize your workspace. Follow these steps:
- Carefully move the desk into the corner space.
- Use a level to ensure it’s straight and stable.
- Arrange your computer, supplies, and other items for an efficient workflow.
Why this matters: A well-organized desk optimizes your working environment, promoting productivity.
Pro Tip: Use desk organizers to keep your space tidy and functional.
Estimated time: 30 minutes.
Step 8: Place and Organize Your Desk
Editor’s Choice
![Lamicall 8 Pack Cord Organizer, [1s Lock] Spring Cable Management Clips ...](https://m.media-amazon.com/images/I/71uQ8L3QzHL._AC_UY218_.jpg)
Lamicall 8 Pack Cord Organizer, [1s Lock] Spring Cable Management Clips …

Torpedo Level Magnetic, Firecore 9 Inch Shockproof Small Leveler Tool wi…

WALI Desk File Organizer, 4 Tier Desktop Paper Letter Tray Organizer wit…
Pro Tips
- Tip for Ergonomics: Adjust the height of your chair to ensure your elbows are at a 90-degree angle while typing.
- Tip for Space Efficiency: Consider adding floating shelves above the desk for additional storage.
- Tip for Personalization: Use decorative elements like plants or art to make the space feel inviting.
- Tip for Maintenance: Clean your desk regularly to maintain its appearance and functionality.
- Tip for Cable Management: Use cable clips or ties to keep cords organized and out of sight.
Common Mistakes to Avoid
Warning: Avoid these mistakes to ensure a successful project:
- Skipping measurements: This can lead to a desk that doesn’t fit your space. Always measure twice!
- Using low-quality materials: Cheap materials may not hold up over time. Invest in good wood for durability.
- Ignoring safety: Failing to wear goggles or follow tool safety can lead to injuries. Always prioritize safety.
Common Mistakes to Avoid
Editor’s Choice
Wood Strips Slats Wooden Dowels for Crafts 1/2″x 1″ x 12″, 10 PCS Decora…

Dewalt DPG82 Concealer Anti-Fog Dual Mold Safety Goggle – 1 Pair

CRAFTSMAN 25-Ft Tape Measure with Fraction Markings, Retractable, Self-L…
Troubleshooting Section
Problem: The desk wobbles.
Solution: Check that all screws are tightened and that the legs are even on the ground.
Problem: The finish is uneven.
Solution: Lightly sand the area and apply another coat of stain or paint.
Problem: The desk surface is scratched.
Solution: Use a wood filler or touch-up pen to repair minor scratches. For deeper ones, sand and refinish the area.
Problem: The desk is too high or low.
Solution: Adjust chair height or consider repositioning the desk legs if possible.
Problem: Cords are messy.
Solution: Use cable management solutions like clips or sleeves to organize them.
Troubleshooting Section
Editor’s Choice

Car Scratch Remover Pen, Magic Car Scratch Removal Pen for All Car Color…

HOTO 25-Piece Upgraded Electric Screwdriver Kit, 1/4” Hex, Magnetic Lid…

Gorilla All Purpose Wood Filler, Natural Color, 6 Ounce Tube (Pack of 1)…
Variations/Alternative Methods
- Adjustable Corner Desk: Consider using adjustable legs for height versatility. Best for shared workspaces.
- Built-in Storage: Incorporate drawers or cabinets into the desk design for added storage. Ideal for maximizing space.
- Floating Desk: Wall-mounted desks save floor space and create a modern look. Perfect for small rooms.
Variations/Alternative Methods
Editor’s Choice

OLIXIS 5 Drawer Mobile File Cabinet Under Desk Storage Organization with…

Wall Mounted Drop-Leaf Table, Floating Laptop Desk, Folding Table with S…

ErGear Electric Standing Desk Legs, 4 Memory Height Settings Height Adju…
FAQs
- What if I don’t have a saw? You can often have your wood cut at the store where you purchase it.
- How long should I let the finish dry? Follow the manufacturer’s instructions, usually between 1-4 hours.
- Is it safe to use power tools? Yes, as long as you follow safety precautions and use them correctly.
- What if my desk is too big? Consider reducing the size of your design to better fit your space.
- Can I customize the finish? Absolutely! Choose a color or finish that matches your style.
FAQs
Editor’s Choice
Varathane Premium Fast Dry Wood Stain | 1 Hour Dry Time | 1 Coat Color |…

Dewalt DPG82 Concealer Anti-Fog Dual Mold Safety Goggle – 1 Pair
Conclusion

Congratulations on building your custom corner desk! You’ve transformed your workspace into a more functional and organized area. Now that you have completed this project, consider adding personal touches like artwork or plants to enhance the ambiance.
For future projects, explore building additional furniture or storage solutions that complement your corner desk. Keep honing your woodworking skills, and don’t hesitate to tackle new challenges!