Are you struggling to find a dedicated workspace at home? With the rise of remote work, many are looking for ways to create functional office spaces without taking up too much room.
Turning a closet into a home office allows you to maximize space while keeping your work environment organized and efficient. In this guide, you will learn how to transform a small closet into a stylish and functional office, perfect for productivity.
You’ll discover essential tips on decluttering, selecting the right furniture, and creating a comfortable working atmosphere. This guide is designed for beginners and will take approximately 2-3 hours to complete.
Let’s get started on creating your new workspace!
TL;DR Summary
- Transform your closet into a functional home office with simple steps.
- Gather necessary materials to prepare your space.
- Follow each step to ensure a comfortable and productive workspace.
- Utilize expert tips and avoid common mistakes for the best results.
TL;DR Summary
Editor’s Choice

BestOffice | Ergonomic Office Chair | Mid-Back Swivel Desk Chair | Breat…
Prerequisites/Materials Needed
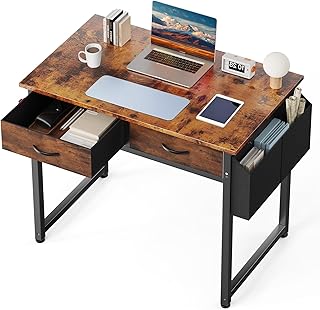
- Furniture:
- Desk (preferably compact)
- Chair (ergonomic recommended)
- Storage Solutions:
- File organizer
- Drawer unit
- Lighting:
- Desk lamp (LED recommended)
- Decor:
- Wall calendar or planner
- Personal touches (photos, plants)
- Tools:
- Measuring tape
- Drill (if needed for shelves)
Prerequisites/Materials Needed
Editor’s Choice
DUMOS 32″ Home Office Computer Desk with Drawers, Small Gaming Writing S…

TRALT Office Chair Ergonomic Desk Chair, 330 LBS Home Mesh Office Desk C…

Airlonv LED Desk Lamp for Office Home, Eye-Caring Desk Light with Steple…
Skill Level & Time Estimate
Skill Level: beginner
Total time estimate: 2-3 hours
Breakdown:
- Decluttering: 30 minutes
- Furniture setup: 1 hour
- Organization and decor: 1-1.5 hours
Skill Level & Time Estimate
Editor’s Choice
WOHOMO Folding Desk, Small Foldable Desk 31.5″ for Small Spaces, Space S…

BAYKA Floating Shelves for Wall, Wall Mounted Rustic Wood Shelves for Ba…

Desk Storage Organizer with 9 Drawers, 4 Tiers Stackable Desktop Craft S…
Step 1: Clear Out the Closet
Begin by removing everything from the closet. This step is essential for assessing the space and planning your layout.
Follow these sub-steps:
- Empty the closet completely.
- Sort items into three categories: keep, donate, and discard.
- Clean the closet interior (dust, vacuum, etc.).
Pro Tip: Take measurements of the closet to help plan your new office layout.
Why this matters: A clean slate allows you to visualize the workspace better.
Time estimate: 30 minutes.
Step 1: Clear Out the Closet
Editor’s Choice

VIVO 32 inch Desk Converter, K Series, Height Adjustable Sit to Stand Ri…

Cable Management Box, Handmade Rattan Cable Organizer with 2 Open Slots,…
Step 2: Plan Your Layout
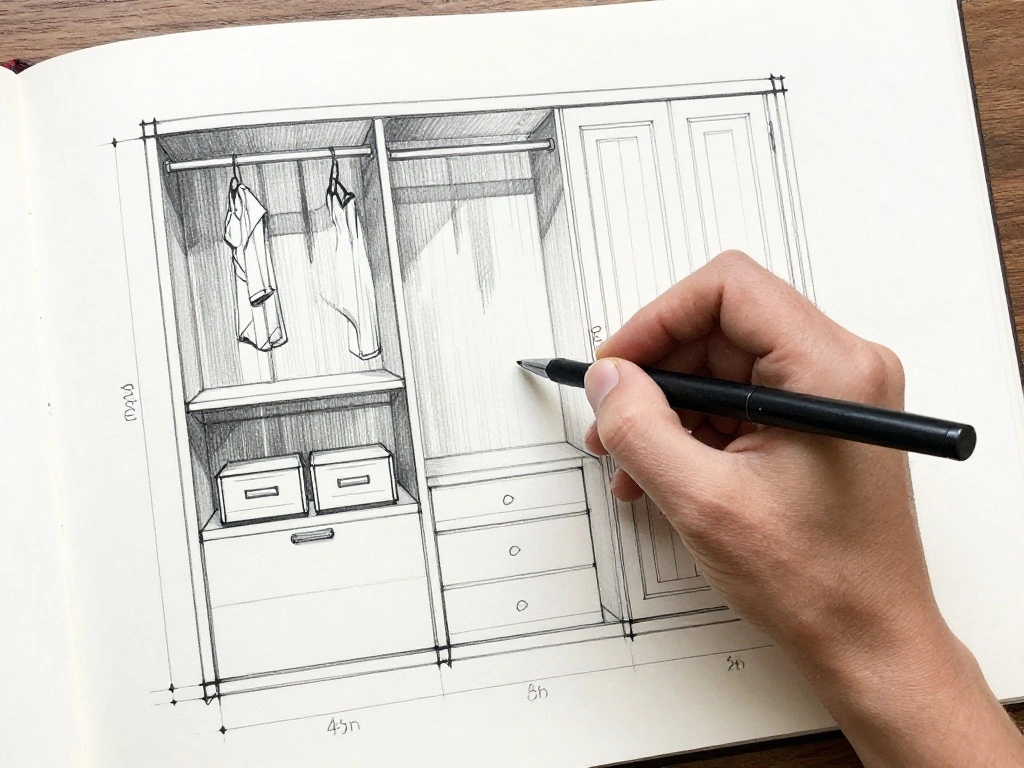
Now that the closet is empty, it’s time to envision your office layout. A well-thought-out plan will ensure functionality and comfort.
Follow these sub-steps:
- Sketch a rough layout of where you want to place the desk and chair.
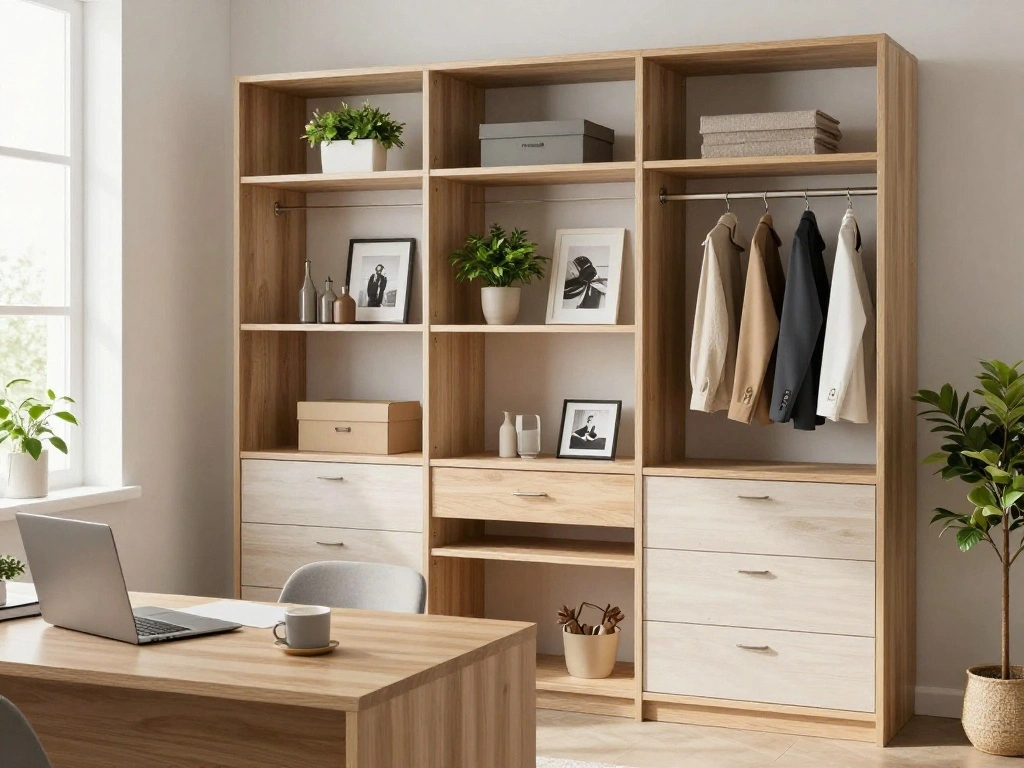
- Consider additional storage needs (shelves, organizers).
- Ensure there’s enough space to move around comfortably.
Pro Tip: Use measuring tape to ensure your furniture fits the space.
Why this matters: A functional layout promotes productivity and comfort while working.
Time estimate: 30 minutes.
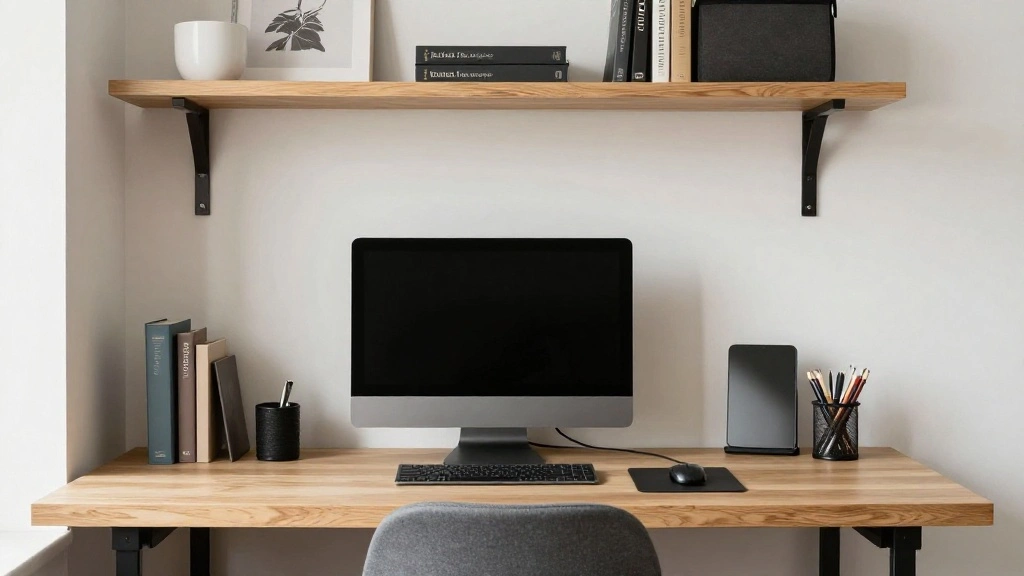
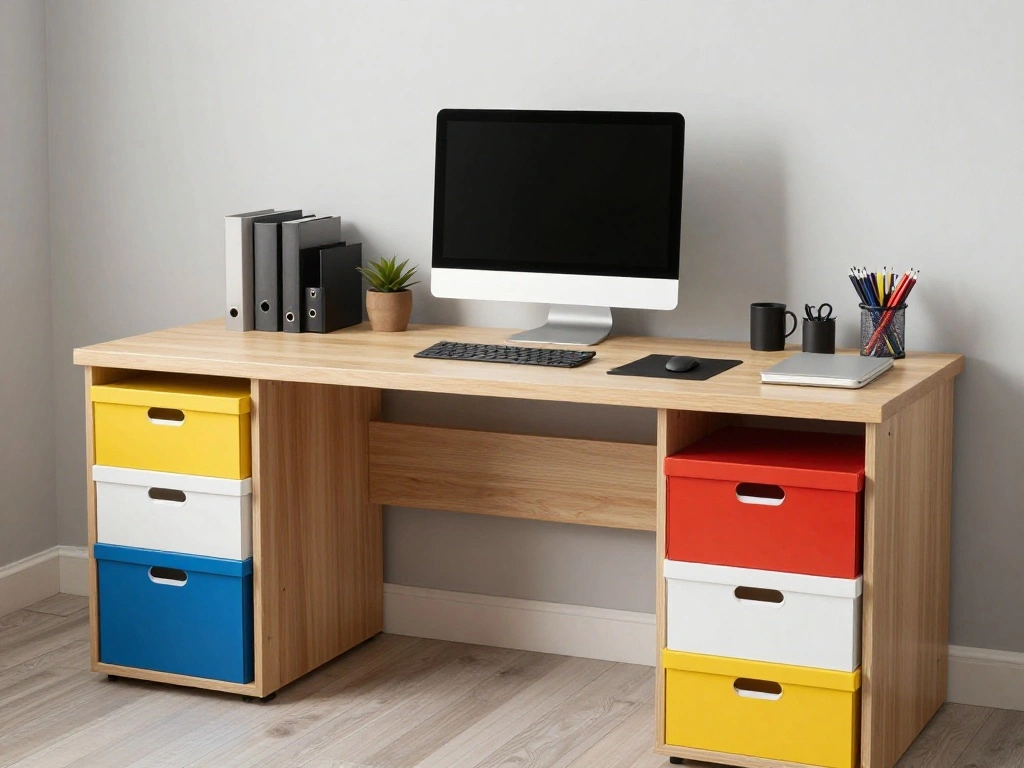
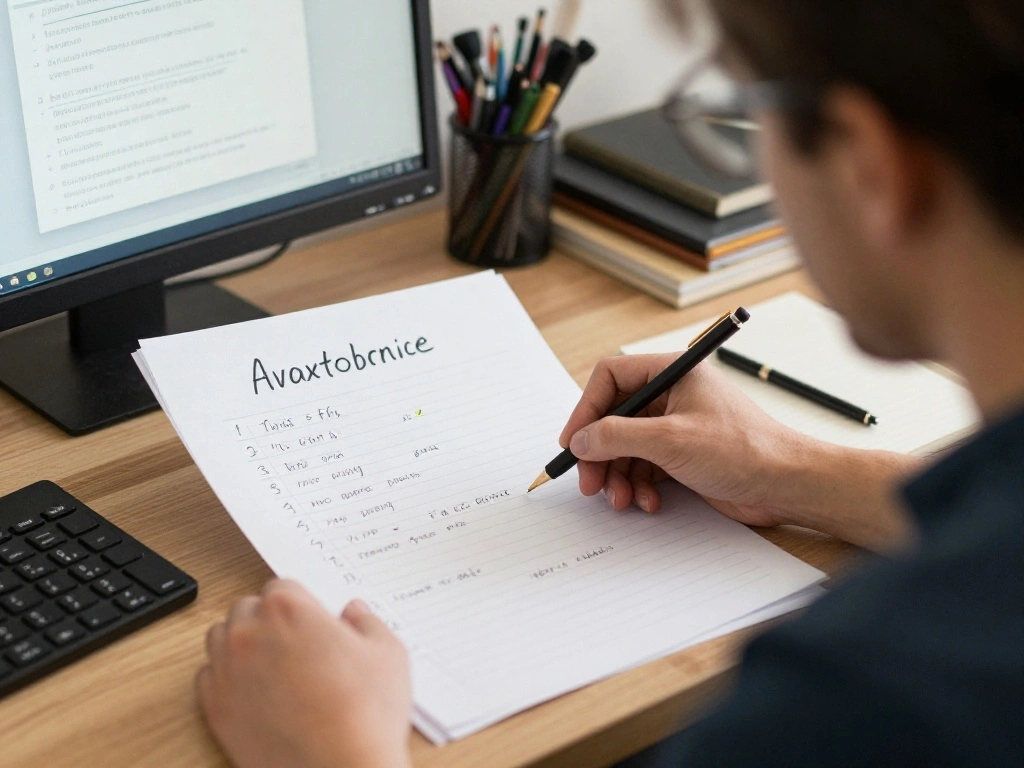
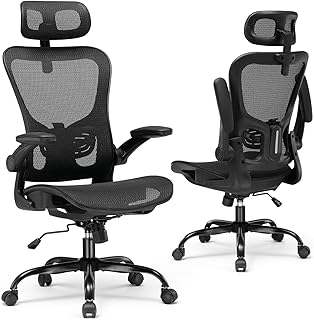
Step 3: Choose the Right Furniture
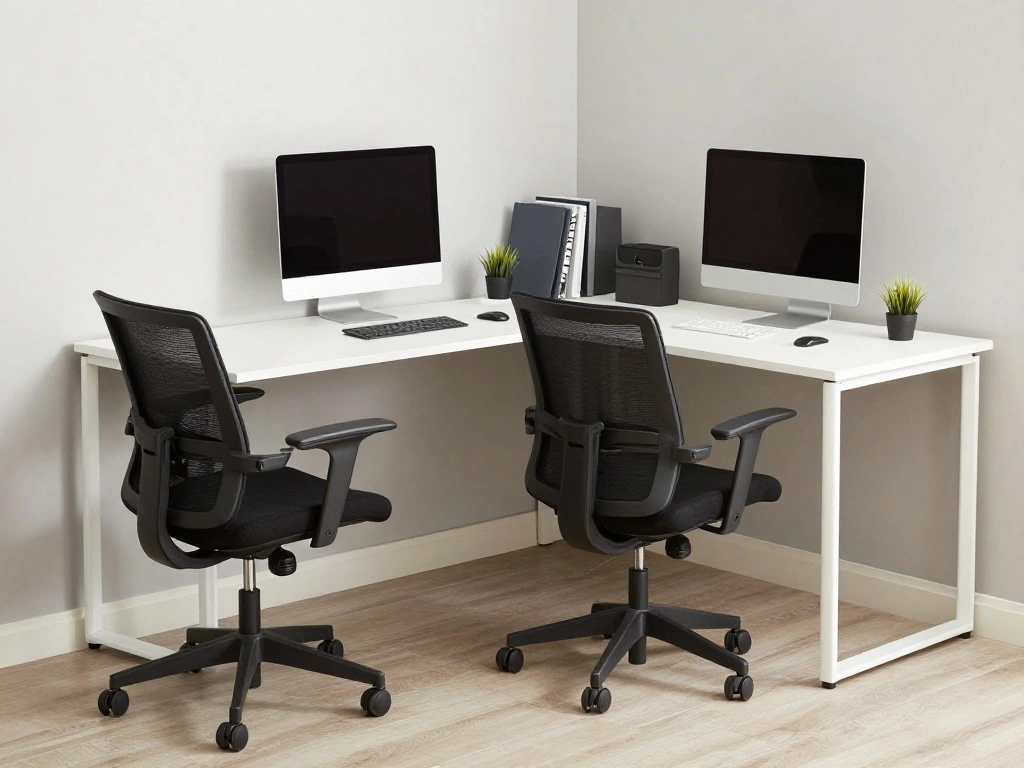
Selecting the right furniture is crucial for your home office’s functionality.
Follow these sub-steps:
- Choose a compact desk that fits within your closet dimensions.
- Select a comfortable chair that supports good posture.
- Consider multi-functional furniture (like a desk with storage or foldable options).
Pro Tip: Look for furniture that matches your style and offers comfort for long working hours.
Why this matters: The right furniture enhances your productivity and comfort while working.
Time estimate: 30 minutes.
Step 3: Choose the Right Furniture
Editor’s Choice
DUMOS 32″ Home Office Computer Desk with Drawers, Small Gaming Writing S…

TRALT Office Chair – Ergonomic Desk Chair with Adjustable Lumbar Support…
Step 4: Install Proper Lighting

Good lighting is vital for a productive workspace. Install lighting that reduces eye strain and enhances mood.
Follow these sub-steps:
- Choose a desk lamp with adjustable brightness.
- Consider adding a small overhead light if possible.
- Ensure you have adequate natural light if the closet has a window.
Warning: Avoid harsh fluorescent lights; they can cause fatigue.
Why this matters: Proper lighting increases productivity and reduces strain on your eyes.
Time estimate: 30 minutes.
Step 4: Install Proper Lighting
Editor’s Choice

Caromolly Light Therapy Lamp, Happy Lamp 10,000 LUX UV Free with 3 Color…

13 inch Flush Mount LED Ceiling Light Fixture, 2700K/3000K/3500K/4000K/5…
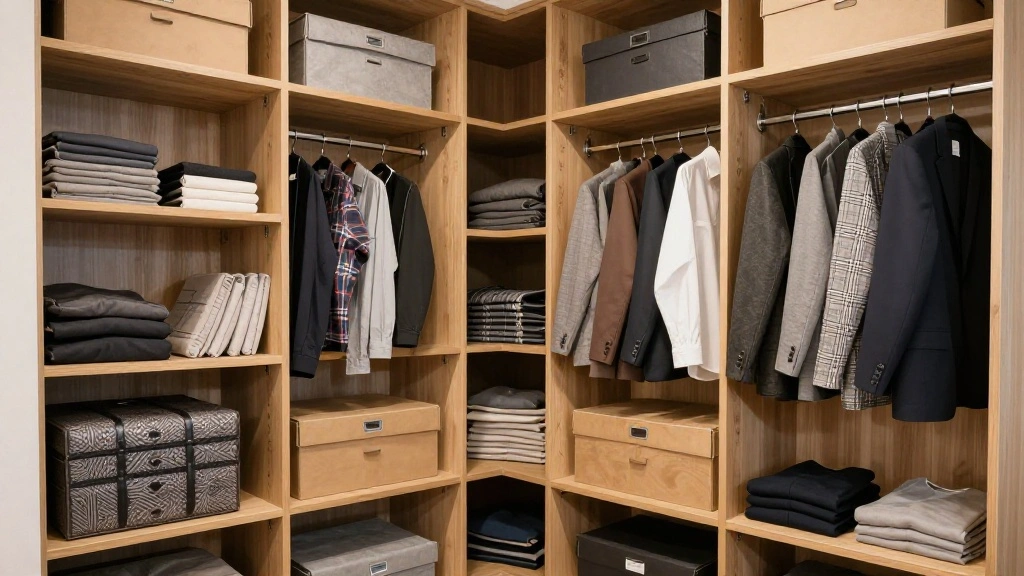
Step 5: Organize Your Workspace
Now it’s time to arrange your office supplies and files to create a clutter-free workspace.
Follow these sub-steps:
- Use organizers for desk supplies (pens, papers, etc.).
- Set up a filing system for documents.
- Keep essential items within reach to maintain efficiency.
Pro Tip: Label storage boxes or files for easy access.
Why this matters: A well-organized workspace boosts productivity and helps maintain focus.
Time estimate: 30 minutes.
Step 5: Organize Your Workspace
Editor’s Choice

WALI Desk File Organizer, 4 Tier Desktop Paper Letter Tray Organizer wit…

Brother P-Touch, PTD210, Easy-to-Use Label Maker Bundle (4 Label Tapes I…
Step 6: Personalize Your Space
Adding personal touches will make your office feel inviting and comfortable.
Follow these sub-steps:
- Incorporate decor items like plants, pictures, or motivational quotes.
- Add a wall calendar or planner for scheduling.
- Ensure everything reflects your personality and inspires you.
Pro Tip: Use removable wall stickers to avoid damage.
Why this matters: Personalizing your space increases motivation and makes it more enjoyable to work.
Time estimate: 30-45 minutes.
Step 6: Personalize Your Space
Editor’s Choice

GuassLee Wall Calendar 2026, 2026-2027 Calendar Wall from Jun. 2026 to M…
Step 7: Test Your Setup

Before finalizing your new office, test your setup to ensure everything works well for you.
Follow these sub-steps:
- Sit at your desk and adjust the chair to a comfortable height.
- Check the lighting to ensure it’s adequate for working.
- Make adjustments as needed for comfort and accessibility.
Pro Tip: Spend a few hours working in your new setup to identify any issues.
Why this matters: Testing your setup helps ensure it meets your needs for productivity.
Time estimate: 30 minutes.
Step 7: Test Your Setup
Editor’s Choice

OPNICE Desk Organizers and Accessories, Computer Monitor Stand Riser wit…
Step 8: Implement a Work Routine

Establishing a work routine will help you stay organized and productive.
Follow these sub-steps:
- Set specific working hours that mirror a traditional workday.
- Create a checklist of daily tasks to stay focused.
- Take regular breaks to maintain productivity.
Pro Tip: Use timers to manage your work and break periods effectively.
Why this matters: A structured routine enhances focus and productivity.
Time estimate: 30 minutes.
Step 8: Implement a Work Routine
Editor’s Choice
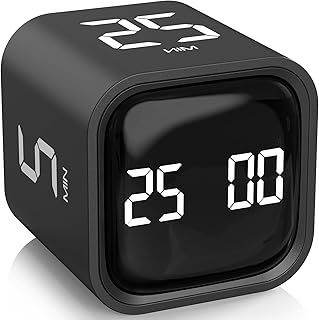
Rotating Pomodoro Timer 5, 25, 10 50 Minutes Preset, Desk Productivity F…

SUNEE Half Meeting Half Note – 8.5″x11″ Professional Notebooks for Work …
Step 9: Review and Revise
After using your closet office for a while, take time to review how it’s working for you.
Follow these sub-steps:
- Assess what is working and what isn’t.
- Make adjustments to the layout, furniture, or organization as needed.
- Consider seasonal changes in decor or organization.
Pro Tip: Keep a journal of your experience to track improvements and changes.
Why this matters: Regular reviews ensure your workspace remains effective and comfortable.
Time estimate: 30 minutes.
Step 9: Review and Revise
Editor’s Choice

Fizzin Ergonomic Office Chair, 400 LBS Computer Chairs with Adjustable L…

BAYKA Wall Mounted Floating Bathroom Shelves, Wood Wall Shelf for Bathro…
WALI Desk File Organizer, 4 Tier Desktop Paper Letter Tray Organizer wit…
Step 10: Celebrate Your Accomplishment

Congratulations! You’ve successfully transformed a closet into a productive home office. Now, it’s time to enjoy your new workspace.
Follow these sub-steps:
- Take a moment to appreciate your hard work.
- Invite friends or family to see your new setup.
- Reflect on how this transformation benefits your daily productivity.
Pro Tip: Share your transformation on social media for inspiration!
Why this matters: Celebrating accomplishments reinforces your motivation to maintain this productive space.
Time estimate: 15-30 minutes.
Step 10: Celebrate Your Accomplishment
Editor’s Choice

Huuger Folding Desk for Small Spaces, 31.5 Inch Foldable Computer Table,…
WALI Desk File Organizer, 4 Tier Desktop Paper Letter Tray Organizer wit…

Starunder 6 Pack Floating Shelf Brackets, 6 Inch Heavy Duty Industrial S…
Pro Tips
- Optimize Storage: Use vertical space for shelves to maximize storage.
- Invest in a Quality Chair: Prioritize ergonomics to avoid back pain.
- Use Cable Management: Keep cords organized to avoid clutter.
- Soundproofing: Consider adding curtains or soft furnishings to minimize noise.
- Maintain a Clean Desk: Regularly declutter your workspace to maintain focus.
Pro Tips
Editor’s Choice

Nettbe 60 PCS 6 Inches Reusable Cable Ties, Adjustable Cord Straps Wire …

Sakugi Storage Shelves – 5-Tier Large Capacity Shelf Organizer with Hook…

MUXX.STIL Office Chair, Ergonomic Desk Chair with Adjustable Lumbar Supp…
Common Mistakes to Avoid
- Warning: Overcrowding the space with furniture can lead to discomfort. Always measure before buying.
- Warning: Neglecting lighting can result in eye strain. Ensure sufficient light sources are present.
- Warning: Forgetting to take breaks can lead to burnout. Schedule regular intervals for rest.
Common Mistakes to Avoid
Editor’s Choice

Huuger Folding Desk with Storage Shelf, 31.5 Inch Foldable Computer Tabl…
Airlonv LED Desk Lamp for Office Home, Eye-Caring Desk Light with Steple…
GTPLAYER Office Chair, Home Ergonomic Desk Chair with High Back Mesh, Me…
Troubleshooting Section
Problem: The desk is too cramped.
Solution: Consider a wall-mounted desk for added space.
Problem: Insufficient lighting.
Solution: Add an additional lamp or consider brighter bulbs.
Problem: Distractions from outside noise.
Solution: Use noise-canceling headphones or soundproofing materials.
Problem: Uncomfortable seating.
Solution: Invest in an ergonomic chair or cushions for support.
Troubleshooting Section
Editor’s Choice

Floating Vanity Makeup Table, 31 inch Wall Mounted Desk for Bedroom Dres…

Soundcore by Anker Q20i Hybrid Active Noise Cancelling Headphones, Wirel…
Airlonv LED Desk Lamp for Office Home, Eye-Caring Desk Light with Steple…
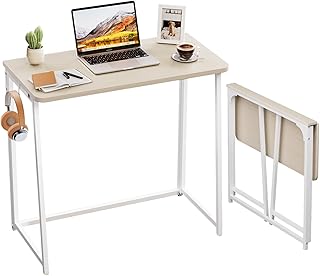
Variations/Alternative Methods
- Convert a corner of your bedroom instead of a closet if more space is needed.
- Use a folding table for a temporary workspace that can be stored away when not in use.
- Consider a shared space with family members if a closet is not available.
Variations/Alternative Methods
Editor’s Choice

FDW 6FT Folding Table, Portable Fold-in-Half Plastic Picnic Party Table …
FAQs
- What if I don’t have enough closet space? Consider using a corner in the room instead.
- How long should I spend decorating my office? Spend as much time as needed to create a comfortable environment.
- Is it safe to use power strips? Yes, as long as they are used correctly and not overloaded.
- What if I have a noisy environment? Use noise-canceling headphones to minimize distractions.
- How can I maintain this setup? Regularly declutter and adjust your space to keep it functional.
FAQs
Editor’s Choice

D-Line Cable Management Box, Power Strip Holder, Floor Outlet Hiders, De…
DUMOS 32″ Home Office Computer Desk with Drawers, Small Gaming Writing S…

Bose QuietComfort Headphones – Wireless Bluetooth Headphones, Active Ove…
Conclusion
Congratulations on transforming your closet into a functional home office!
Now that you have created your workspace, enjoy the benefits of productivity and organization. Consider sharing your results with others who may be looking for similar solutions. For continued improvement, explore additional resources on workspace organization and productivity techniques. Your new office is not just a space; it’s a pathway to success!