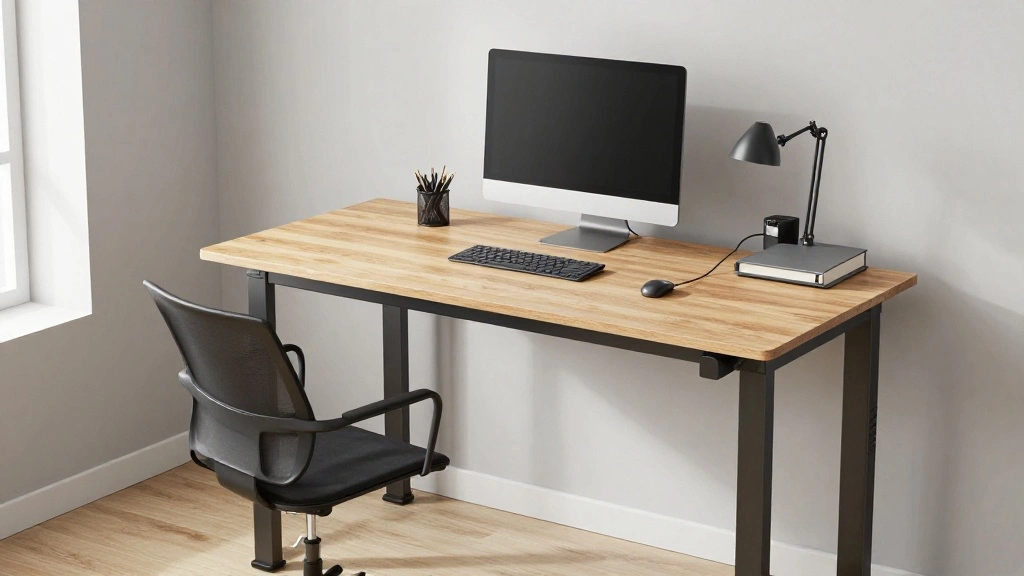
Are you struggling with back pain or fatigue from sitting at your desk all day? Many people are unaware of the significant health risks linked to prolonged sitting. A standing desk can be a game-changer, promoting better posture and increasing productivity. Fortunately, you don’t need to spend a fortune to create one!
In this guide, you’ll learn how to build a sturdy and stylish DIY standing desk using budget-friendly materials. By the end of this project, you will have a fully functional desk tailored to your working style. This guide is designed for beginner DIY enthusiasts, so even if you’re new to crafting furniture, you’ll have no trouble following along.
Expect to spend around 2-3 hours to complete this project, and you’ll gain valuable skills along the way. Get ready to say goodbye to the discomfort of sitting and hello to a healthier work environment!
TL;DR Summary
- Learn to build a budget-friendly standing desk in 2-3 hours.
- Gather simple materials that you can find easily.
- Follow step-by-step instructions tailored for beginners.
- Enjoy the benefits of a healthier work setup!
TL;DR Summary
Editor’s Choice

Vari – VariDesk Essential 36 – Two-Tier Standing Desk Converter for Moni…

KitchenClouds Kitchen Mat Cushioned Anti Fatigue Rug 17.3″x28″ Water Res…
Prerequisites/Materials Needed
- Wood Planks: 2x4s or plywood, cut to your desired height and width
- Wood Screws: 1.5-inch screws
- Sandpaper: medium and fine grit
- Wood Stain or Paint: for finishing (optional)
- Drill: for making holes
- Saw: hand saw or power saw
- Measuring Tape: for accurate dimensions
- Level: to ensure stability
Prerequisites/Materials Needed
Editor’s Choice

Power Drill Cordless: DEKOPRO Cordless Drill 20V Electric Power Drills S…

12 Pack Basswood Sheets for Crafts 12 x 4 x 1/8 Inch-3 mm Thick Unfinish…
Skill Level & Time Estimate
Skill Level: beginner
Total time estimate: 2-3 hours
Breaking it down:
- Gathering materials: 30 minutes
- Cutting wood: 1 hour
- Assembling desk: 1 hour
- Finishing touches: 30 minutes
Skill Level & Time Estimate
Editor’s Choice

Sand Paper, 48 PCS Sandpaper, 120 to 5000 Assorted Grit Sandpaper Sheets…

ErGear Electric Standing Desk Legs, 4 Memory Height Settings Height Adju…

Titebond III Ultimate Wood Glue, 16-Ounces #1414
Step 1: Measure Your Desired Height

First, determine the height of your standing desk. A good rule of thumb is to measure from your elbow to the floor while standing. This ensures comfortable typing and reduces strain on your body.
- Stand up straight and bend your elbow at a 90-degree angle.
- Measure from your elbow to the floor to find your ideal desk height.
- Note this measurement down for future reference.
Pro Tip: If you have a friend, have them help you measure for accuracy. This step is crucial for comfort!
Time estimate: 15 minutes
Step 1: Measure Your Desired Height
Editor’s Choice

FEATOL Anti Fatigue Mat for Standing, 9/10 Extra Thick Ergonomic Standin…

VIVO 32 inch Desk Converter, K Series, Height Adjustable Sit to Stand Ri…
Step 2: Cut Your Wood Planks
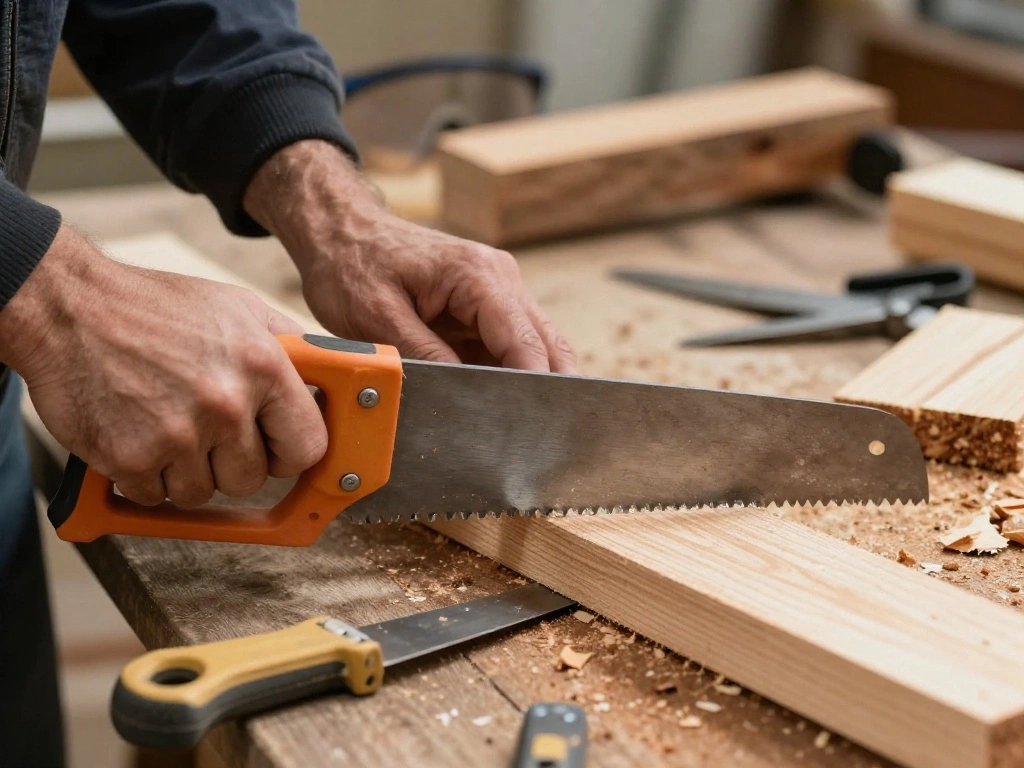
Now it’s time to cut your wood planks to the measurements you noted in Step 1. This step is vital to ensure that your standing desk is stable and the right size.
- Using your saw, cut two vertical pieces for the legs and one long piece for the desk surface based on your measurements.
- Ensure all cuts are straight for better stability.
- Sand down any rough edges to prevent splinters.
Warning: Always wear safety goggles when using power tools to protect your eyes.
Time estimate: 45 minutes
Step 2: Cut Your Wood Planks
Editor’s Choice

SKIL 15 Amp 7-1/4 Inch Circular Saw with Single Beam Laser Guide – 5280-01

Romeda 8-Pack Sanding Sponge, Four Grits Per Pack 60/80/120/220, Washabl…

Safety GlassesClear Anti-Fog Goggles Over-Spec Glasses Protective Eye We…
Step 3: Assemble the Desk Frame
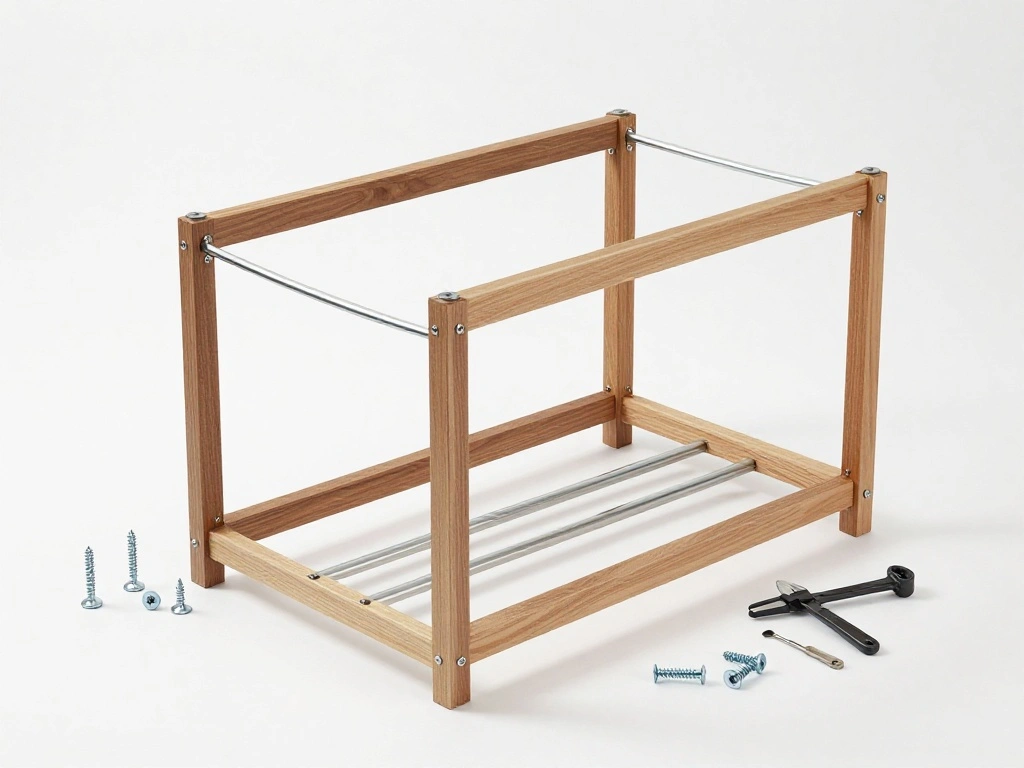
Next, you will assemble the frame of your standing desk. This structure will support the weight of the desk surface and any items placed on it.
- Lay the long desk piece flat and attach the vertical leg pieces at each end using wood screws.
- Ensure that the frame is square by measuring diagonally from corner to corner.
- Use a level to check that the frame is even.
Pro Tip: Pre-drill holes for screws to avoid splitting the wood.
Time estimate: 30 minutes
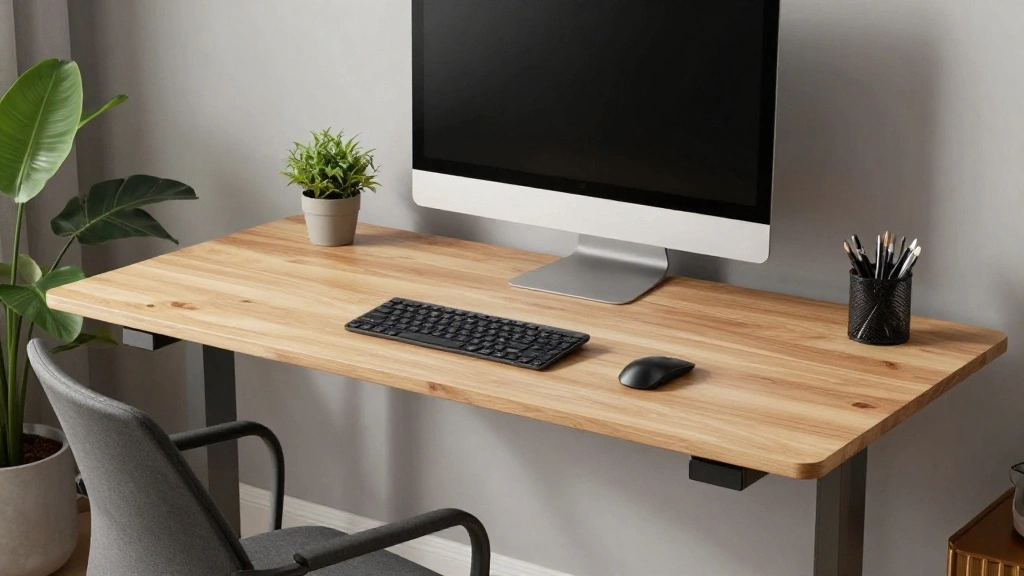
Step 4: Attach the Desk Surface
Once your frame is secure, it’s time to attach the desk surface. This is where you will place your computer and work materials, so it’s important to ensure it’s stable.
- Center the desk surface on top of the frame.
- Secure it with additional wood screws, spacing them evenly along the edges.
- Double-check that the surface is level before tightening all screws.
Warning: Make sure the surface is securely attached to prevent accidents while using the desk.
Time estimate: 20 minutes
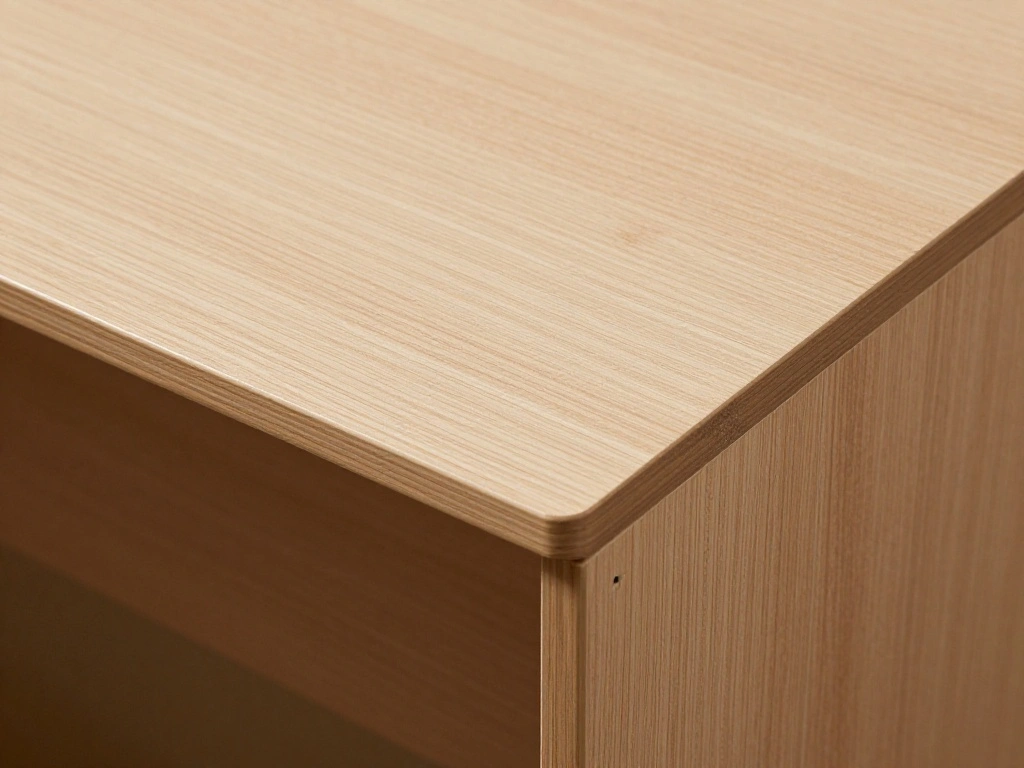
Step 5: Sand and Finish the Desk

Your desk is almost complete! Sanding and finishing will not only enhance its appearance but also protect the wood.
- Using medium grit sandpaper, smooth out the entire surface.
- Switch to fine grit sandpaper for a polished finish.
- If desired, apply wood stain or paint to complete the look. Let it dry according to the manufacturer’s instructions.
Pro Tip: Choose a stain that complements your home office decor.
Time estimate: 30 minutes
Step 5: Sand and Finish the Desk
Editor’s Choice

24 Pcs Sanding Sponge 80-3000 Grit Sandpaper Assortment, Washable & Reus…
Step 6: Add Any Additional Features
This is your chance to customize your standing desk! Think about additional features that will enhance its usability.
- Consider adding a keyboard tray or monitor stand for ergonomic benefits.
- Add cable management solutions to keep cords organized.
- If desired, attach hooks or shelves for extra storage.
Pro Tip: Personalize your desk with decorations or plants to make your workspace more inviting.
Time estimate: 20 minutes
Step 6: Add Any Additional Features
Editor’s Choice

Under Desk Cable Management Tray No Drill, Metal Mesh Cable Management U…

HUANUO Keyboard Tray Under Desk, 360 Adjustable Ergonomic Sliding Keyboa…

NUMENN Bookshelf, 5 Tier Bookshelves, Home Office Bookcase Shelf Storage…
Step 7: Test the Stability

Before you start using your new desk, it’s essential to test its stability to ensure it can handle your equipment.
- Apply pressure to different areas of the desk to check for wobbling.
- Make adjustments as necessary, tightening screws or adding extra support if needed.
- Ensure that all parts are securely fastened before using.
Warning: Never use a wobbly desk, as it can cause accidents or damage to your equipment.
Time estimate: 15 minutes
Step 7: Test the Stability
Editor’s Choice

VIVO Steel Reinforcement Bracket Mount Plate for Thin, Glass, and Other …

20x Computer Case Thumb Screws,6-32×6 M3.5 PC Case Screws for Desktop Co…

Heavy Duty Leveling Screw Leg,Leg Leveler 3.14″ Dia Base,Adjustable Leve…
Step 8: Enjoy Your New Standing Desk!
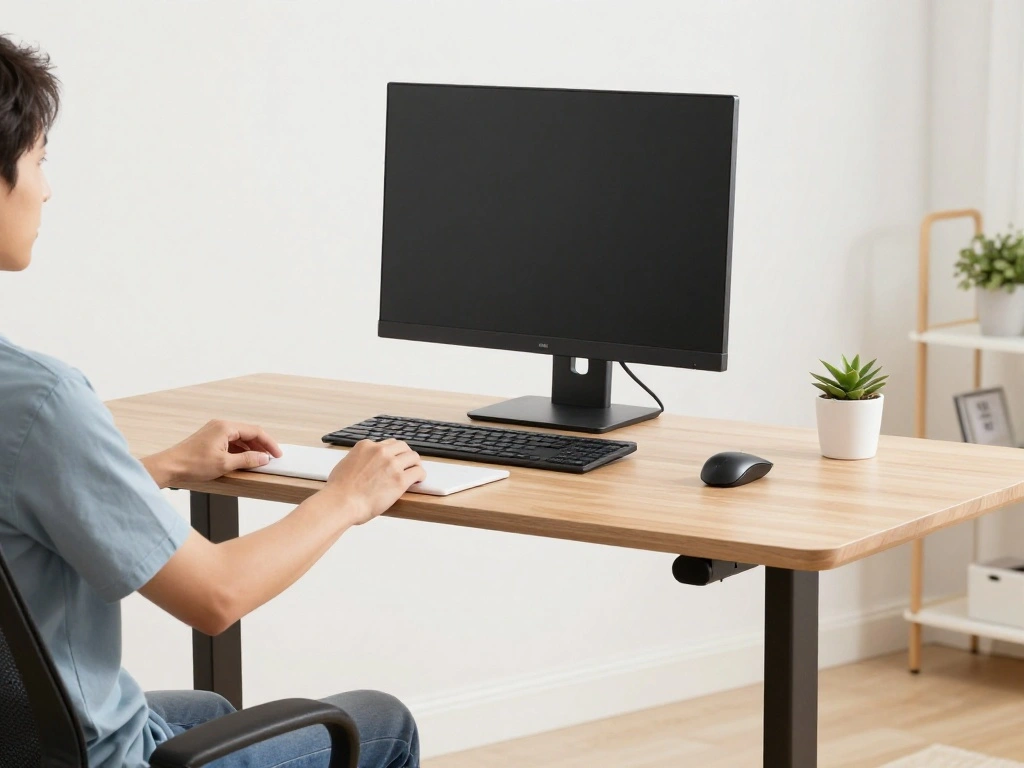
Congratulations! You’ve successfully built your budget-friendly standing desk. Now it’s time to enjoy the benefits of standing while you work.
- Set up your computer and workspace on your new desk.
- Adjust your monitor height to eye level for optimal ergonomics.
- Set a timer to remind yourself to change positions throughout the day.
Pro Tip: Alternate between sitting and standing to find what works best for you!
Time estimate: 10 minutes
Step 8: Enjoy Your New Standing Desk!
Editor’s Choice

BONTEC Dual Monitor Stand Riser, Adjustable Length & Swivel Angle, Ergon…
KitchenClouds Kitchen Mat Cushioned Anti Fatigue Rug 17.3″x28″ Water Res…

Rotating Pomodoro Timer 5, 25, 10 50 Minutes Preset, Desk Productivity F…
Pro Tips
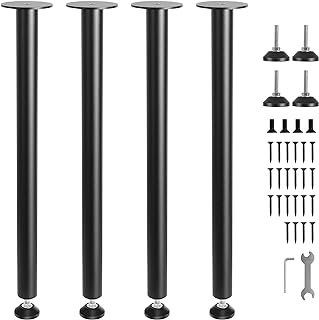
- Height Adjustments: Consider adding adjustable legs if you want to switch between sitting and standing easily.
- Ergonomic Setup: Use an anti-fatigue mat to reduce strain on your feet and legs.
- Monitor Positioning: Keep your monitor at eye level to avoid neck strain.
- Declutter: Keep your workspace organized to enhance productivity.
- Regular Breaks: Stand for 20-30 minutes, then take a short break to walk around.
Pro Tips
Editor’s Choice
BONTEC Dual Monitor Stand Riser, Adjustable Length & Swivel Angle, Ergon…
ErGear Electric Standing Desk Legs, 4 Memory Height Settings Height Adju…
FEATOL Anti Fatigue Mat for Standing, 9/10 Extra Thick Ergonomic Standin…
Common Mistakes to Avoid
Warning: Not measuring correctly can lead to a desk that is too high or too low. Always double-check your measurements before cutting.
Warning: Rushing through assembly can result in instability. Take your time to ensure each step is done correctly.
Warning: Using inadequate materials can compromise the desk’s durability. Always choose strong, reliable wood.
Warning: Forgetting to sand can lead to splinters. Always finish your wood properly to ensure a smooth surface.
Warning: Neglecting to test stability can cause accidents. Always check that the desk is sturdy before use.
Common Mistakes to Avoid
Editor’s Choice

Gorilla Max Strength Construction Adhesive, 2.5 oz (Pack of 1), Clear, W…

QLLY 28 inch Adjustable Metal Desk Legs, Heavy Duty Furniture Table Legs…

Tape Measure Body Measuring Tape, 120 Inch Soft Fabric Measuring Tape fo…
Troubleshooting Section
Problem: The desk is wobbly.
Solution: Tighten all screws and ensure the legs are evenly secured.
Problem: Height is uncomfortable.
Solution: Measure again and consider adjusting the height or adding a footrest.
Problem: Surface feels unstable.
Solution: Check all connections and add support beams if necessary.
Problem: Finish is uneven.
Solution: Sand down rough areas and apply a second coat of stain or paint.
Problem: Cords are messy.
Solution: Use cable clips or a cable box to organize cords.
Troubleshooting Section
Editor’s Choice

QSJ 8 Pack Black Flat Mending Plate 3.15×1.57‘’ & 2.36×1.49”, Stain…

HUANUO Adjustable Desk Footrest, Foot Rest for Under Desk at Work with M…

Hand Sanding Block Set of 16,Interchangeable Assorted Contoured Profile …
Variations/Alternative Methods
If you’re looking for different options to create a standing desk, consider these methods:
- Adjustable Desk Kits: Purchase a kit that allows you to convert an existing desk into a standing desk.
- Repurposed Furniture: Use an old dresser or table as a base for your standing desk.
- Height-Adjustable Stands: Invest in a height-adjustable stand that sits on your existing desk.
Each option has its pros and cons, depending on your space and budget.
Variations/Alternative Methods
Editor’s Choice

VIVO 36 inch Desk Converter, K Series, Height Adjustable Sit to Stand Ri…
VIVO 32 inch Desk Converter, K Series, Height Adjustable Sit to Stand Ri…
VEVOR 28 Inch Adjustable Desk Legs, Reinforced Steel Office Table Furnit…
FAQs
What if I don’t have a saw? You can ask a hardware store to cut the wood for you based on your measurements.
How long should I stand at my desk? Start with 15-30 minutes at a time and gradually increase as your body adjusts.
Is it safe to use reclaimed wood? Yes, as long as it’s in good condition and free from harmful chemicals.
What if my desk surface is too small? Consider using a larger piece of wood for the surface or adding a side table for extra space.
Can I paint over wood stain? Yes, but ensure the stain is completely dry before applying paint.
FAQs
Editor’s Choice

Gorilla Ultimate Waterproof Wood Glue, Natural Wood Color, 8 Ounce (Pack…

Large Felt Desk Mat,47.2″x 23.6″,Non-Slip Desk Pad for Office and Home,1…
ErGear Electric Standing Desk Legs, 4 Memory Height Settings Height Adju…
Conclusion
Well done! You’ve successfully built your very own standing desk on a budget. This desk will not only enhance your workspace but also promote a healthier lifestyle. Now that you’ve completed this project, consider adding personal touches like decorative items or plants to make it your own.
For further improvements, explore ergonomic accessories that can enhance your experience, or look into additional DIY projects for your home office. Enjoy the benefits of your new standing desk!