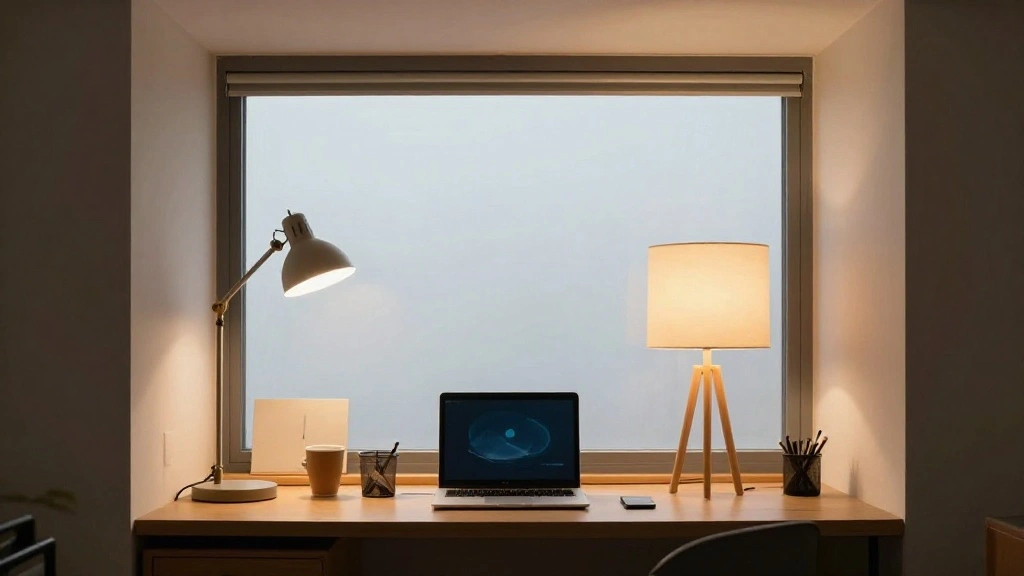
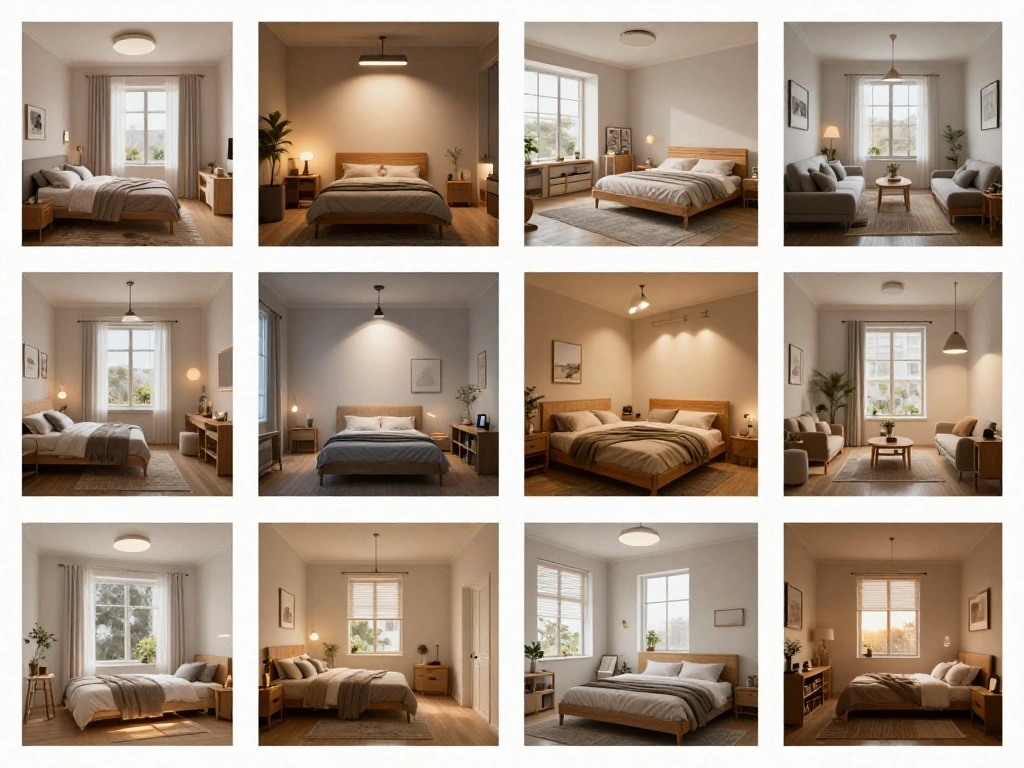
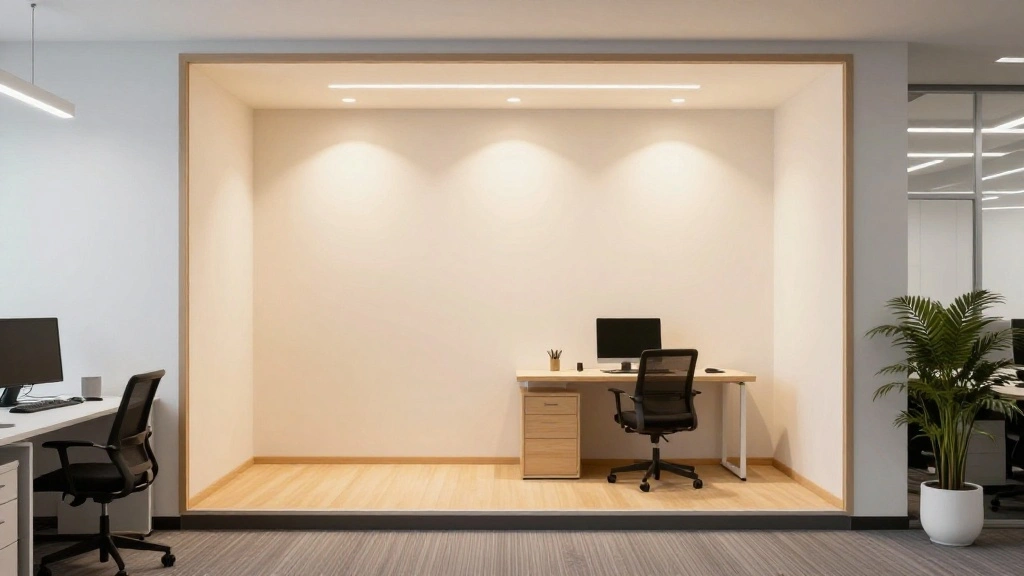
Working in a windowless office nook can be challenging. The absence of natural light can lead to feelings of fatigue, decreased productivity, and even affect your mood. It’s essential to create a well-lit workspace that not only enhances visibility but also boosts your overall well-being.
This guide will help you transform your nook into a bright, inviting space by exploring various lighting options, from lamps to LED strips. You’ll learn how to strategically place lights, select the right types, and even incorporate some decorative elements for added flair.
By the end of this guide, you will accomplish a well-lit windowless office nook that feels vibrant and alive. This project is suitable for beginner skill levels and can be completed in about 2-3 hours. Let’s dive into the world of lighting and make your workspace shine!
TL;DR Summary
- Identify the best lighting options for your windowless office nook.
- Learn to strategically place lights for optimal brightness and ambiance.
- Enhance your workspace with decorative elements that complement your lighting.
- This guide is perfect for beginners and takes about 2-3 hours to complete.
TL;DR Summary
Editor’s Choice

Brightown 12 Pack LED Fairy Lights Battery Operated String Lights – 7ft …

64.4” Slim Floor Lamp for Living Room with Magnetic Remote and Foot Sw…
Prerequisites/Materials Needed
- Lighting Options:
- Desk lamp (1)
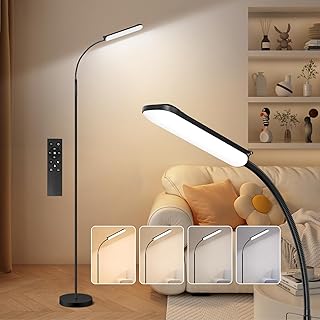
- Floor lamp (1)
- LED strip lights (1 set)
- Tools:
- Power drill (optional)
- Measuring tape (1)
- Decorative Elements:
- Wall art (1-3 pieces)
- Plants (real or artificial, 1-2)
Prerequisites/Materials Needed
Editor’s Choice

Govee RGBIC LED Strip Lights, Smart LED Lights for Bedroom, Bluetooth LE…

ONEWISH Industrial Table Lamp for Bedroom, Fully Dimmable Modern Bedside…

Modern Floor Lamp Simple Design with White Shade, Foot Pedal Switch, 60″…
Skill Level & Time Estimate
Skill Level: beginner
Total time estimate: 2-3 hours
Breakdown of time:
- Select lighting options: 30 minutes
- Placement and setup: 1-2 hours
- Decorating and final touches: 30 minutes
Skill Level & Time Estimate
Editor’s Choice

JOOFO LED Floor Lamp – Super Bright Torchiere with Remote & Foot Switc…
Brightown 12 Pack LED Fairy Lights Battery Operated String Lights – 7ft …
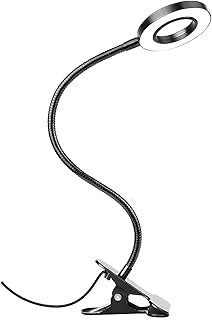
Woputne Desk Lamp Clip Light, 10 Dimmable Brightness 3 Light Modes Readi…
Step 1: Assess Your Space
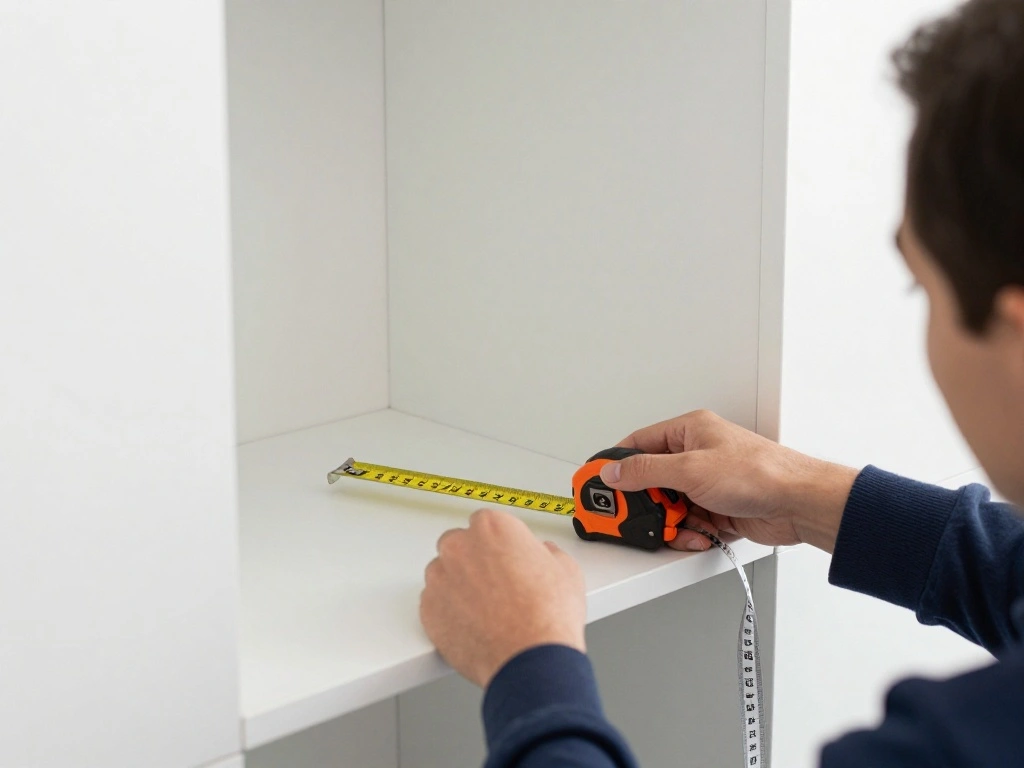
Begin by evaluating your office nook. Identify its dimensions, the furniture layout, and any existing light sources. This assessment is critical for determining how much light you need and where to place it.
- Take measurements of your nook’s width and height.
- Note the location of electrical outlets.
- Identify dark corners that require additional lighting.
Pro Tip: Use a notepad to jot down your observations for reference.
Why this matters: Knowing your space allows you to choose the right lighting options and placements, ensuring an evenly lit environment.
Estimated time for this step: 30 minutes.
Step 1: Assess Your Space
Editor’s Choice

Airlonv LED Desk Lamp for Office Home, Eye-Caring Desk Light with Steple…
FRIDEKO HOME Floor Lamps for Living Room, 1800LM 4 CCT Gooseneck Reading…

JMEXSUSS 100 LED Connectable Globe String Lights Indoor Bedroom, 33ft Wa…
Step 2: Choose Your Lighting Options
Next, select the types of lighting you want to incorporate. A combination of ambient, task, and accent lighting works best in a windowless nook.
- Choose a desk lamp for focused work lighting.
- Pick a floor lamp for general illumination.
- Consider LED strip lights for a modern touch.
Pro Tip: Look for energy-efficient bulbs to save on electricity costs and reduce heat output.
Why this matters: Different types of lighting serve different purposes; having a mix will create a well-balanced atmosphere.
Estimated time for this step: 30 minutes.
Step 2: Choose Your Lighting Options
Editor’s Choice
Airlonv LED Desk Lamp for Office Home, Eye-Caring Desk Light with Steple…
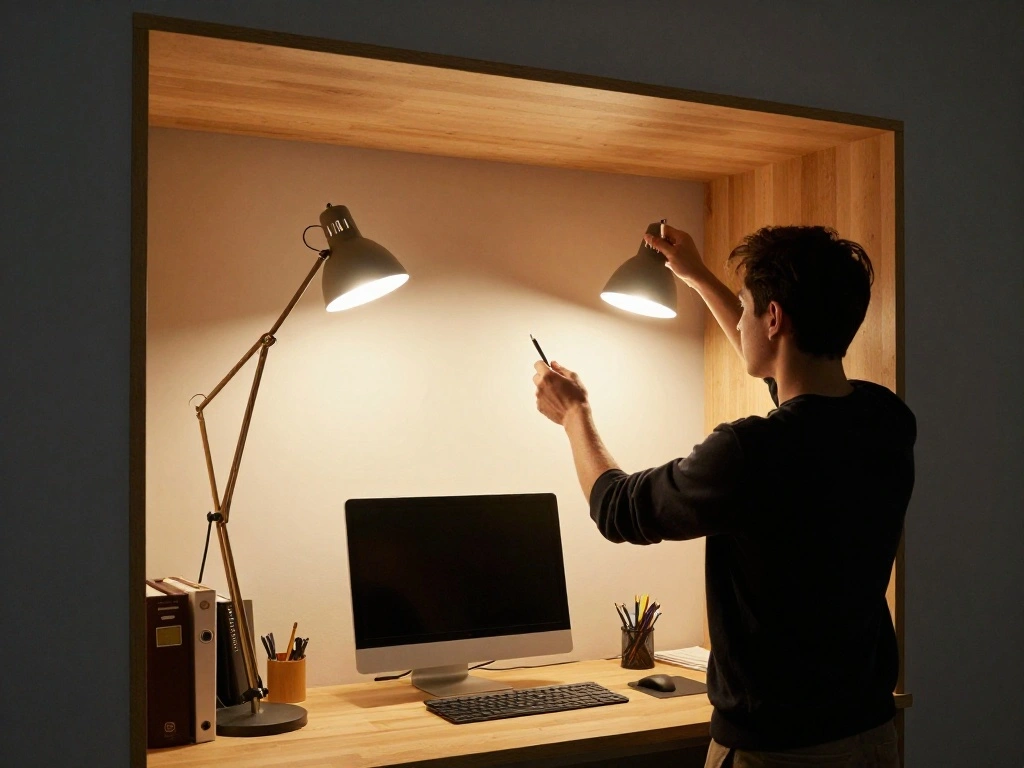
Step 3: Plan Your Lighting Layout

After selecting your lighting, plan where each piece will go. Consider the functionality and aesthetics of your layout.
- Position the desk lamp on your work desk.
- Plan the floor lamp placement to fill in shadows.
- Determine where to install LED strips (under shelves or along walls).
Pro Tip: Use painter’s tape to outline where each light will be placed on the floor or wall for a visual reference.
Why this matters: A thoughtful layout maximizes light distribution and enhances the overall look of your nook.
Estimated time for this step: 30 minutes.
Step 3: Plan Your Lighting Layout
Editor’s Choice

DAYBETTER LED Strip Lights 130ft Lights Strip for Bedroom, Desk, Indoor …

ROTTOGOON Floor Lamp for Living Room with 3 Color Temperatures LED Bulb,…

LED Desk Lamp with USB Ports,Touch Desk Lamps for Home Office with 5 Col…
Step 4: Install Lighting Fixtures

Now it’s time to install your lighting fixtures. Follow the manufacturer’s instructions for safe installation.
- Set up the desk lamp by plugging it into the nearest outlet.
- Assemble and place the floor lamp, ensuring it’s secure.
- If you’re using LED strips, peel off the adhesive backing and stick them where planned.
Warning: Ensure all lights are switched off before installation to avoid electrical hazards.
Why this matters: Proper installation ensures safety and functionality, reducing the risk of damage or fire hazards.
Estimated time for this step: 1 hour.
Step 4: Install Lighting Fixtures
Editor’s Choice

PESRAE Floor Lamp, Remote Control with Stpeless Color Temperatures and B…
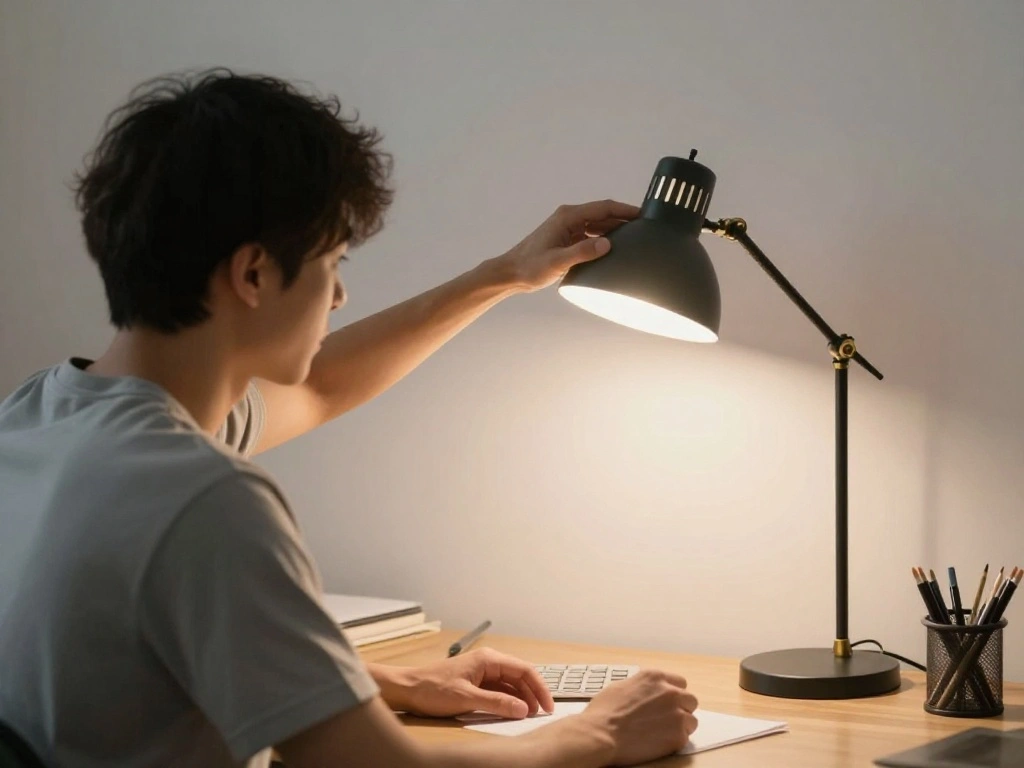
Step 5: Adjust Lighting Levels

After installation, adjust the brightness levels of your lighting. This step is vital for creating a comfortable working environment.
- For desk lamps, adjust the angle for focused lighting.
- If using dimmable lights, set the brightness to a comfortable level.
- Check reflections and glare to avoid eye strain.
Pro Tip: Use smart bulbs that can be controlled via an app to easily adjust brightness and colors.
Why this matters: Properly adjusted lighting prevents eye strain and enhances focus, making your workspace more productive.
Estimated time for this step: 30 minutes.
Step 5: Adjust Lighting Levels
Editor’s Choice

BOHON LED Desk Lamp with USB Charging Port 3 Color Modes Dimmable Readin…

PACOVY Floor Lamp, Adjustable Height Floor Lamps for Living Room Bedroom…

Amazon Basics Smart A19 LED Light Bulb, Color Changing, 9W (60W Equivale…
Step 6: Incorporate Decorative Elements
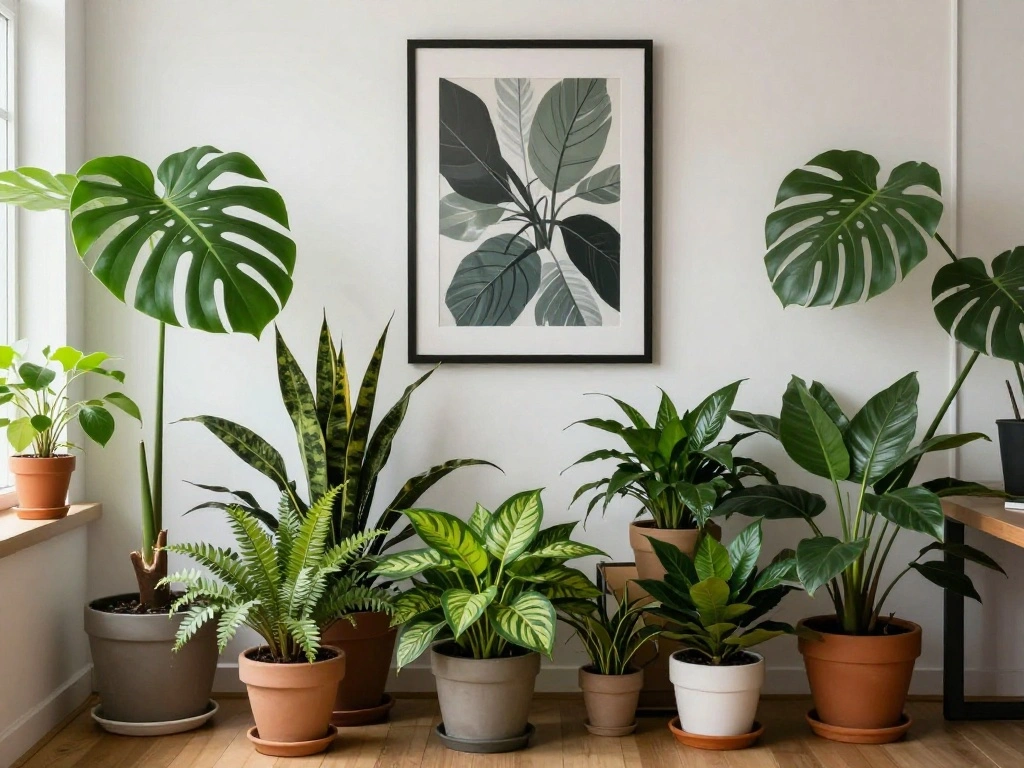
To elevate the ambiance, incorporate decorative elements that complement your lighting.
- Add wall art that reflects your personality.
- Introduce plants to add a touch of nature.
- Consider decorative lampshades or light covers for style.
Pro Tip: Use LED plants or lights that mimic natural light for a fresh feel.
Why this matters: Aesthetic elements enhance the visual appeal of your workspace, making it a more enjoyable place to work.
Estimated time for this step: 30 minutes.
Step 6: Incorporate Decorative Elements
Editor’s Choice

Lampshades Set of 2 for Table Floor Lamp, Lampshades with with Flower De…

Aokrean Plant Grow Light, 48 LEDs Full Spectrum Grow Lights for Indoor P…

3D Wooden Floral Bathroom Wall Decor (Set of 4) Lightweight, Ready-to-Ha…
Step 7: Optimize for Task Use
Tailor your lighting setup according to the tasks you perform in your nook.
- If working on detailed tasks, ensure focused lighting is available.
- For reading, position lights to avoid shadows.
- Test different setups for optimal functionality.
Pro Tip: Use adjustable lamps that allow you to direct light where needed.
Why this matters: Customizing lighting for specific tasks improves efficiency and comfort while working.
Estimated time for this step: 30 minutes.
Step 7: Optimize for Task Use
Editor’s Choice

Voncerus LED Desk Lamp with Clamp, Eye-Caring Clip on Lights for Home Of…
JOOFO LED Floor Lamp – Super Bright Torchiere with Remote & Foot Switc…

ONEMIX 42″ LED Desk Lamp with Clamp, Architect Desk Light with Remote, A…
Step 8: Evaluate and Make Adjustments
After setting everything up, take some time to evaluate your lighting.
- Turn on all lights and observe the overall brightness.
- Adjust positions or angles if some areas remain dark.
- Ensure there are no excessive glares or reflections.
Warning: If using multiple types of bulbs, ensure they have similar color temperatures for a cohesive look.
Why this matters: Regular evaluation ensures your lighting remains effective and comfortable over time.
Estimated time for this step: 30 minutes.
Step 8: Evaluate and Make Adjustments
Editor’s Choice

Dimmable LED Lamps for Living Room with 3 Color Temperatures, Ultra Brig…
ONEMIX 42″ LED Desk Lamp with Clamp, Architect Desk Light with Remote, A…
Amazon Basics Smart A19 LED Light Bulb, Color Changing, 9W (60W Equivale…
Step 9: Maintain Your Lighting
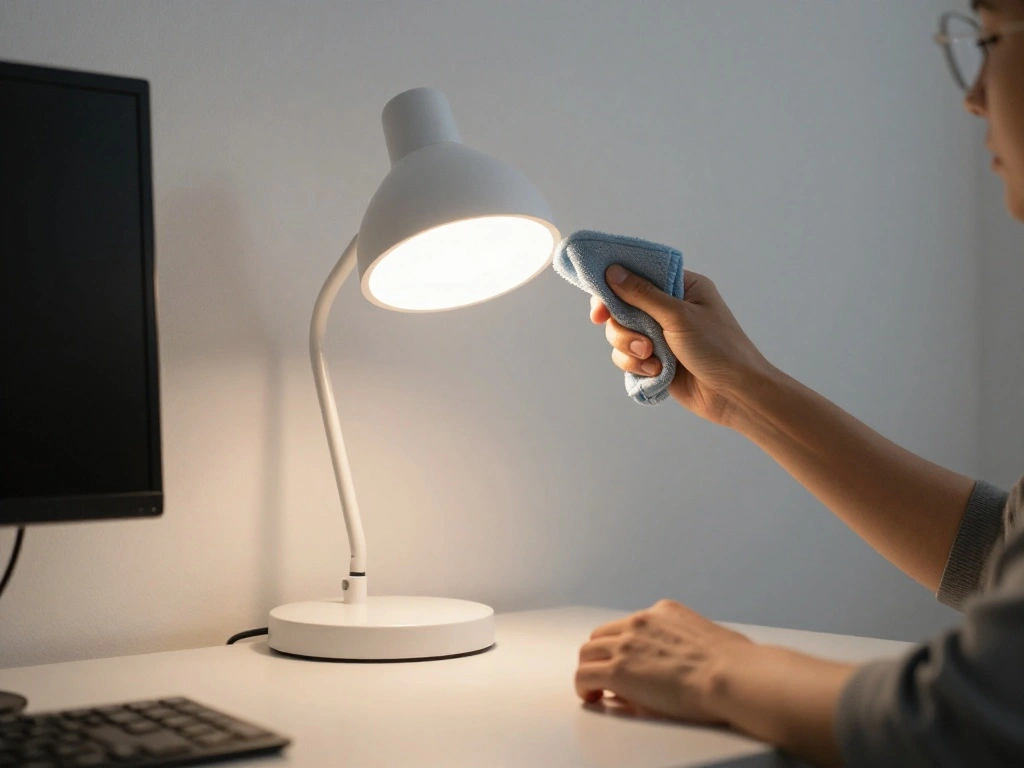
To keep your lighting effective, regular maintenance is key.
- Dust and clean fixtures regularly to ensure maximum brightness.
- Replace burnt-out bulbs promptly.
- Check for any wiring issues or loose connections periodically.
Pro Tip: Create a maintenance schedule to remind yourself of these tasks.
Why this matters: Regular maintenance extends the life of your lighting and keeps your workspace inviting.
Estimated time for this step: 30 minutes.
Step 9: Maintain Your Lighting
Editor’s Choice

Fluke 1AC II VoltAlert Non-Contact Voltage Tester, Pocket-Sized, 90-1000…

evelor 6-Pack A19 LED Light Bulbs,60 Watt Equivalent Daylight 5000K with…

Chandelier Cleaner Spray, 32 oz — No Wipe Drip Dry Crystal Chandelier …
Step 10: Enjoy Your New Workspace

Finally, take a moment to enjoy your newly lit office nook!
- Test out your workspace during different times of the day.
- Adjust any lighting based on your experience.
- Invite friends or colleagues to see your transformation.
Pro Tip: Share your new setup on social media for inspiration!
Why this matters: Celebrating your effort motivates you to maintain a productive and enjoyable workspace.
Estimated time for this step: 30 minutes.
Step 10: Enjoy Your New Workspace
Editor’s Choice

LEPOWER Desk Lamp, 800LM LED for Home Office, 12W Reading for Desk, Eye-…

Linkind Smart Light Bulbs, Smart Bulb that Work with Alexa, Google Home,…

Aisutha LED Floor Lamp, 18W Super Bright Floor Lamp for Living Room, Adj…
Pro Tips
- Layer Your Lighting: Use a mix of overhead, task, and accent lights for versatility.
- Color Matters: Choose warm tones for a cozy feel and cool tones for focus.
- Think About Placement: Position lights to avoid shadows, especially when reading or working.
- Use Smart Technology: Incorporate smart bulbs that you can control via apps for convenience.
- Consider Light Diffusers: Use diffusers on harsh lights to soften the glow and reduce glare.
Pro Tips
Editor’s Choice

LED Light Diffuser Board Diffusion Cover Sheet Anti-Glare for Soften Cei…
Common Mistakes to Avoid
Warning: Avoid over-lighting your space, which can lead to glare and discomfort.
Instead, find a balance with a mix of ambient and task lighting.
Warning: Don’t overlook the color temperature of bulbs. Using mismatched bulbs can create an uninviting atmosphere.
Stick to similar color temperatures for a cohesive look.
Warning: Avoid placing lights too far from work areas, as this can cause shadows and strain.
Ensure that light sources are close enough to your workspace for effective illumination.
Common Mistakes to Avoid
Editor’s Choice

JandCase A19 LED light Bulbs with Remote Control, 3 Color Temperature Li…
Airlonv LED Desk Lamp for Office Home, Eye-Caring Desk Light with Steple…
Modern Floor Lamp Simple Design with White Shade, Foot Pedal Switch, 60″…
Troubleshooting Section
Problem: The space feels too dark despite having lights.
Solution: Evaluate the placement of your lights and adjust angles or add more fixtures if necessary.
Problem: Lights are causing glare on screens.
Solution: Reposition the light sources or use diffusers to soften the light.
Problem: Bulbs keep burning out quickly.
Solution: Check the wattage compatibility of your bulbs and ensure they are not overpowered.
Problem: The lighting feels harsh or uninviting.
Solution: Switch to warmer LED bulbs to create a cozy atmosphere.
Problem: Flickering LED lights.
Solution: Confirm that the bulbs are compatible with your fixtures and that the wiring is secure.
Troubleshooting Section
Editor’s Choice
LED Light Diffuser Board Diffusion Cover Sheet Anti-Glare for Soften Cei…

evelor 6-Packs A19 LED Light Bulbs,100 Watt Equivalent Daylight 5000K Br…
ONEWISH Industrial Table Lamp for Bedroom, Fully Dimmable Modern Bedside…
Variations/Alternative Methods
If you want to explore other options, consider these alternatives:
- Natural Light Simulation: Use light therapy lamps that mimic natural light, especially useful in winter months.
- Smart Lighting Solutions: Incorporate smart bulbs that adjust brightness and color temperature throughout the day.
- Task-Specific Lighting: Use clip-on or portable lamps for specific tasks like reading or crafting.
Each method has its own benefits, so choose based on your needs.
Variations/Alternative Methods
Editor’s Choice
Voncerus LED Desk Lamp with Clamp, Eye-Caring Clip on Lights for Home Of…

Kasa Smart Light Bulbs, Full Color Changing Dimmable Smart WiFi Bulbs Co…

Verilux HappyLight Lucent – One-Touch Light Therapy Lamp with 10,000 Lux…
FAQs
What if I don’t have enough outlets? Consider using power strips or extension cords to accommodate your lights safely.
How long should I leave my lights on? It’s best to turn them off when not in use; however, using smart bulbs can help manage this automatically.
Is it safe to use LED strips? Yes, as long as they are installed correctly and used with appropriate voltage.
Can I use a mix of different types of bulbs? Yes, but ensure they have similar color temperatures to maintain a cohesive look.
What if the light is too harsh? Consider adding a lampshade or diffuser to soften the light.
FAQs
Editor’s Choice
Amazon Basics Smart A19 LED Light Bulb, Color Changing, 9W (60W Equivale…
Govee RGBIC LED Strip Lights, Smart LED Lights for Bedroom, Bluetooth LE…

6Ft Power Strip Surge Protector – Yintar Extension Cord with 6 AC Outlet…
Conclusion
Congratulations! You’ve successfully added lighting to your windowless office nook, transforming it into a bright and inviting space. Enjoy the enhanced productivity and comfort that comes with a well-lit environment.
As you settle in, consider other ways to personalize your nook. Perhaps add a cozy chair, or some motivational quotes on the wall. This will not only make your workspace more enjoyable but also inspire creativity.
Keep experimenting with your lighting setup and decorating your nook to find what best suits your style and needs. Happy working!