Building your own desk can be an incredibly rewarding experience. Whether you’re working from home or creating a cozy workspace in a corner of your living room, having a desk that suits your needs is essential. I made this post because I know how fulfilling it can be to transform raw materials into a functional piece of furniture that reflects your personal style. Plus, in a world filled with overpriced furniture options, why not craft something unique and tailored just for you?
If you’re someone who loves DIY projects or simply wants to elevate your home office setup, you’re in the right place. This guide is for anyone eager to take on the challenge of building a rustic desk from scratch. You’ll find all the essential tools you need, along with practical tips and tricks to help you along the way. By the end, you’ll feel empowered to create not just any desk, but one that enhances your workspace, boosts ergonomics, and matches your aesthetic.
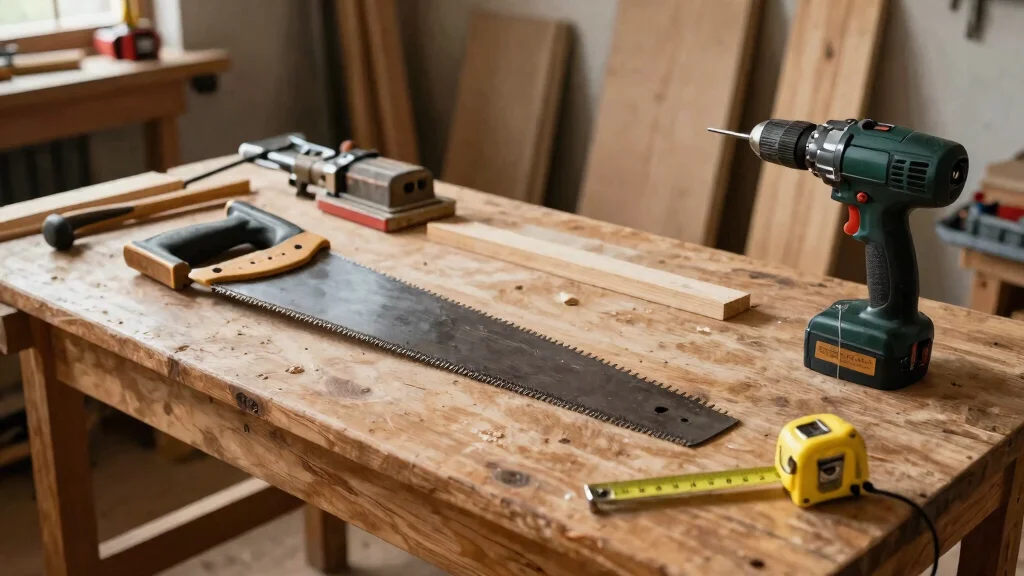
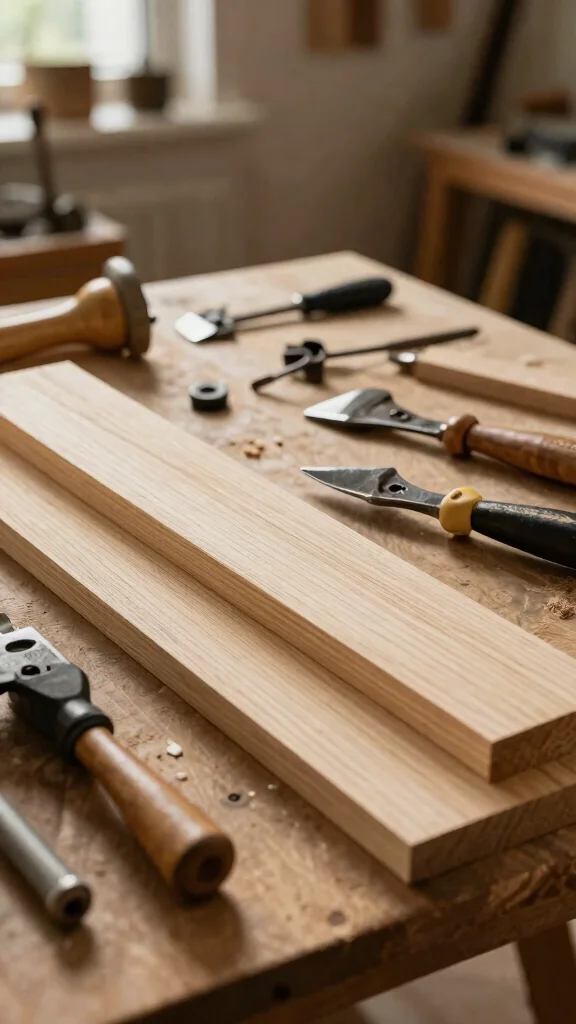
In this post, I’ve compiled a list of eight essential tools that will make your desk-building journey smoother and more enjoyable. From the crucial circular saw to the often-overlooked safety gear, each tool plays a vital role in ensuring your project is a success. Let’s dive into the world of DIY desk building and craft a workspace that inspires productivity and creativity!
Key Takeaways
– You need the right tools to build a desk, ensuring safety and efficiency throughout the process.
– Essential tools for DIY desk building include a circular saw, power drill, and clamps, which help with cutting and securing materials.
– Creating a home office setup that is both stylish and functional requires careful planning and thoughtfulness in design.
– Ergonomics is key; using the right desk height and arrangement can vastly improve your comfort and productivity.
– With a little patience and creativity, you can transform simple wood into a beautiful desk that fits your personal style and needs.
1. Circular Saw
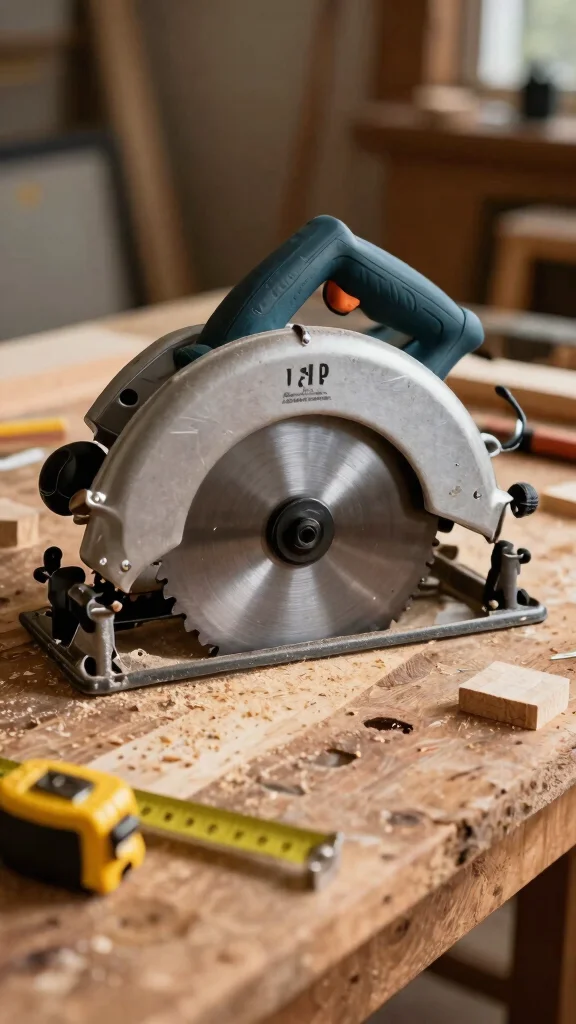
The circular saw is an essential tool for any DIY enthusiast, delivering quick and precise cuts through various wood types.
This remarkable tool allows you to transform larger planks into perfectly sized pieces for your desk, resulting in a visually pleasing design. You’ll enjoy how it makes your woodworking projects smoother and more efficient.
To make the most of your circular saw, consider these tips:
– Always wear safety glasses to protect your eyes.
– Use a straight edge as a guide for longer cuts.
– Adjust the blade depth to match the thickness of your wood.
Investing in a quality circular saw not only enhances your woodworking skills but also ensures a professional finish for your projects.
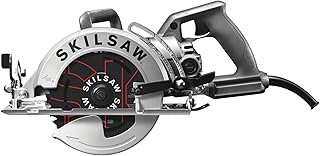
Circular Saw
Editor’s Choice


DEWALT 20V MAX XR Brushless Cordless 7-1/4 in. Circular Saw, Tool Only (…


2. Power Drill
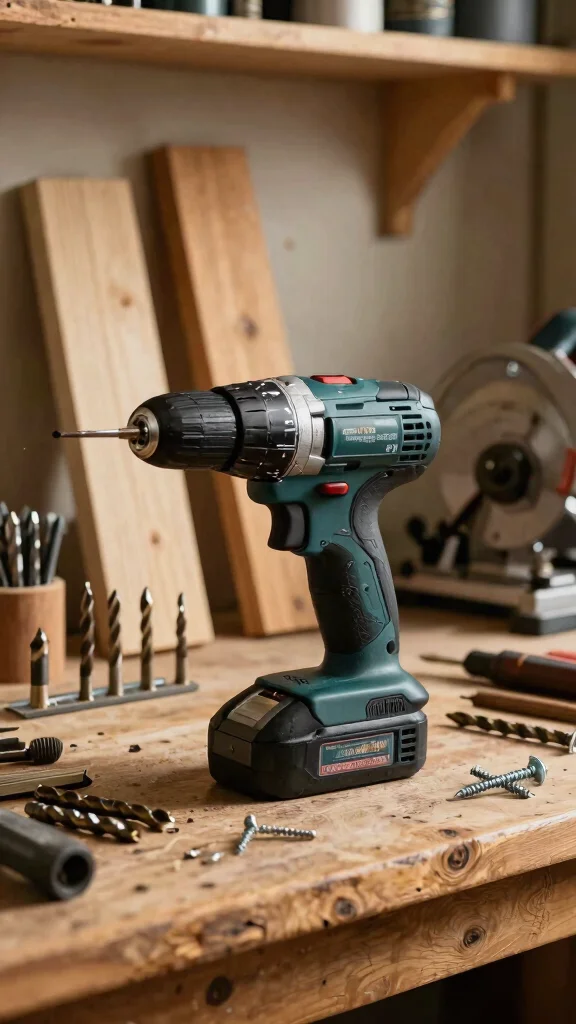
A power drill is an indispensable tool for assembling your desk, making it easier to drill holes and drive screws.
This versatile device speeds up the construction process, allowing you to focus on creativity. Choose a drill with variable speed settings and a clutch to prevent over-tightening, safeguarding your wood from damage.
Here are some practical tips for using a power drill:
– Use wood-specific drill bits for cleaner holes.
– Apply gentle pressure to let the drill do the work.
– Keep your drill bits sharp for best results.
A reliable power drill will help you breeze through the assembly phase, leading to a sturdy and functional desk.
Did you know a variable-speed power drill can speed up your desk build by up to 30%? When you pair a clutch with wood-specific bits, you protect the wood and keep your project on track—the right tools to build a desk make everything smoother.
Power Drill
Editor’s Choice
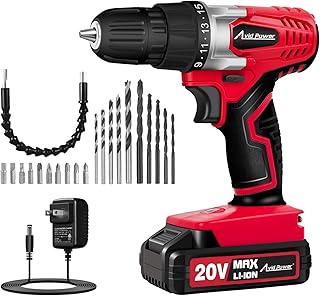
AVID POWER 20V Cordless Drill Set for Home DIY & Beginner Projects – Lig…

Genesis 4.2 Amp Corded Drill Variable Speed Reversible Electric with 3/8…

COMOWARE 20V Cordless Drill, Electric Power Drill Set with 1 Battery & C…

DEWALT Drill, 8.0-Amp, 3/8-Inch, Variable Speed Trigger, Mid-Handle Grip…

🎨 Personalize Your Workspace Today!
Transform your desk area with creative ideas from The Renter’s Decorating Journal and make it uniquely yours.
3. Orbital Sander
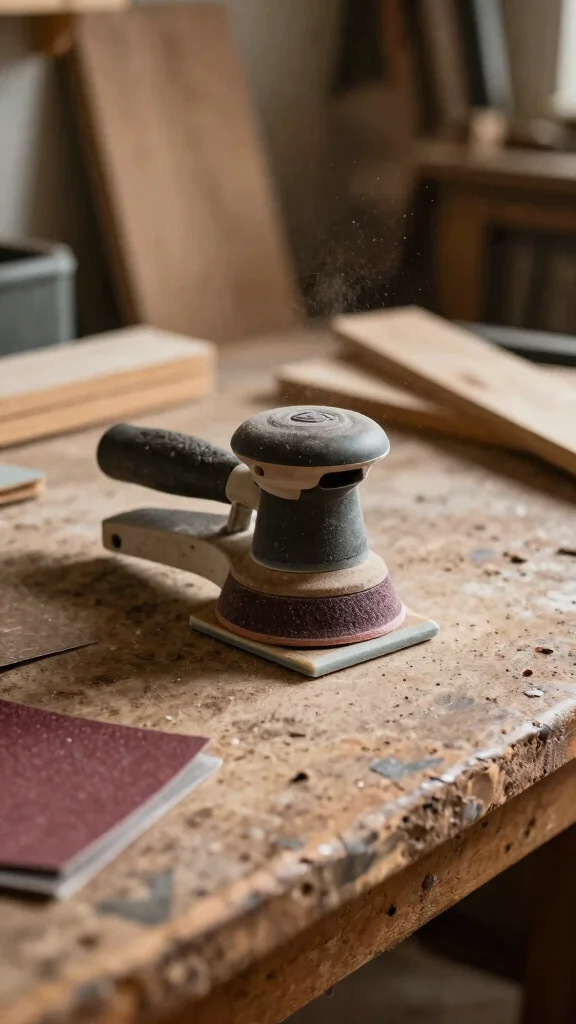
An orbital sander is your go-to tool for achieving that smooth, professional finish on your desk.
This handy device efficiently removes rough edges and imperfections, making it perfect for rustic designs that highlight natural beauty. Start with coarse grit sandpaper for heavy sanding, then finish with finer grit for a refined look.
To use your orbital sander effectively, keep these tips in mind:
– Sand with the grain of the wood to avoid scratches.
– Use a vacuum to keep your workspace tidy.
– Opt for a sander with a dust collection feature for less cleanup.
With an orbital sander, you can elevate your DIY desk to a new level of quality.
Fun fact: an orbital sander can shave minutes off your desk project, spinning at up to 12,000–15,000 OPM. Start with coarse grit for rough edges, then finish with finer grit to reveal the rustic wood’s natural beauty.
Orbital Sander
Editor’s Choice

BOSCH ROS20VSC Palm Sander with Vacuum Dust Collector, 2.5 Amp 5 Inch Co…

DEWALT Random Orbit Sander, Variable Speed, 5-Inch (DWE6423), Power Sour…

DEWALT Orbital Sander Kit, 5 inch, 3 amp, Corded, 12,000 OPM (DWE6421K)


4. Measuring Tape
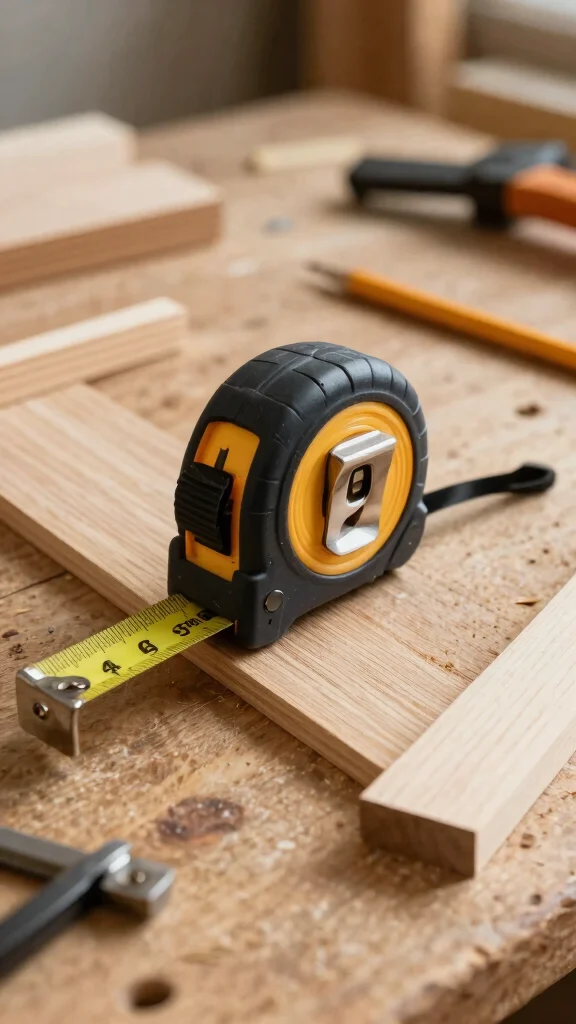
Precision is vital in DIY projects, and a measuring tape is your best ally for accuracy.
This straightforward tool ensures every piece of your desk fits together perfectly, making your design cohesive and functional. A measuring tape of at least 25 feet offers the flexibility needed for larger wood pieces.
To use your measuring tape effectively, try these suggestions:
– Measure twice before cutting to minimize errors.
– Use the hook at the end for easy anchoring.
– Mark measurements with a pencil for clear visibility.
Adding a measuring tape to your toolkit is essential for achieving a polished result in your desk design.
Fun fact: Using a measuring tape of 25 feet or longer gives you flexibility for big panels. Measuring twice before cutting saves wasted wood and headaches.
Measuring Tape
Editor’s Choice


Klein Tools 9225 Tape Measure, Heavy-Duty Measuring Tape with 25-Foot Do…

Komelon 7125IE; 25′ x 1″ Magnetic MagGrip Pro Tape Measure with Inch/Eng…
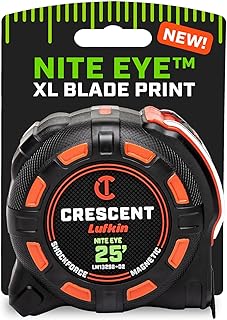
Crescent Lufkin 25 Ft. SHOCKFORCE NITE EYE Magnetic Tape Measure | LM132…
📹 Related Video: Tape Measure Tips and Tricks – What is that marking?
5. Wood Glue
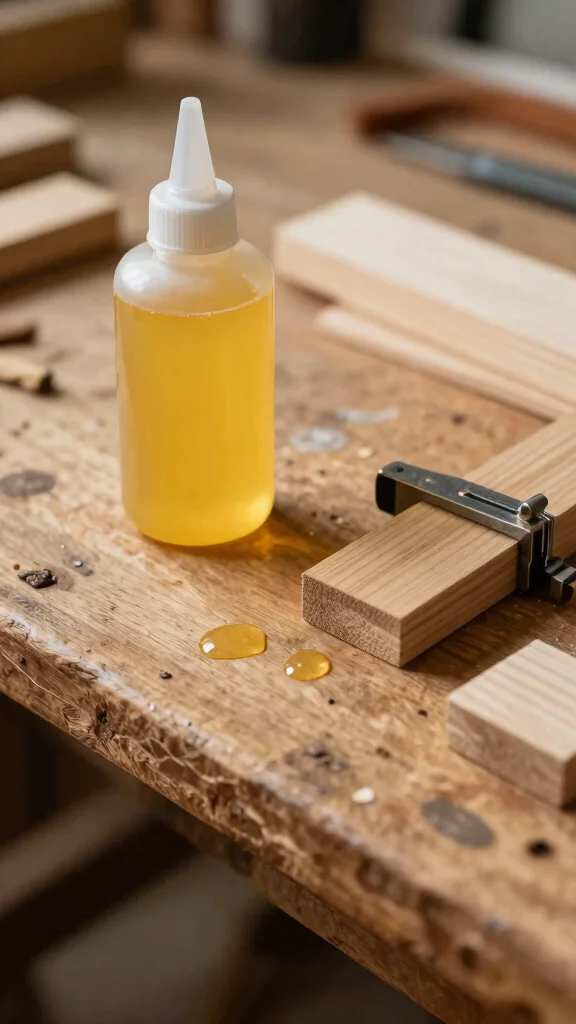
While screws and nails create strong connections, wood glue is often the unsung hero in furniture building.
It provides a durable bond that enhances your desk’s overall strength, especially when paired with screws. Look for wood glue that dries clear to keep your desk’s aesthetic intact.
To use wood glue effectively, consider these tips:
– Apply an even coat on both surfaces for strong adhesion.
– Clamp the pieces together for optimal results.
– Clean up excess glue immediately with a damp cloth.
Incorporating wood glue into your construction process will ensure your desk remains sturdy and visually appealing over time.
6. Clamps
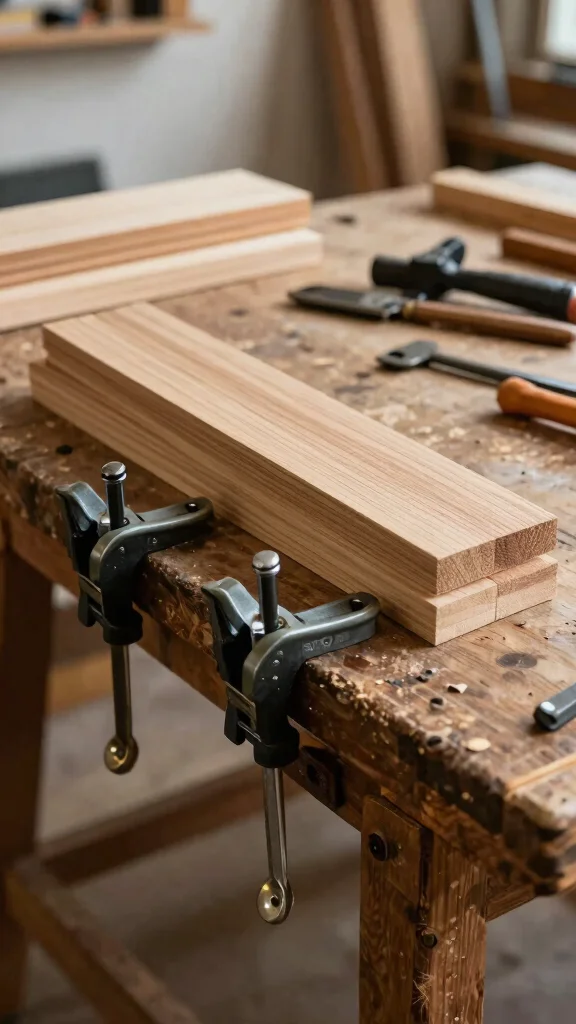
Clamps are vital for holding your wood pieces securely while the glue dries or during assembly.
These tools prevent movement, ensuring everything aligns perfectly for sturdy construction. Investing in a variety of clamps, such as bar clamps and quick-release clamps, will help you tackle different sizes and shapes of wood.
Best practices for using clamps include:
– Position clamps evenly for balanced pressure.
– Release clamps slowly to maintain alignment.
– Monitor pressure to avoid damaging the wood.
With the right clamps, you’ll achieve a seamless and professional look for your rustic desk.
7. Screwdriver Set
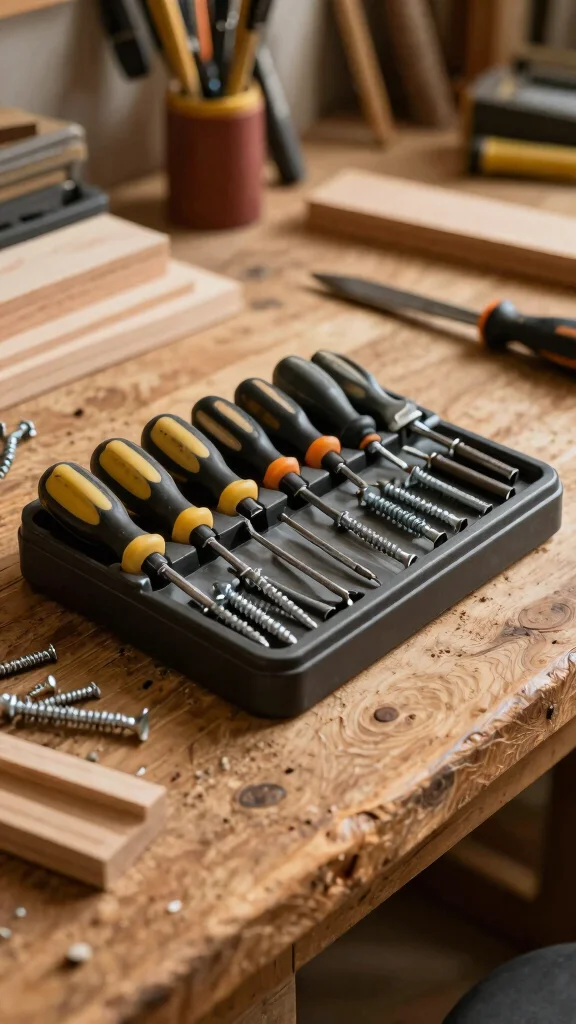
A sturdy screwdriver set is essential for any DIY desk project, allowing you to drive screws securely.
Choose a set that includes both flathead and Phillips screwdrivers for versatility in your assembly tasks. Keeping your screwdrivers organized in a case prevents loss and maintains efficiency.
To maximize your screwdriver set’s effectiveness, use these tips:
– Use the correct size to avoid stripping screws.
– Change out worn tips for better performance.
– Keep them organized for easy access.
With a reliable screwdriver set, you can efficiently connect all components of your desk, leading to a sturdy and attractive final product.
How To Choose The Right Tools to Build Your Desk
Building your own desk can be a rewarding project, but selecting the right tools is key to success. Here’s how you can choose the best tools for the job and ensure your DIY desk building experience is smooth and enjoyable.
1. Assess Your Project Needs
Before you start shopping for tools, think about your desk design ideas and the materials you plan to use. Will you be working with hardwoods, plywood, or particle board? Knowing this will help you determine the appropriate tools. For example, harder materials may require more powerful equipment like a circular saw, while softer woods might be easier to work with basic hand tools.
2. Consider Tool Versatility
Choose tools that can serve multiple purposes. For instance, a power drill can be used for drilling holes and driving screws. This way, you save money and space in your workshop. Look for tools that can adapt to different projects, which is especially beneficial if you plan to undertake more DIY projects in the future.
3. Evaluate Your Skill Level
Your experience level should guide your tool selection. If you’re a beginner, opt for user-friendly tools that come with clear instructions. For example, a cordless drill is easier to handle than a heavy-duty drill press. Start with the basics and gradually invest in more advanced tools as your skills improve.
4. Prioritize Safety Features
Safety should never be overlooked. When choosing tools, look for models with safety features such as guards and automatic shut-offs. For example, many modern circular saws come with blade guards that prevent accidental cuts. Investing in good safety gear like gloves and goggles is also essential for protecting yourself during the building process.
5. Set a Reasonable Budget
Building a desk doesn’t have to break the bank. Determine how much you’re willing to spend on tools and stick to that budget. Tools can vary widely in price, so look for quality options that fit within your financial plan. Remember that while it’s tempting to go for the cheapest option, investing a bit more in quality tools can save you money in the long run.
6. Read Reviews and Seek Recommendations
Take the time to read product reviews and ask fellow DIY enthusiasts for their recommendations. This can give you insight into which brands and models are reliable. Websites like Home Depot and Lowe’s often feature customer reviews. Knowing which tools have stood the test of time can help you make informed decisions.
Pro Tip: Don’t hesitate to rent tools that you won’t use often. Many home improvement stores offer tool rental services. This can be a cost-effective way to access high-quality equipment without the full purchase price.
By following these guidelines, you’ll be well-equipped to select the right tools for building your DIY rustic home office desk. Happy building!
8. Safety Gear
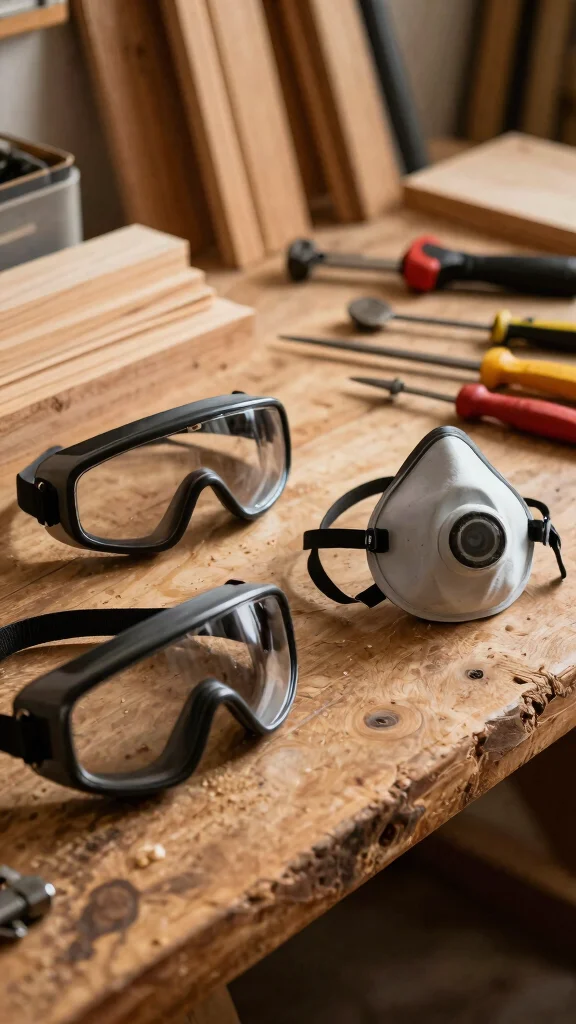
Investing in safety gear is crucial for any DIY project, protecting you as you work.
Safety goggles, dust masks, and ear protection are essential to create a safe working environment while building your desk. Prioritizing your safety enables you to focus on the joy of creating without worry.
Here are some key safety tips:
– Always wear safety goggles to shield your eyes.
– Use a dust mask to filter harmful particles.
– Keep a first-aid kit nearby for emergencies.
By prioritizing safety, you ensure that your DIY experience is both enjoyable and secure.
Safety Gear
Editor’s Choice

NoCry Anti Fog Safety Goggles Over Glasses For Men And Women — ANSI Z87….

3M GoggleGear Eye Protective Goggle 3000 Series, Clear Scotchgard Anti-F…

OXG Safety Goggles ANSI Z87.1 Glasses, Anti-Fog Protective Safety Glasse…


First Aid Only 91248 OSHA-Compliant First Aid Kit, All-Purpose 50-Person…
Conclusion
Building your own desk can be a rewarding experience that transforms your workspace into something unique and personalized.
With these essential tools—ranging from a circular saw to the right safety gear—you’ll be well on your way to crafting a beautiful rustic desk that meets your needs.
Ready to dive in? Grab your tools and let your creativity flow!
Note: We aim to provide accurate product links, but some may occasionally expire or become unavailable. If this happens, please search directly on Amazon for the product or a suitable alternative.
This post contains Amazon affiliate links, meaning we may earn a small commission if you purchase through our links, at no extra cost to you.
Frequently Asked Questions
Question: What Are the Essential Tools You Need to Build Your Own Desk?
For any DIY desk building project, you’ll want a core set of woodworking tools that cover measuring, cutting, joining, and finishing, plus safety gear. Think: a dependable measuring tape, a sturdy carpenter’s square, a saw (handsaw or circular saw), a power drill with driver bits, an assortment of clamps, a sanding block or orbital sander, sandpaper in grits 120–220, a level, and a file or plane for edge smoothing. Don’t forget PPE like a dust mask, safety glasses, and hearing protection. Mastering these tools to build a desk makes any DIY desk building project faster and cleaner. Tip: sketch your plan and cut list first so your home office setup comes together smoothly.
Question: Which Tools Help Create a Rustic DIY Desk That’s Sturdy and Stylish?
For a rustic, sturdy look, rely on durable woodworking tools that handle rough-sawn boards and joinery. Start with a circular saw or miter saw for clean cuts, a drill/driver with wood bits, and either a pocket-hole jig or a doweling/biscuit joiner to keep surfaces tight. Clamp everything firmly with several sturdy clamps, use a square and level for accuracy, and finish with a sanding block or orbital sander to blend edges. If you want framed or live-edge details, consider a router for decorative edges. Toss in a good wood glue and finish that suits your desk design ideas while keeping your home office setup ergonomic and comfortable.
Question: What Are the Best Tools for Beginner DIY Desk Building?
If you’re new to DIY desk building, choose beginner-friendly tools that cover the basics and stay safe. A saw (handsaw or circular), a drill/driver with a variety of bits, a couple of clamps, a measuring tape, a square, a level, and a sanding block or orbital sander will handle most jobs. Add a utility knife, a chisel set, and a few sanding discs to finish edges. Lean on a pocket-hole jig or dowel kit for easy, strong joins. Prioritize good quality, shareable safety gear, and small test cuts to practice before committing to your final home office setup.
Question: How Can I Ensure an Ergonomic Workspace When Building My Desk?
Great question for anyone focused on ergonomic workspace. Start with desk height that keeps your forearms parallel to the floor and your elbows at about 90 degrees. Ensure at least 28–30 inches of knee clearance; plan for a monitor at eye level and a keyboard at comfortable reach. Choose an appropriate desk depth for your monitor, keyboard, and mouse, and consider cable management to keep the surface clutter-free. Use rounded edges and a sturdy surface, and pair your desk with an adjustable chair and a good footrest if needed. These desk design ideas will help your home office setup stay comfy and productive.
Question: What Are Some Quick DIY Desk Design Ideas for Small Spaces?
For small spaces, smart desk design ideas can make a big impact. Try a wall-mounted or fold-down desk to save floor space, or a compact floating desk that anchors to a wall. Use a shallow work surface with integrated storage like slim drawers or a rail system. Choose a warm, rustic material such as reclaimed pine and finish with a matte sealant to keep it light and airy in your home office setup. Add a compact LED task lamp, good cable management, and a comfortable chair; with the right tools to build a desk and careful planning, you’ll have a functional, stylish workspace without crowding the room.
Related Topics
home decor
DIY desk building
rustic style
woodworking tools
ergonomic workspace
budget friendly
beginner friendly
desk design ideas
home office setup
custom furniture
workspace organization
handmade desk