In today’s virtual world, the importance of good lighting during video meetings cannot be overstated. Poor lighting can obscure your features and convey a lack of professionalism, causing misunderstandings or distractions. Whether you’re in a professional meeting or connecting with family and friends, having the right lighting can make a significant difference.
This guide will walk you through various techniques to enhance your webcam lighting, ensuring you look your best on every call. By the end of this article, you’ll be equipped with easy-to-implement strategies that improve your lighting setup, create a more engaging atmosphere, and boost your overall presentation.
You will learn about positioning lights, utilizing natural light, and choosing the right equipment—all aimed at elevating your video calls. This is a beginner guide and will take approximately 30-60 minutes to complete. So let’s get started and transform your video presence!
TL;DR Summary
– Improve your webcam lighting to enhance your video presence.
– Learn to use natural and artificial lighting effectively.
– Follow 10 actionable steps to set up your lighting correctly.
TL;DR Summary
Editor’s Choice

UBeesize 12’’ Overhead Ring Light for Desk with Phone Mount, LED Sel…

NEEWER 700W Equivalent Softbox Lighting Kit, 2Pack UL Certified 5700K LE…

Airlonv LED Desk Lamp for Office Home, Eye-Caring Desk Light with Steple…
Prerequisites/Materials Needed
- Natural light source (e.g., window)
- Desk lamp or ring light
- Reflective surfaces (e.g., whiteboard or poster)
- Tripod or stable surface for camera
- Webcam (if not using built-in laptop camera)
- Optional: Softbox light for professional setup
Prerequisites/Materials Needed
Editor’s Choice

GVM RGB LED Video Lighting Kit, 800D Studio Video Lights with Panel, APP…

LitONES Led Desk Lamps for Home Office with Base, Tall Desk Lamp with 50…

Upgraded Ring Light for Laptop, Monitor & Desk – Eye-Caring Diffused L…
Skill Level & Time Estimate
Skill Level: beginner
Total time estimate: 30-60 minutes
Skill Level & Time Estimate
Editor’s Choice

Cyezcor Video Conference Lighting Kit, Ring Light for Monitor Clip On,fo…

Skytex Softbox Lighting Kit 2Pack,20x28in Soft Box |Upgrade 135W 2700-64…

Lepro LED Desk Lamp for Home Office, 9.5W 750LM Metal Touch Control Desk…
Step 1: Identify Your Lighting Sources
Start by assessing the lighting in your space. Look for both natural and artificial light sources.
- Observe the direction of light coming from windows.
- Check for overhead lights and lamps.
- Take note of any reflections or shadows that may occur.
Pro Tip: Position your workspace near a window for optimal natural lighting. Why this matters: Understanding your lighting sources helps you manipulate them for the best results.
Time estimate: 5-10 minutes.
Step 1: Identify Your Lighting Sources
Editor’s Choice

Torjim Softbox Photography Lighting Kit, 16” x 16” Professional Softbo…

UBeesize 12” LED Ring Light with 62” Tripod Stand, Selfie Ring Light f…

LitONES Video Conference Lighting for Zoom Meeting, Ring Light for Desk …
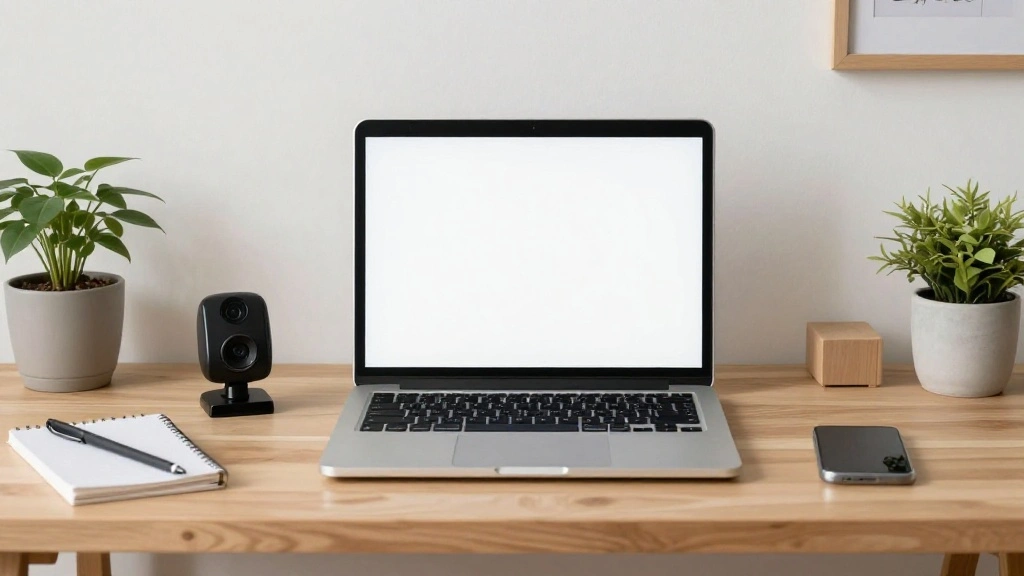
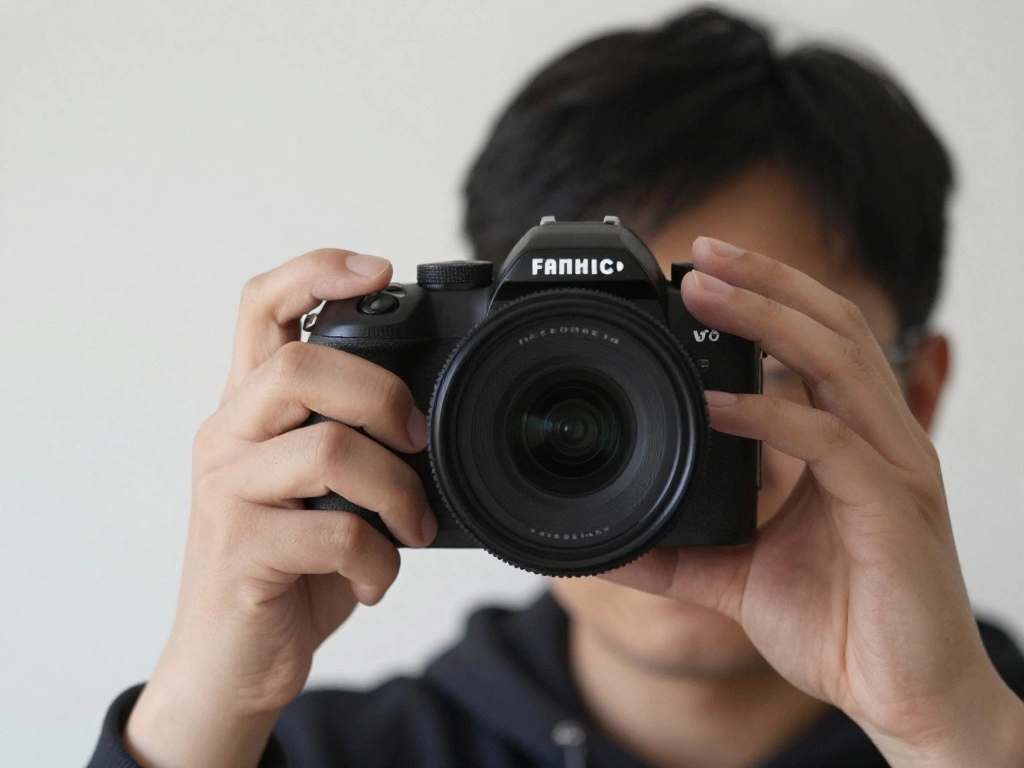
Step 2: Position Your Webcam
Next, position your webcam properly to capture the best light. Follow these steps:
- Place your webcam at eye level.
- Ensure the camera is facing the light source.
- Avoid placing the camera in shadows.
Warning: Avoid backlighting, which can create a silhouette effect. Why this matters: A well-placed webcam enhances your visibility and engagement during meetings.
Time estimate: 5-10 minutes.
Step 2: Position Your Webcam
Editor’s Choice
UBeesize 12’’ Overhead Ring Light for Desk with Phone Mount, LED Sel…

Webcam Tripod Stand Extendable Desktops Tripod for Camera/Phone/Webcam, …
NEEWER 700W Equivalent Softbox Lighting Kit, 2Pack UL Certified 5700K LE…
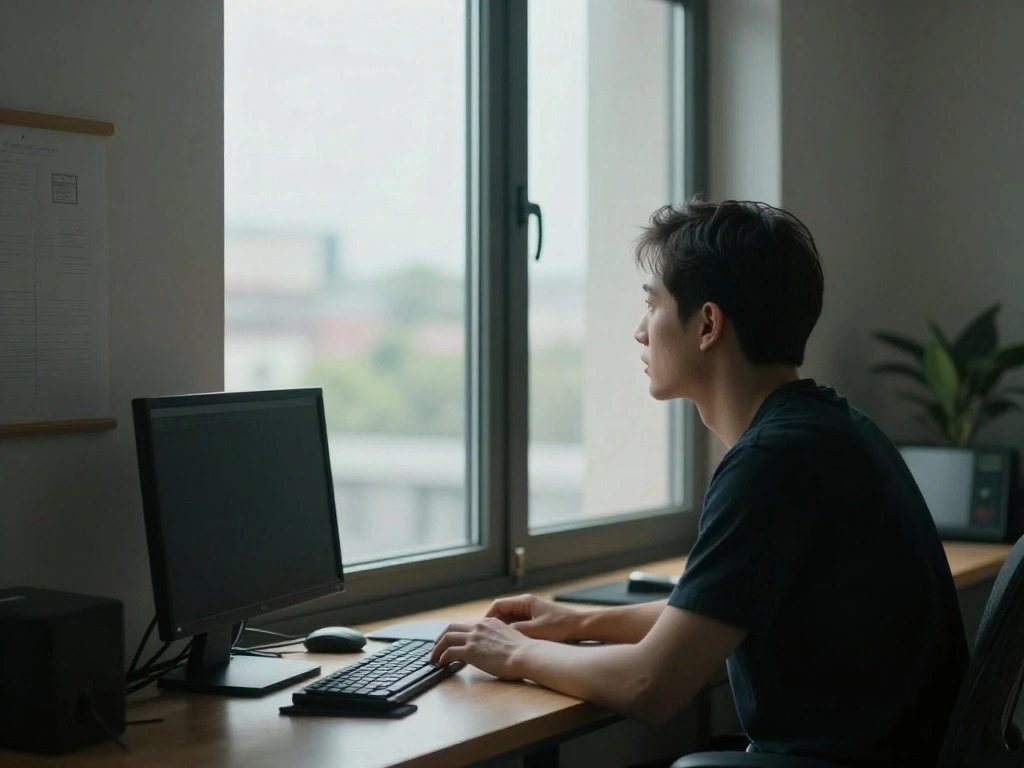
Step 3: Use Natural Light
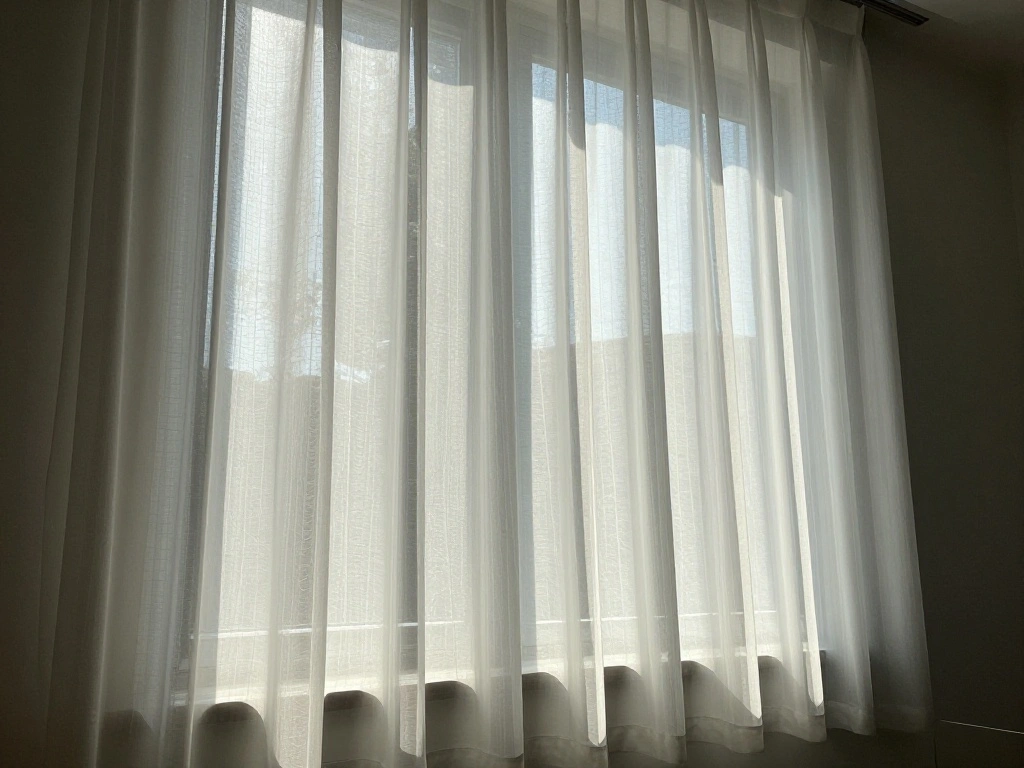
Utilizing natural light is one of the best ways to improve your webcam lighting. Here’s how:
- Position your desk near a window.
- Use sheer curtains to diffuse harsh sunlight.
- Avoid direct sunlight, which can cause glare.
Pro Tip: The best natural light is during the golden hour, just after sunrise or before sunset. Why this matters: Natural light provides a flattering, soft glow that enhances your appearance.
Time estimate: 10-15 minutes.
Step 3: Use Natural Light
Editor’s Choice

OWENIE White Sheer Curtains 84 inches Long 2 Panels Set, Sheer White Cur…
Step 4: Add Task Lighting
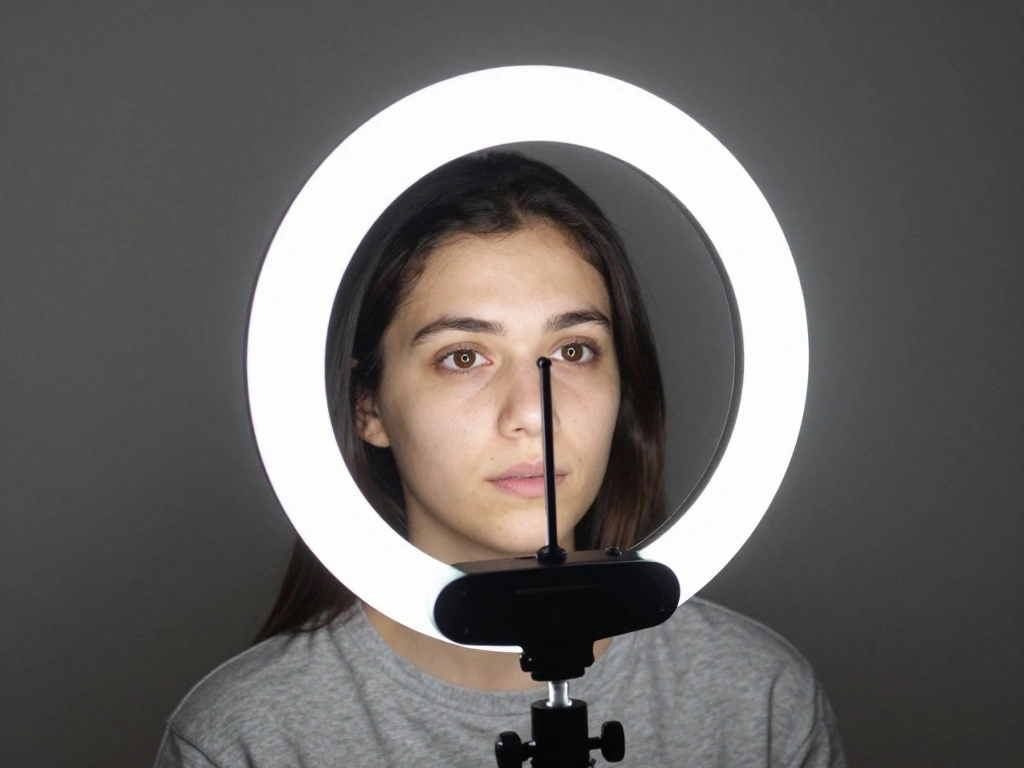
If natural light isn’t sufficient, consider adding task lighting. Follow these steps:
- Select a desk lamp or ring light.
- Position it at a 45-degree angle from your face.
- Aim for a soft, warm light setting.
Warning: Avoid harsh, direct lighting that can create shadows or glare. Why this matters: Proper task lighting balances your appearance and maintains focus on you during calls.
Time estimate: 10-15 minutes.
Step 4: Add Task Lighting
Editor’s Choice

BOHON LED Desk Lamp with USB Charging Port 3 Color Modes Dimmable Readin…

Torjim Softbox Photography Lighting Kit, 16” x 16” Professional Softbo…

Zoom Lighting for Computer, Adjustable Desk Lighting for Video Calls, 30…
Step 5: Use Reflective Surfaces
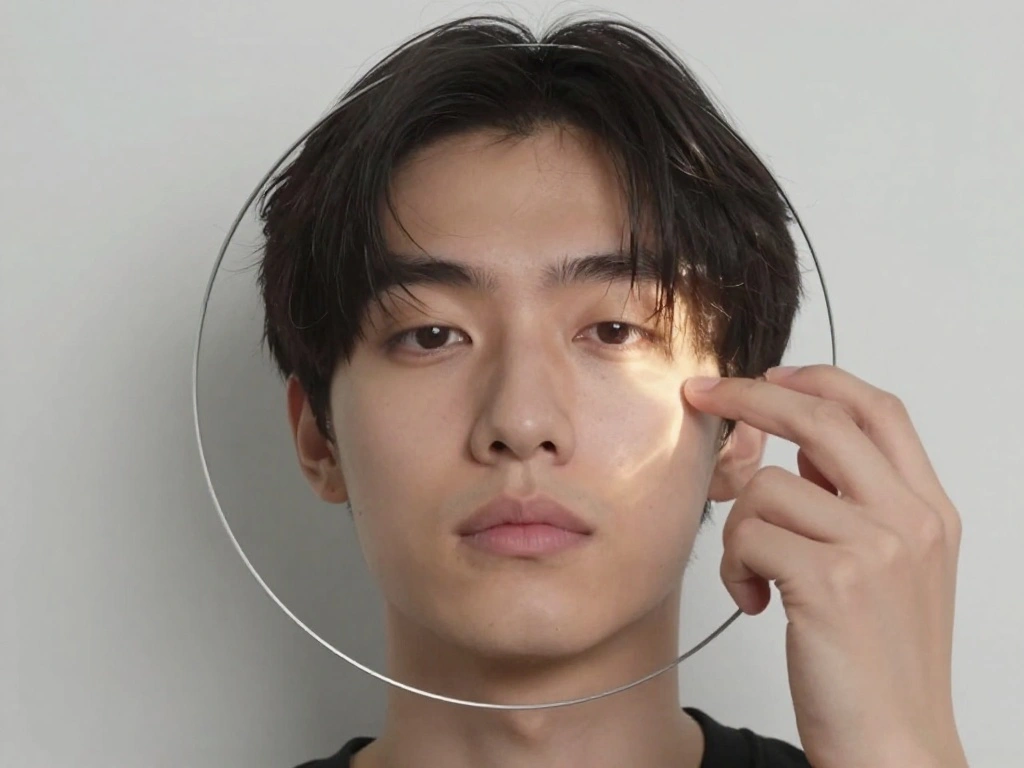
To enhance your lighting setup, utilize reflective surfaces. Here’s how:
- Place a whiteboard or poster board opposite your light source.
- Experiment with the angle to bounce light towards your face.
- Consider using silver or gold reflectors for warmer tones.
Pro Tip: The placement of reflective surfaces can dramatically change the light quality. Why this matters: Reflective surfaces help diffuse and soften harsh lighting, making your video more flattering.
Time estimate: 10-15 minutes.
Step 5: Use Reflective Surfaces
Editor’s Choice

NEEWER 22 Inch/60 Centimeter Light Reflector Light Diffuser 5 in 1 Colla…

50 Pack White Poster Boards, 11″x14″ White Poster Paper Heavyweight Post…

WELZK A3 Light Board with Side Buttons,16.6×12.6 Inch Light Pad | Side …
Step 6: Adjust Your Camera Settings

Make sure to adjust your camera settings for optimal performance. Follow these steps:
- Access your camera settings through your webcam software.
- Adjust brightness and contrast levels.
- Enable auto-white balance for more natural colors.
Warning: Avoid overly bright or overly dark settings. Why this matters: Proper camera settings enhance image quality and color accuracy, making you look your best.
Time estimate: 5-10 minutes.
Step 6: Adjust Your Camera Settings
Editor’s Choice
UBeesize 12” LED Ring Light with 62” Tripod Stand, Selfie Ring Light f…

Zoom Lighting for Computer, Adjustable Desk Lighting for Video Calls, 30…

Logitech Brio 101 Full HD 1080p Webcam for Meetings, Streaming, Desktop,…
Step 7: Experiment with Angles
Finding the right angle can make a significant difference. Here’s how to experiment:
- Take test shots from different angles.
- Adjust the height of your webcam or phone.
- Observe how different angles affect your lighting.
Pro Tip: A slight tilt can enhance your features and reduce shadows. Why this matters: The right angle can enhance your appearance, making your video presence more engaging.
Time estimate: 10-15 minutes.
Step 7: Experiment with Angles
Editor’s Choice
Webcam Tripod Stand Extendable Desktops Tripod for Camera/Phone/Webcam, …
UBeesize 12” LED Ring Light with 62” Tripod Stand, Selfie Ring Light f…
Torjim Softbox Photography Lighting Kit, 16” x 16” Professional Softbo…
Step 8: Control Background Lighting

Background lighting can distract from your main subject. To control it:
- Turn off any bright lights behind you.
- Use dimmer switches or lamps to control background brightness.
- Consider a neutral background to reduce distractions.
Warning: Avoid cluttered or overly bright backgrounds. Why this matters: A controlled background enhances focus on you and creates a professional appearance.
Time estimate: 5-10 minutes.
Step 8: Control Background Lighting
Editor’s Choice
Zoom Lighting for Computer, Adjustable Desk Lighting for Video Calls, 30…

Wireless Dimmer Switch, Remote Light Switch and Receiver kit, Compatible…

Beige Backdrop for Photoshoot, Professional Photo Backdrop Background Cu…
Step 9: Test Your Setup
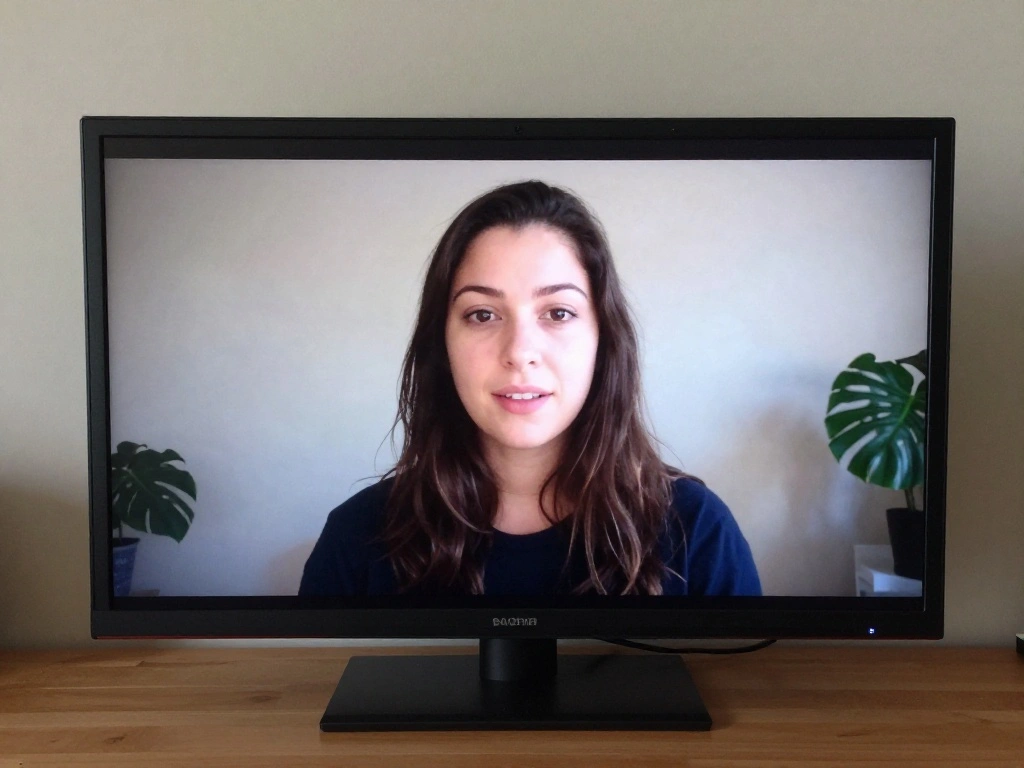
Before your meeting, perform a test run of your lighting setup:
- Start a video call with a friend or colleague.
- Ask for feedback on your lighting.
- Make adjustments as necessary based on their input.
Pro Tip: Use a mirror to check your appearance in real-time. Why this matters: Testing your setup ensures you appear professional and confident during your actual meetings.
Time estimate: 10-15 minutes.
Step 9: Test Your Setup
Editor’s Choice
Zoom Lighting for Computer, Adjustable Desk Lighting for Video Calls, 30…

Sensyne Ring Light with Stand, 50″ Phone Tripod for iPhone & Android, LE…

Gohero Full HD 1080P Video Webcam, Noise Cancellation, Privacy Cover, Wi…
Step 10: Maintain Your Setup

Finally, keep your lighting setup consistent. To maintain it:
- Regularly check your light sources for functionality.
- Adjust positioning as needed for different times of day.
- Ensure your workspace remains tidy and organized.
Pro Tip: Create a checklist for your video call prep to ensure everything is ready. Why this matters: Consistency in your setup enhances professionalism and reduces stress before meetings.
Time estimate: 5-10 minutes.
Step 10: Maintain Your Setup
Editor’s Choice
Torjim Softbox Photography Lighting Kit, 16” x 16” Professional Softbo…
UBeesize 12” LED Ring Light with 62” Tripod Stand, Selfie Ring Light f…
Pro Tips
- Lighting Position: Place your light source at a 45-degree angle to soften shadows on your face.
- Color Temperature: Use lights with a color temperature between 2700K and 3000K for warm lighting.
- Use Diffusers: Softening harsh light with a diffuser can improve your appearance.
- Keep it Simple: Sometimes, less is more. A single light source can be enough if positioned correctly.
- Regular Updates: Regularly update your lighting setup to keep up with changing seasons and light conditions.
Pro Tips
Editor’s Choice
UBeesize 12” LED Ring Light with 62” Tripod Stand, Selfie Ring Light f…
Common Mistakes to Avoid
Warning: Poor lighting can ruin your video quality. Ensure you have enough light.
Warning: Avoid using only overhead lights, which can create unflattering shadows.
Warning: Don’t forget to test your setup before important calls to avoid surprises.
Common Mistakes to Avoid
Editor’s Choice

Dimmable Ring Light with Stand for Desk, Adjustable Desk Light for Video…
NEEWER 700W Equivalent Softbox Lighting Kit, 2Pack UL Certified 5700K LE…

AILBTON Bright LED Desk Lamp with Clamp,Eye Caring Architect Led Desk Li…
Troubleshooting Section
Problem: My lighting looks too harsh.
Solution: Use diffusers to soften the light or adjust the angle of your light source.
Problem: I look too dark on camera.
Solution: Increase the intensity of your lights or move closer to your light source.
Problem: I have reflections on my glasses.
Solution: Adjust the angle of the light or position your webcam at a different angle.
Troubleshooting Section
Editor’s Choice
UBeesize 12” LED Ring Light with 62” Tripod Stand, Selfie Ring Light f…
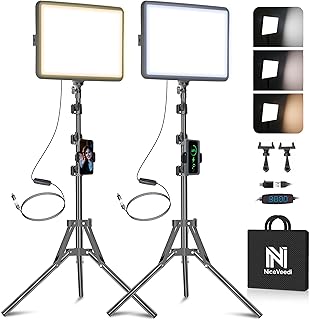
2-Pack LED Video Light Kit, NiceVeedi Studio Light, 2800-6500K Dimmable …

JCWINY Webcam Stand, 28 Inch Web Cam Stand for Desk, Adjustable Webcam M…
Variations/Alternative Methods
Consider these alternative lighting methods:
- Use LED panels for even lighting coverage.
- Consider smart bulbs that allow for adjustable color temperatures.
- Explore ring lights for close-up shots, especially for makeup or detailed work.
Variations/Alternative Methods
Editor’s Choice

NEEWER BASICS 2 Pack LED Video Panel Light, Video Conference Lighting Ki…

CLEANLIFE TrueColor Smart LED Strip – 2M USB Tape with Bluetooth Contr…
Sensyne Ring Light with Stand, 50″ Phone Tripod for iPhone & Android, LE…
FAQs
What if I don’t have a ring light? You can use a regular desk lamp or natural light from a window.
How long should I leave my lights on before a meeting? Turn on your lights at least 15 minutes prior to allow for adjustments.
Is it safe to use multiple light sources? Yes, just ensure they are balanced to avoid harsh shadows.
Conclusion
Congratulations! You’ve learned how to elevate your webcam lighting for meetings. With your new knowledge, you’re ready to present yourself confidently and professionally during video calls. Remember, good lighting can change everything.
As you move forward, continue to experiment with your setup and adapt to different environments. For more resources on enhancing your virtual presence, check out articles on video conferencing best practices or explore lighting equipment options.