Are you spending long hours at your desk, only to suffer from back pain, neck strain, or wrist discomfort? You’re not alone! Many people experience these issues due to improper desk setups, leading to poor posture and discomfort. Setting up an ergonomic desk is crucial for your overall health and well-being.
In this guide, you’ll learn how to transform your workspace into an ergonomic haven. By following these straightforward steps, you will set up your desk in a way that promotes better posture, reduces strain, and enhances productivity.
You’ll specifically learn about the optimal height for your desk and chair, the correct positioning of your monitor, and how to arrange your workspace for maximum comfort. This guide is designed for beginners and will take approximately 2 hours to complete. Get ready to say goodbye to discomfort and hello to a healthier workspace!
TL;DR Summary
- Adjust your chair and desk to the right height.
- Position your monitor at eye level.
- Use ergonomic accessories like keyboard trays and footrests.
- Take regular breaks to stretch and move.
TL;DR Summary
Editor’s Choice

BONTEC Dual Monitor Stand Riser, Adjustable Length & Swivel Angle, Ergon…

HUANUO Keyboard Tray Under Desk, 360 Adjustable Ergonomic Sliding Keyboa…
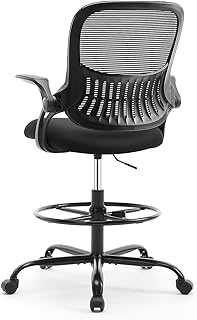
Sweetcrispy Tall Drafting Desk Chair – Ergonomic High Stool Computer wit…
Prerequisites/Materials Needed
- Desk: Height-adjustable desk (1)
- Chair: Ergonomic chair (1)
- Monitor: External monitor (1)
- Monitor Stand: Adjustable monitor stand (1)
- Keyboard and Mouse: Ergonomic keyboard and mouse (1 set)
- Footrest: Adjustable footrest (1)
- Measuring Tape: Standard measuring tape (1)
Prerequisites/Materials Needed
Editor’s Choice

BoYata Monitor Stand, Adjustable Monitor Riser Metal Computer Stand Comp…

ErGear Height Adjustable Electric Standing Desk, 48 x 24 Inches Sit Stan…

TRALT Office Chair Ergonomic Desk Chair, 330 LBS Home Mesh Office Desk C…
Skill Level & Time Estimate
Skill Level: beginner
Total time estimate: 2 hours
Skill Level & Time Estimate
Editor’s Choice
ErGear Height Adjustable Electric Standing Desk, 48 x 24 Inches Sit Stan…
TRALT Office Chair Ergonomic Desk Chair, 330 LBS Home Mesh Office Desk C…
Step 1: Choose the Right Desk Height

Start by determining the ideal height for your desk. This is crucial for maintaining a comfortable posture during work. To measure:
- Stand next to your desk and bend your elbows at a 90-degree angle.
- Your forearms should be parallel to the ground when resting on the desk.
- If your desk is too high or low, adjust it accordingly or consider a height-adjustable desk.
Pro Tip: A desk height of about 28 to 30 inches is standard for most people. Warning: Avoid having your shoulders raised or hunched over.
This step should take about 10-15 minutes to complete.
Step 1: Choose the Right Desk Height
Editor’s Choice

Vari – VariDesk Essential 36 – Two-Tier Standing Desk Converter for Moni…
ErGear Height Adjustable Electric Standing Desk, 48 x 24 Inches Sit Stan…
Step 2: Set Up Your Chair
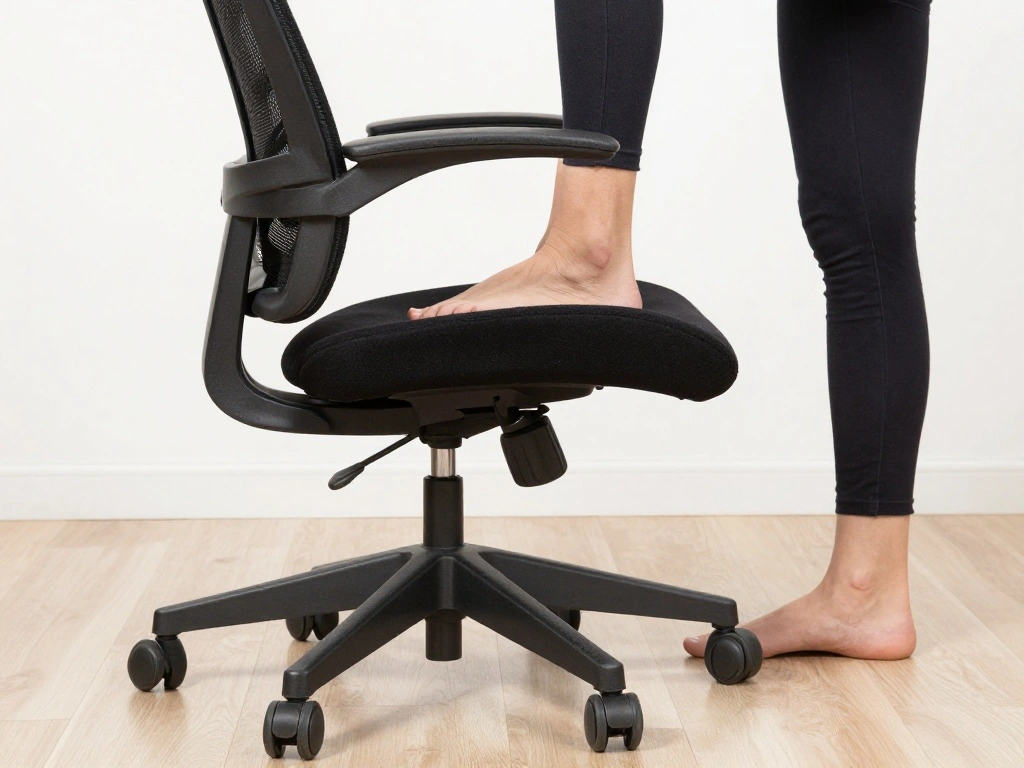
Your chair should support your lower back and allow you to sit comfortably. Follow these steps:
- Adjust the chair height so your feet are flat on the ground.
- Ensure your knees are at a 90-degree angle.
- Use lumbar support to maintain the curve of your spine.
Pro Tip: If your chair lacks lumbar support, consider using a cushion. Warning: Sitting too high or low can lead to discomfort and strain.
This setup will take about 10-15 minutes.
Step 2: Set Up Your Chair
Editor’s Choice

Lumbar Support Pillow for Office Chair, Office Home Essentials,Gifts for…

CasaZenith Foot Rest, Six Heights Adjustable Foot Rest for Under Desk at…
Step 3: Position Your Monitor
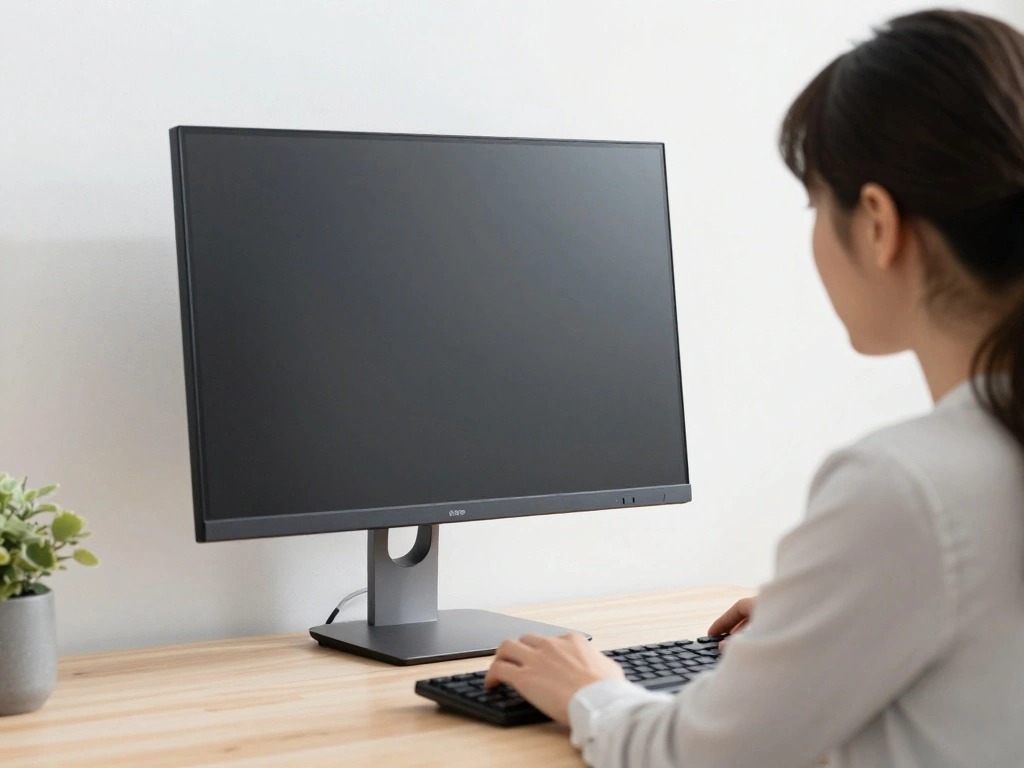
Your monitor’s placement is key to reducing neck strain. Follow these steps:
- Adjust the monitor height so that the top of the screen is at eye level.
- Keep the monitor about an arm’s length away from your eyes.
- Tilt the monitor slightly back to reduce glare.
Pro Tip: If you use multiple monitors, position them at the same height. Warning: Avoid looking down or up for prolonged periods.
This step should take about 10-15 minutes.
Step 3: Position Your Monitor
Editor’s Choice

WALI Computer Monitor Stand for Desk, Adjustable Laptop Riser, Desk Moni…
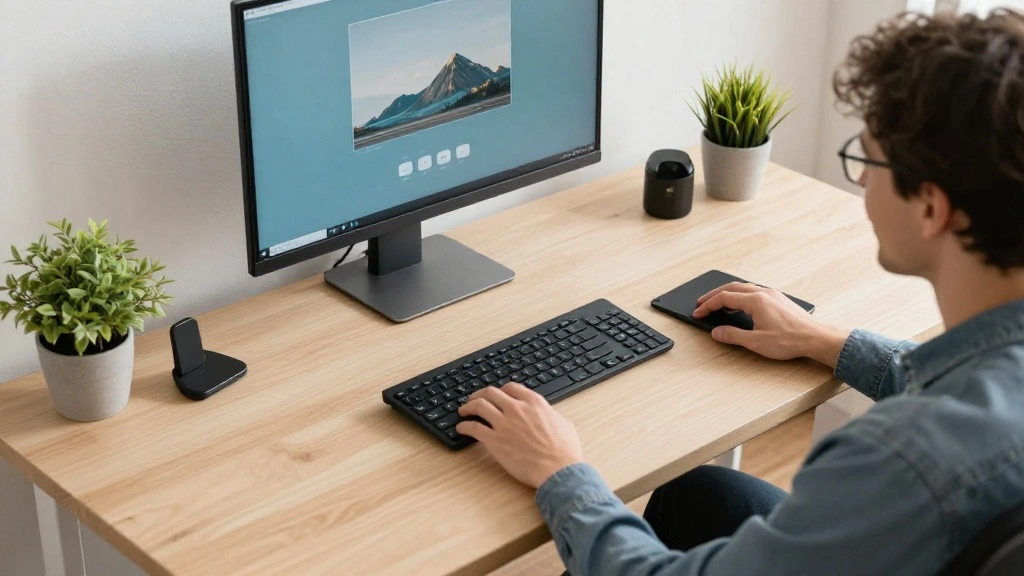
Step 4: Arrange Your Keyboard and Mouse

The right placement of your keyboard and mouse can prevent wrist strain. Here’s how:
- Place your keyboard directly in front of you, about 1-2 inches away from the edge of the desk.
- Your elbows should remain close to your body, forming a 90-degree angle.
- Position the mouse at the same level as the keyboard.
Pro Tip: Use a keyboard tray if needed to achieve the right height. Warning: Keep your wrists straight while typing to avoid strain.
This step will take around 10-15 minutes.
Step 4: Arrange Your Keyboard and Mouse
Editor’s Choice

VIVO Office Chair Mounted 26 x 12 Inch Keyboard and Mouse Tray, Ergonomi…
Step 5: Use a Footrest if Necessary

A footrest can help improve circulation and comfort. Follow these steps:
- Check if your feet are flat on the ground; if not, consider a footrest.
- Adjust the footrest height so your knees remain at a 90-degree angle.
- Ensure your feet can rest comfortably without dangling.
Pro Tip: Choose a footrest that is adjustable for flexibility. Warning: Don’t let your feet dangle, as this can lead to discomfort.
This setup will take approximately 10 minutes.
Step 5: Use a Footrest if Necessary
Editor’s Choice

ComfiLife Foot Rest for Under Desk at Work – Adjustable Height Memory …

Ergonomic Office Chair with Footrest & 3D Massage Lumbar Support, Adjust…
CasaZenith Foot Rest, Six Heights Adjustable Foot Rest for Under Desk at…
Step 6: Optimize Lighting
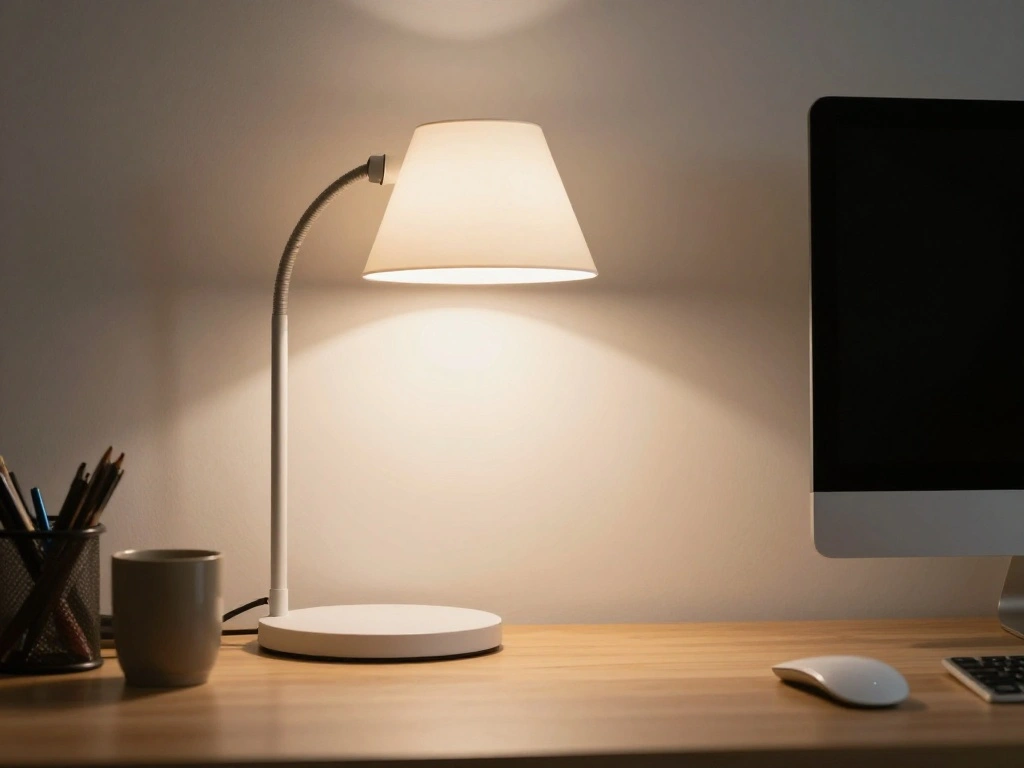
Proper lighting is essential to prevent eye strain. Here’s how to optimize your workspace lighting:
- Position your desk lamp to eliminate glare on your screen.
- Use a combination of natural and artificial light.
- Aim for a well-lit workspace that minimizes shadows.
Pro Tip: Use task lighting for focused work without harsh shadows. Warning: Avoid working with your back to a window, as this can create glare.
Step 6: Optimize Lighting
Editor’s Choice

Daylight Slimline 4™ LED Table Lamp in Brushed Steel – 6,000K, 3,200 L…

Airlonv LED Desk Lamp for Office Home, Eye-Caring Desk Light with Steple…
Step 7: Take Regular Breaks

Even the best ergonomic setup requires regular movement. Follow these guidelines:
- Set a timer to remind you to take breaks every hour.
- Stand up, stretch, or walk around for a few minutes.
- Incorporate simple stretches for your neck and shoulders.
Pro Tip: Use apps or reminders to keep track of your break times. Warning: Skipping breaks can lead to fatigue and discomfort.
This habit takes just a minute or two each hour.
Step 7: Take Regular Breaks
Editor’s Choice
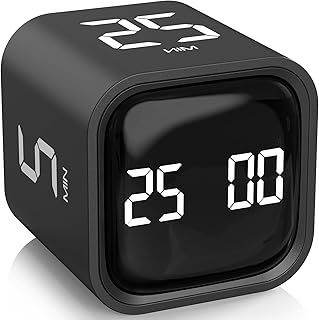
Rotating Pomodoro Timer 5, 25, 10 50 Minutes Preset, Desk Productivity F…

Stretching Strap Yoga Strap with Loops, Stretch Straps for Physical Ther…
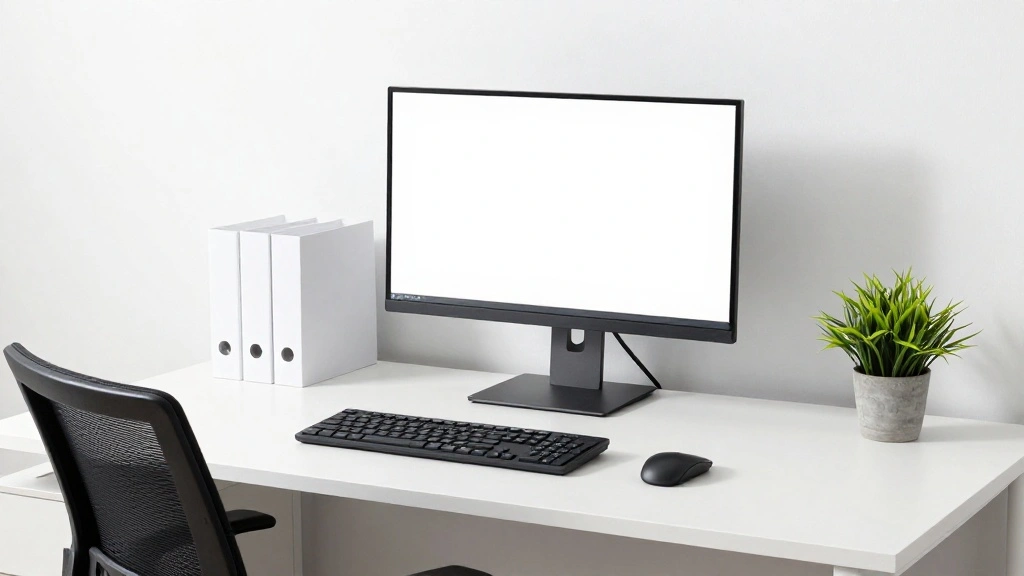
Step 8: Personalize Your Workspace

Adding personal touches can enhance your comfort and motivation. Here’s how:
- Incorporate plants or photos that make you happy.
- Keep frequently used items within reach to minimize strain.
- Ensure your workspace reflects your style for a positive atmosphere.
Pro Tip: Use desk organizers to keep your workspace tidy. Warning: Avoid clutter that can distract you or create stress.
This step will take around 15 minutes.
Step 8: Personalize Your Workspace
Editor’s Choice

Costa Farms Live Indoor House Plants (3-Pack), Hand Selected Easy to Mai…

WALI Desk File Organizer, 4 Tier Desktop Paper Letter Tray Organizer wit…

upsimples 10 Pack Picture Frames Collage Wall Decor for Mounting or Tabl…
Step 9: Evaluate and Adjust

Finally, review your setup and make necessary adjustments. Here’s the process:
- Spend a few days working at your new setup.
- Note any discomforts or strains you experience.
- Make adjustments based on your observations.
Pro Tip: Every person is different; customize your setup to what feels best for you. Warning: Don’t ignore discomfort; it can lead to long-term issues.
This evaluation will take about 10-15 minutes.
Step 9: Evaluate and Adjust
Editor’s Choice

KTRIO Ergonomic Keyboard Wrist Rest & Mouse Pad with Wrist Rest, Black |…

BestOffice | Ergonomic Office Chair | Mid-Back Swivel Desk Chair | Breat…
ErGear Height Adjustable Electric Standing Desk, 48 x 24 Inches Sit Stan…
Pro Tips
- Frequent Movement: Stand or walk during calls or meetings.
- Ergonomic Accessories: Invest in a wrist rest for additional comfort.
- Monitor Filters: Use anti-glare filters to reduce eye strain.
- Proper Footwear: Wear supportive shoes when standing.
- Mindful Posture: Regularly check and correct your posture while sitting.
Pro Tips
Editor’s Choice
![[2 Pack] 24 Inch Computer Privacy Screen for 16:9 Aspect Ratio Widescree...](https://m.media-amazon.com/images/I/71EJUiAO+aL._AC_UY218_.jpg)
[2 Pack] 24 Inch Computer Privacy Screen for 16:9 Aspect Ratio Widescree…
Common Mistakes to Avoid
Warning: Not adjusting chair height can lead to discomfort.
Fix: Set your chair so your feet rest flat on the ground.
Warning: Monitor too high can cause neck strain.
Fix: Lower your monitor to eye level.
Warning: Poor lighting can cause eye fatigue.
Fix: Optimize desk lighting to reduce glare.
Common Mistakes to Avoid
Editor’s Choice

Single LCD Computer Monitor Free-Standing Desk Stand Mount Riser for 13 …

Primy Drafting Chair Tall Office Chair with Flip-up Armrests Executive E…
Airlonv LED Desk Lamp for Office Home, Eye-Caring Desk Light with Steple…
Troubleshooting Section
Problem: I experience neck pain.
Solution: Ensure your monitor is at eye level and take breaks to stretch.
Problem: My wrists hurt after typing.
Solution: Adjust your keyboard height and consider using a wrist rest.
Problem: I feel fatigued after a few hours.
Solution: Incorporate regular breaks and adjust your chair for better support.
Troubleshooting Section
Editor’s Choice
Single LCD Computer Monitor Free-Standing Desk Stand Mount Riser for 13 …
BestOffice | Ergonomic Office Chair | Mid-Back Swivel Desk Chair | Breat…

Gimars Upgrade Enlarge Silky and Superfine Fabric Gel Memory Foam Keyboa…
Variations/Alternative Methods
1. Standing Desks: Consider a standing desk if you prefer to stand while working; it can reduce back pain.
2. Ergonomic Accessories: Use additional accessories like a vertical mouse or a split keyboard to enhance ergonomics.
Variations/Alternative Methods
Editor’s Choice

Arteck Split Ergonomic Keyboard with Cushioned Wrist and Palm Rest, 2.4G…

Uineer Vertical Ergonomic Mouse, Multi-Device Wireless Mouse with Blueto…
ErGear Height Adjustable Electric Standing Desk, 48 x 24 Inches Sit Stan…
FAQs
What if I don’t have an ergonomic chair?
Consider adding lumbar support or using a cushion for back support.
How long should I take breaks?
Try to take a 5-minute break every hour to stretch and move.
Is it safe to work from my couch or bed?
It’s not recommended as it can lead to poor posture and discomfort.
FAQs
Editor’s Choice

BlissTrends Foot Rest for Under Desk at Work-Versatile Foot Stool with W…

Everlasting Comfort Doctor Recommended Memory Foam Seat Cushion for Offi…
Lumbar Support Pillow for Office Chair, Office Home Essentials,Gifts for…
Conclusion
Congratulations! You’ve successfully set up an ergonomic desk that promotes better posture and comfort. By following these steps, you are investing in your health and well-being. Remember, regular adjustments and mindful practices will help you maintain a comfortable workspace.
As you enjoy your improved setup, consider exploring additional resources on workplace health or ergonomic tools. Your journey to a healthier workspace doesn’t end here; continue to prioritize your posture and comfort in every aspect of your life!