
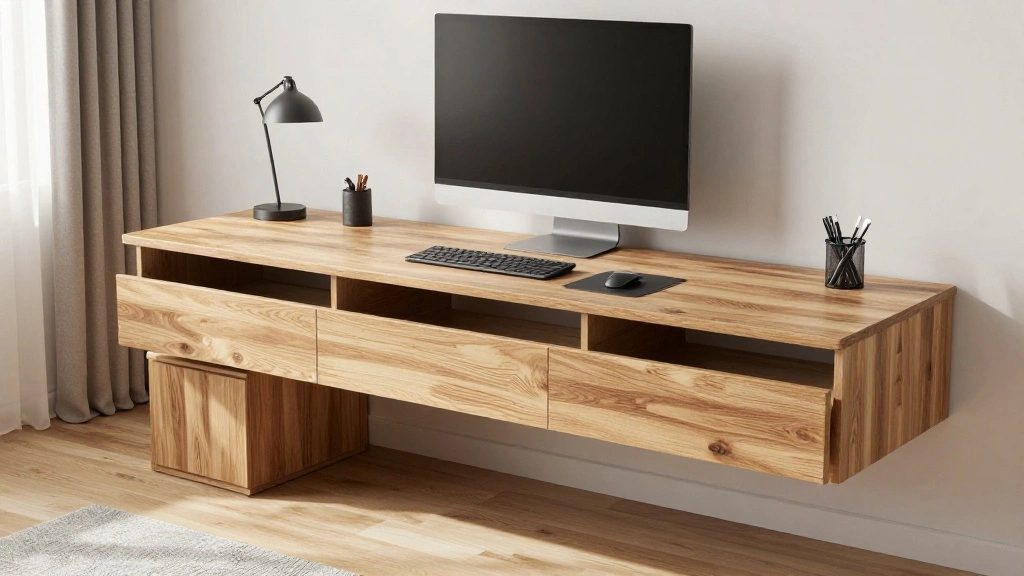
Are you struggling to find a workspace that fits in your small home or apartment? Traditional desks can take up too much valuable floor space, making it hard to keep things organized and tidy. The solution? A floating desk! This stylish and functional desk design will not only save space but also enhance the aesthetic of your room.
In this guide, you will learn how to create your own floating desk in just a few simple steps. By the end, you will have a beautifully crafted desk that you can mount on your wall, providing you with a dedicated workspace that doesn’t clutter your living area. This project is perfect for beginners looking to add a personal touch to their home.
Throughout this tutorial, you will discover essential skills including measuring, cutting, and assembling materials. This project is designed for beginner skill levels and should take approximately 3-4 hours to complete, depending on your pace. Let’s get started on this exciting DIY journey!
TL;DR Summary
- Learn to build a floating desk that saves space and adds style.
- Gather all materials and tools before starting.
- Follow eight simple steps, from measuring to mounting.
- Enjoy your new workspace that enhances your home environment!
Recommended Products

Rustproof and Durable--Heavy duty floating shelf bracket made of well metal and black powder coating which provides great rust resistance and protects the metal from corrosion
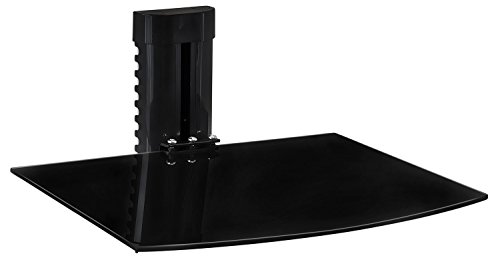
GAME NIGHT, ORGANIZED – Keep your console, streaming box, or cable box right where you need it, off the console table and out of the way, so your gaming corner or home theater setup stays clean and clutter-free.

[𝑫𝒖𝒓𝒂𝒃𝒍𝒆 & 𝑺𝒂𝒇𝒆 𝑪𝒐𝒏𝒔𝒕𝒓𝒖𝒄𝒕𝒊𝒐𝒏]This floating desk for small spaces is crafted from 48”W × 22”D engineered wood with folding mounting hardware, supporting up to 500 lbs for your computer, dual monitors, and peripherals. The rounded corners and fold-down stability make it safe for homes with kids/pets, while the minimalist floating design saves floor space without sacrificing sturdiness.
TL;DR Summary
Editor’s Choice

2Pcs Heavy Duty Shelf Bracket Countertop Support Brackets 16″x12″ Wall M…


Zinc Self-Drilling Drywall Anchors with Screws Kit, 25 Heavy Duty Metal …

Wall Mounted Folding Table, Solid Plywood Floating Desk for Small Spaces…
Prerequisites/Materials Needed
- Materials:
- 1 sheet of plywood (3/4″ thick, 24″ wide, 48″ long)
- 2 wall brackets (heavy-duty)
- Wood screws (1.5″ long)
- Wood stain or paint (optional)
- Sandpaper (medium and fine grit)
- Tools:
- Measuring tape
- Drill
- Saw (circular or jigsaw)
- Screwdriver
- Level
Recommended Products

✯Budget-Friendly Alternative: Our Floating countertop support brackets come in a handy4-pack of L-shaped brackets, along with all the required screw hardware. This makes it an economical choice for your kitchen. The countertop support bracket is crafted to be durable and long-lasting, reducing the necessity for frequent replacements and extra expenses during the lifespan of your countertop.

【600 LBS Heavy-Duty Load Capacity】Built with thick solid steel and reinforced by four robust 10mm ribs, our floating shelf brackets deliver an impressive 600 lbs weight capacity per pair when installed into wall studs. Designed for industrial-level strength, they easily support granite countertops, floating desks, heavy vanities, kitchen sinks, and commercial-grade benches with unwavering stability.

Elevate Your Space – Add a modern, minimalist look to any room with our sleek black T-shaped shelf brackets. Designed to remain hidden behind your wall, these brackets create a clean floating effect perfect for premium invisble shelves, countertops, and custom home installations. Whether it's a bathroom, kitchen, living room, or workshop, these heavy-duty brackets elevate the style without clutter.
Prerequisites/Materials Needed
Editor’s Choice

Furniture Clinic Wood Stain | Dark Oak | Water Based | Fast Drying, Low …

The Original Granite Bracket Heavy Duty American Made Steel A36 Cold Rol…

SKIL 15 Amp 7-1/4 Inch Circular Saw with Single Beam Laser Guide – 5280-01
Skill Level & Time Estimate
Skill Level: beginner
Total Time Estimate: 3-4 hours
Here’s a breakdown of the time by major steps:
- Gather materials: 30 minutes
- Measure and cut wood: 1 hour
- Sand and finish: 1 hour
- Mounting: 1 hour
Recommended Products

3/4" / 18mm Black Phenolic Baltic Birch Plywood - Enjoy the stacked ply look of Baltic Birch with the added benefit of the phenolic overlay.

LASERABLE - Laser safe plywood for vector cutting and engraving.

STRONG, DURABLE, HEAVY-DUTY - These craft wood pieces of multi-coated Baltic Birch plywood offer exceptional durability, rigidity, and stability for all your woodworking needs. The surfaces provide excellent holding power for glue and screws and the birch edges create cleaner joinery.
Skill Level & Time Estimate
Editor’s Choice

Sand Paper, 48 PCS Sandpaper, 120 to 5000 Assorted Grit Sandpaper Sheets…

Titebond III Ultimate Wood Glue, 16-Ounces #1414

SakerNeo Deluxe Wood Carving Kit whittling kit, 25 Piece Wood Carving To…
Step 1: Gather Your Materials
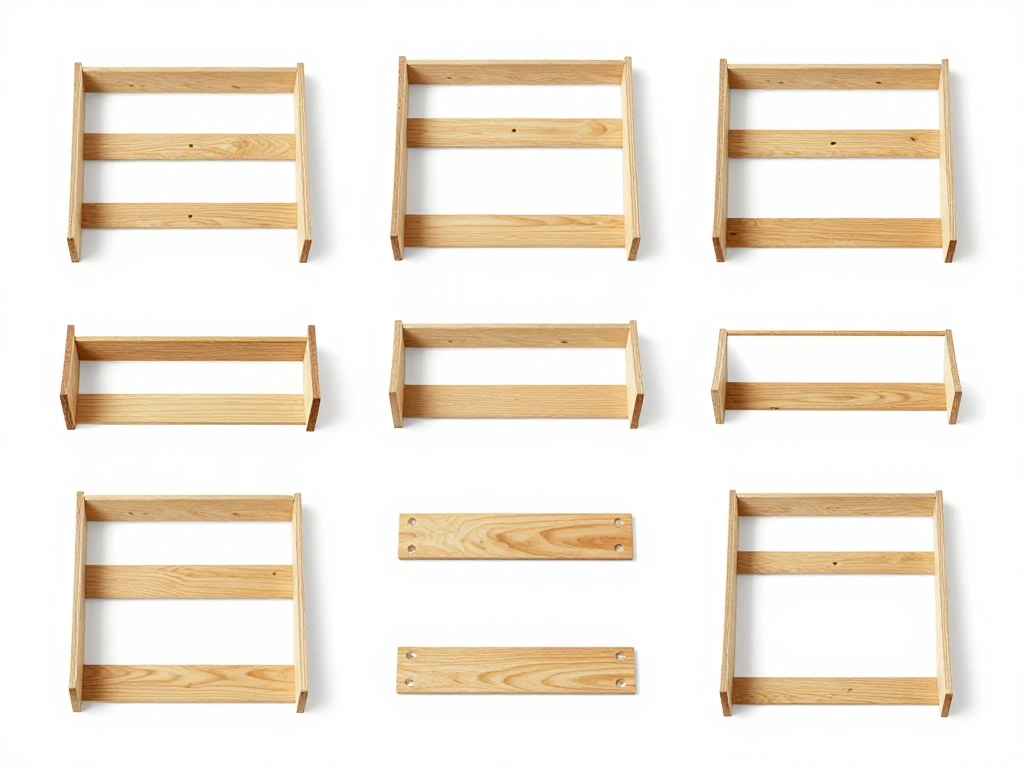
Before you start building, it’s essential to gather all your materials and tools. This preparation will save you time and frustration later on.
- Check the list of materials and tools above.
- Purchase or collect everything you need.
- Find a clear workspace where you can assemble your desk.
Pro Tip: Having everything ready will allow you to work more efficiently without interruptions.
Why this matters: Preparation is key to a smooth building process.
Time estimate for this step: 30 minutes.
Recommended Products

Modern & Minimalist Style – Featuring clean lines and a brown rustic finish, these wall-mounted shelves add a modern touch to any room, from cozy bedrooms to contemporary living spaces
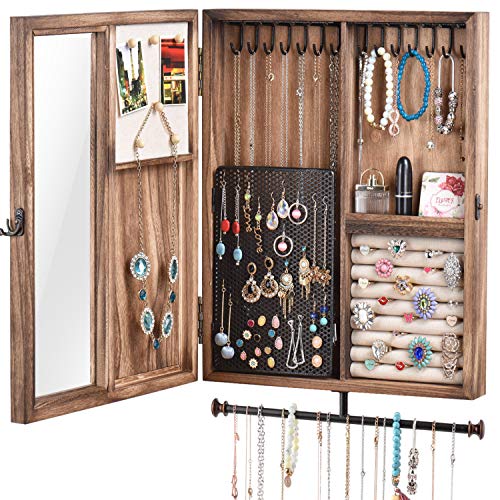
Large Capacity Jewelry Cabinet: Design with a 8.7x 5.8 inch wire mesh to hang earrings, 7 smooth hooks for necklaces, 7 smooth hooks for bracelet, 8 slots for rings, and a 12.6 inch removable bar for additional items such as bracelet, necklace, glasses, watch and more. Also comes with 6 press pins for notes, cards or photos on door. The top of cabinet can display some decoration or place other small accessories. Ideal jewelry box choice for Women,teen girls,Mother Day

BEAUTIFUL AND STYLISH - It is crafted from solid steel with a sleek finish that goes perfectly in a rustic or industrial home decor scheme. Great for open shelving concept in a kitchen, displaying a library of books in a study or even for extra storage in a powder room. Use with an unfinished wood board for a more contemporary look and a stark contrast between metal and wood or with a piece of weathered wood for a more farmhouse vibe
Step 1: Gather Your Materials
Editor’s Choice

Gorilla Wood Glue, 8 oz., Water Resistant PVA Wood Glue for Indoor & Out…

CRAFTSMAN Tape Measure, Compact Easy Grip, 16 FT (CMHT37441S)

Iron Supports Universal Heavy-Duty Commercial Bracket – Industrial Suppo…
Step 2: Measure and Mark the Plywood
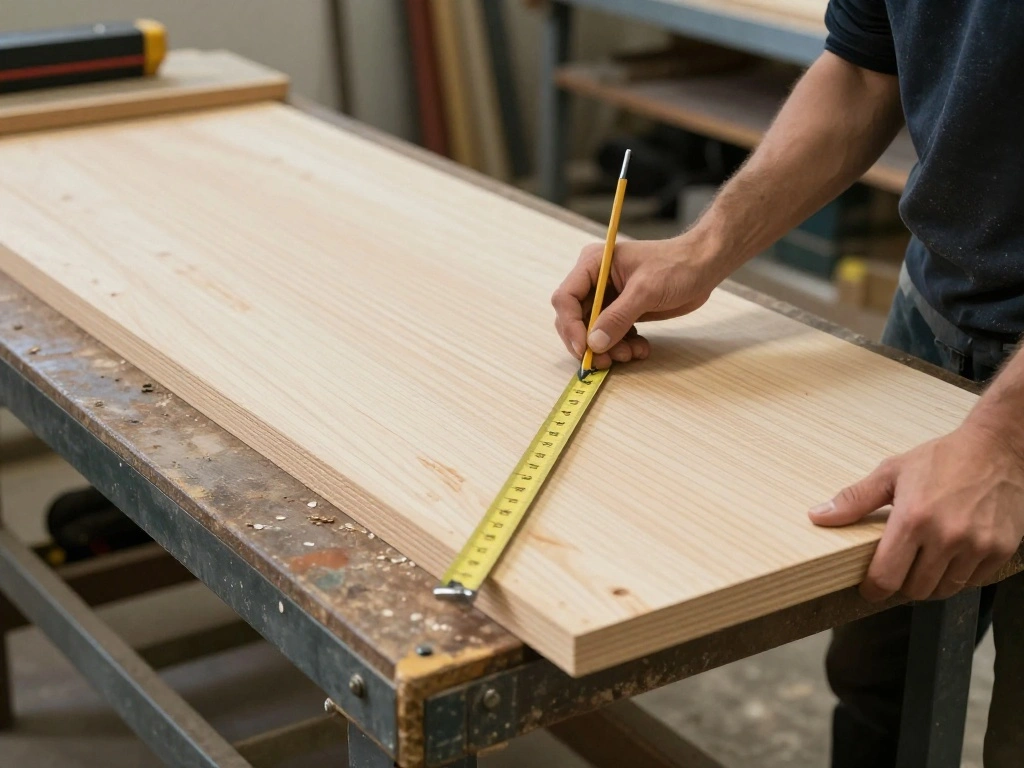
Accurate measurements ensure that your floating desk fits perfectly in your chosen space. Follow these steps to measure and mark your plywood.
- Using a measuring tape, determine the desired length and width of your desk.
- Mark the measurements on the plywood with a pencil.
- Double-check your marks to ensure accuracy.
Warning: Always measure twice before cutting to avoid mistakes.
Why this matters: Precise measurements lead to a better-fitting desk.
Time estimate for this step: 30 minutes.
Recommended Products

3 SIZES FOR EVERYTHING – PHOTO FRAMES TO TVs: 1.18"(1-3/16") for photos & small decor, 1.38"(1-3/8") for shelves & mirrors, 1.76"(1-9/16") for TVs & heavy items.No guesswork-just match the drywall anchors to your wall thickness and what you're hanging. Supports up to 100 lbs+ without fail

MULTIPLE SIZE OPTIONS – This heavy duty toggle bolt assortment includes 3 sizes (1/8 in, 3/16 in, 1/4 in) to help you choose the appropriate size for drywall anchor applications based on wall type and intended use. Suitable for selected hanging projects such as hanging pictures, curtain rods, and plants when used correctly. Please refer to the size chart and installation guidance before use.

Easy installation in seconds, no drilling, just hammer into the wall and drive the screw into the ANCHOR
Step 2: Measure and Mark the Plywood
Editor’s Choice

Kreg KMA2685 Rip-Cut Circular Saw Guide – Cutting Tool – Guide is Best f…

Nicpro Carpenter Pencil with Sharpener, Mechanical Pencils Set with 26 R…

Digital Caliper Measuring Tool, Stainless Steel Vernier Caliper Digital …
Step 3: Cut the Plywood
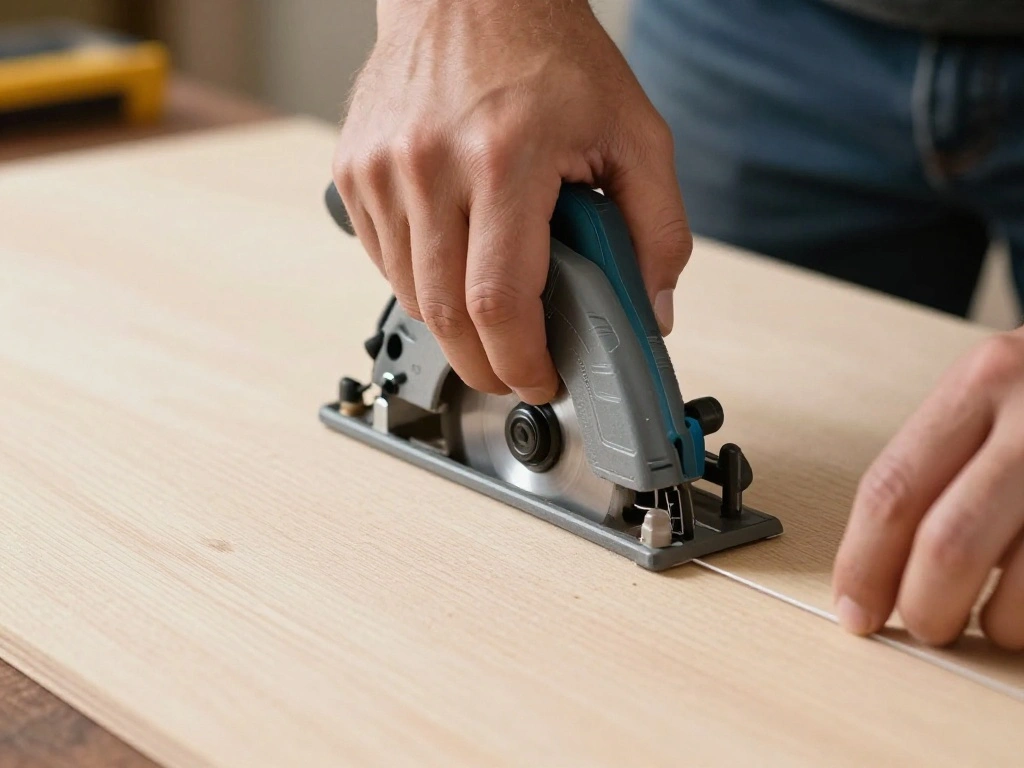
Now it’s time to cut the plywood according to your measurements. Ensure safety precautions are followed during this step.
- Secure the plywood on a stable surface.
- Using a saw, carefully cut along your marked lines.
- After cutting, inspect the edges to ensure they are smooth.
Warning: Wear safety goggles and a mask to protect yourself from sawdust.
Why this matters: Clean cuts will help your desk look professional.
Time estimate for this step: 1 hour.
Recommended Products

【Wall Mounted Shelf】 Add Extra Space to Any Room. Whether it's in your office, bedroom, or living room as a compact workstation, in your kitchen as an extra countertop for cooking and dining, in your laundry room, on your balcony, or even in your camper or RV, this shelf is designed to adapt to your needs.

【𝑫𝒖𝒓𝒂𝒃𝒍𝒆 𝒂𝒏𝒅 𝑺𝒂𝒇𝒆 𝑪𝒐𝒏𝒔𝒕𝒓𝒖𝒄𝒕𝒊𝒐𝒏】Our wall-mounted table is made of 24”W x14”D x1.1” thick solid pine wood and finished with eco-friendly paint, it’s not only sturdy but also kind to the environment. Rounded corners add a layer of safety, making it perfect for homes with children.

Premium Material: The wall-mounted heavy-duty folding bracket is made of excellent iron material with smooth surface to prevent scratches, has good corrosion and rust resistance, and the triangular shape is the most stable structure of the wall bracket.
Step 3: Cut the Plywood
Editor’s Choice

NoCry Clear Safety Glasses for Men and Women with Anti-Fog and Scratch R…

3M, N95 Respirator 8511, N95, Features Cool Flow Exhalation Valve, Relie…

RUITOOL Japanese Hand Saw 6 Inch Double Edge Sided Pull Saw Ryoba SK5 Fl…
Step 4: Sand the Edges
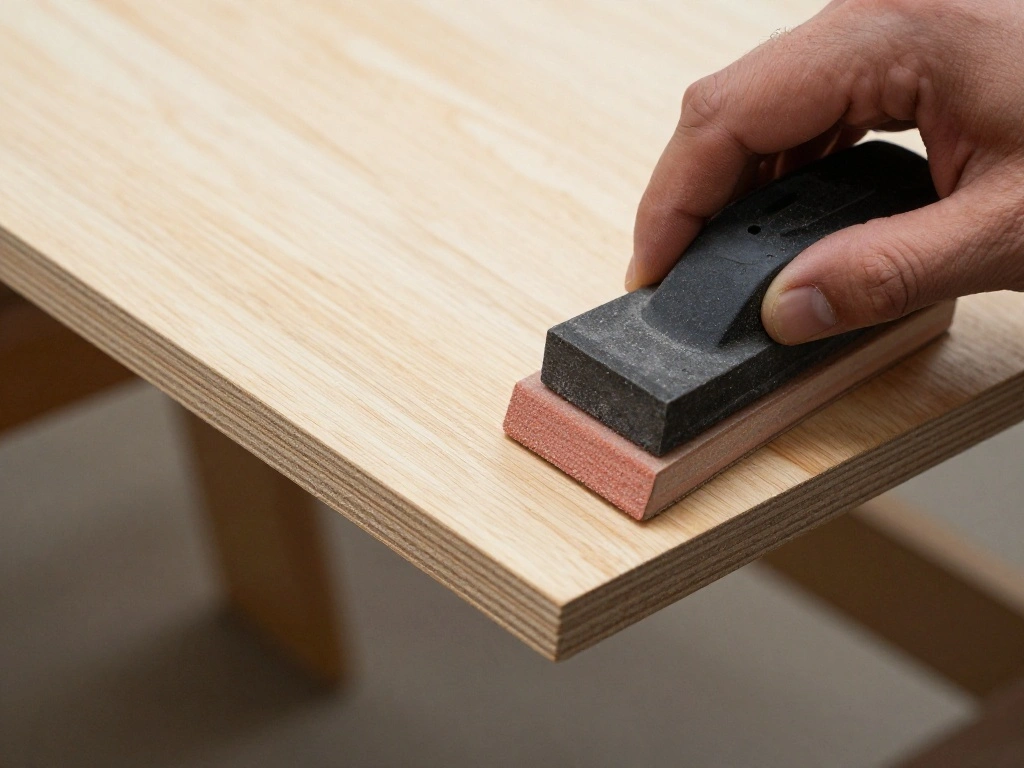
Sanding the edges of the plywood will create a smooth surface, enhancing the desk’s appearance and safety.
- Start with medium-grit sandpaper to smooth rough edges.
- Finish with fine-grit sandpaper for a polished look.
- Wipe down the wood with a damp cloth to remove dust.
Pro Tip: Sand in the direction of the grain to avoid scratches.
Why this matters: A well-sanded surface will improve the finished look of your desk.
Time estimate for this step: 30 minutes.
Recommended Products

【Sturdy and Heavy Duty】WEKIS countertop support brackets is made of high-quality 2-1/2 inch wide and 1/4 inch thick steel, one-piece molding with 10 countersunk holes, maximum load capacity 800 lbs. It can safely support any type of countertop, including marble, granite, quartz, manufactured stone, and more.

【Standard 90° bending】In order to ensure that each shelf bracket can be at 90° to the maximum extent possible, we add a rigorous picking process before the shelf brackets are packaged. The standardized 90-degree design is so important that it’ s the objective factor in ensuring that items remain level and do not tip over after being placed on the board(board is not included).

Heavy Duty design, maxium support weight of 100lb for a pair of this L bracket. Matte black powder coat finish. Creating a rustic, reclaimed, salvaged look,perfect for your home, office, garage, work space or anywhere else
Step 4: Sand the Edges
Editor’s Choice

3M Aluminum Oxide Sandpaper, 5 Sheets, Assorted Grit 100-150-220, 9-in x…

Scrub Daddy Damp Duster Towel – Durable Sponge-Like Dust Cleaner for Mul…
Sand Paper, 48 PCS Sandpaper, 120 to 5000 Assorted Grit Sandpaper Sheets…
Step 5: Apply Finish (Optional)
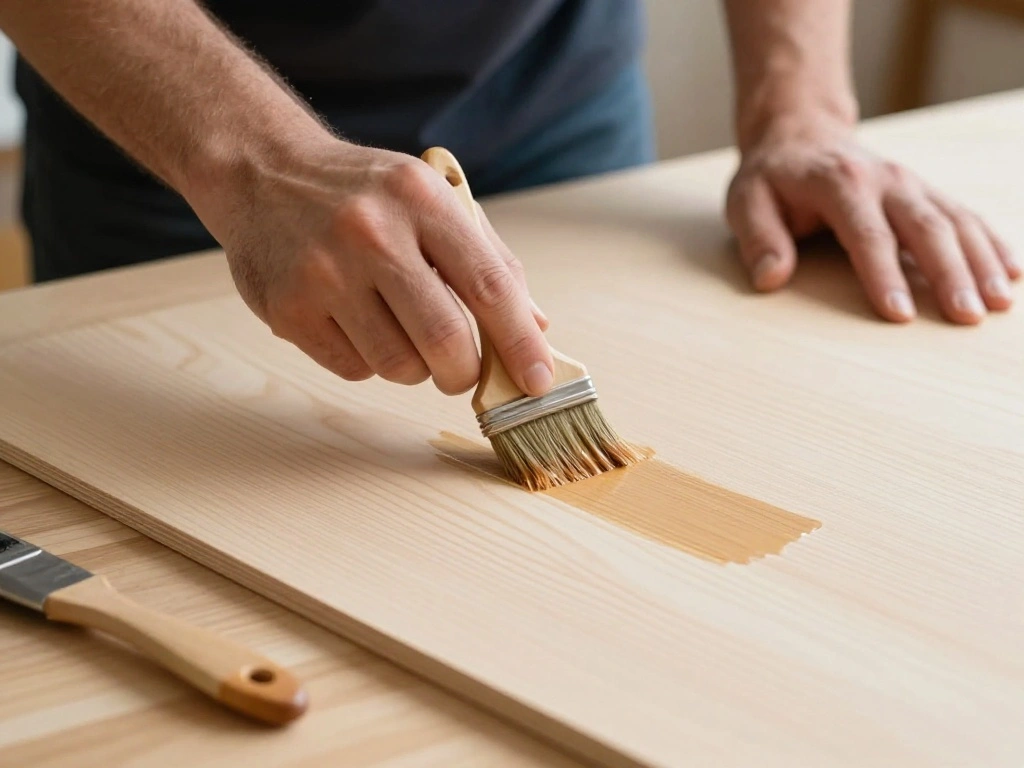
Applying a finish to your desk can enhance its durability and appearance. You can choose to stain or paint the wood.
- If staining, apply the wood stain with a brush and let it penetrate for a few minutes.
- Wipe off excess stain and allow it to dry completely.
- If painting, apply a coat evenly and let it dry according to the instructions.
Pro Tip: Test the stain or paint on a small area first to ensure you like the color.
Why this matters: A good finish will protect your desk and improve its look.
Time estimate for this step: 1 hour.
Recommended Products

[Nominal Size Dimensions] Our Black 24”x48” (3/4" Thick) HDPE plastic sheets are carefully cut to nominal measurements with a tolerance of +(-) 1/8" due to the manufacturing process. This nominal cutting practice ensures accurate and reliable sizing for your intricate projects or substantial installations. Please see exact size dimensions in the Product Description.

STRONG, DURABLE, HEAVY-DUTY - These craft wood pieces of multi-coated Baltic Birch plywood offer exceptional durability, rigidity, and stability for all your woodworking needs. The surfaces provide excellent holding power for glue and screws and the birch edges create cleaner joinery.
3/4" / 18mm Black Phenolic Baltic Birch Plywood - Enjoy the stacked ply look of Baltic Birch with the added benefit of the phenolic overlay.
Step 5: Apply Finish (Optional)
Editor’s Choice

Paint Brushes Set of 24 Pieces Wooden Handles Brushes with Canvas Brush …

Rust-Oleum 1993502 Painter’s Touch Ultra Cover Multi-Purpose Brush-On Pa…
Step 6: Prepare for Mounting
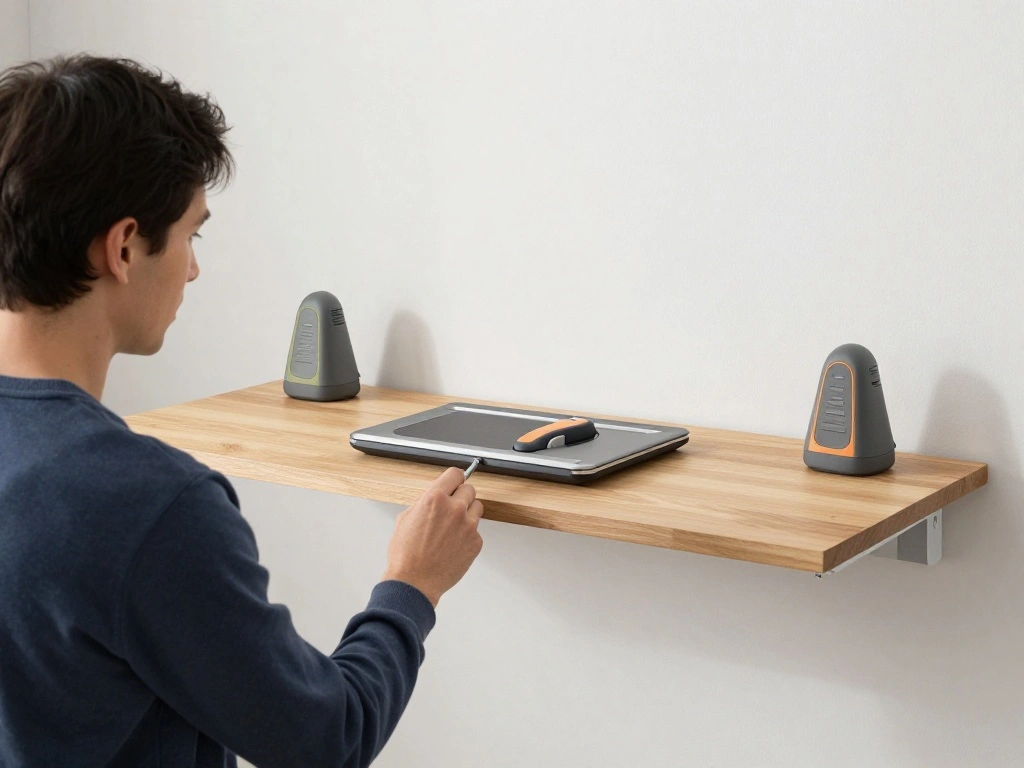
Before you can enjoy your new floating desk, you need to prepare it for mounting on the wall.
- Determine the desired height for your desk and mark it on the wall.
- Locate wall studs using a stud finder, as proper support is crucial.
- Mark the locations of the wall brackets on the wall.
Warning: Always mount your desk into wall studs to ensure stability.
Why this matters: Proper mounting prevents accidents and ensures the desk can hold weight.
Time estimate for this step: 30 minutes.
Recommended Products
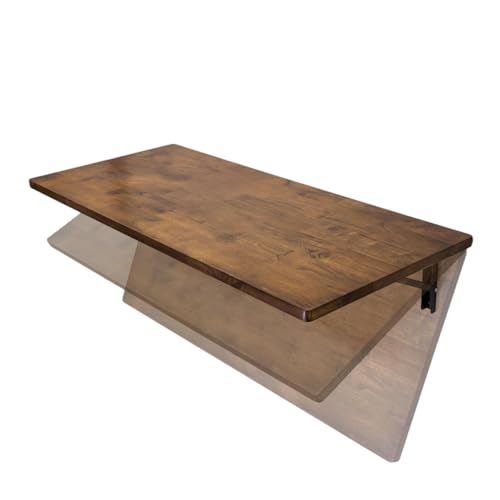
WALL-MOUNTED FOLDING WORKBENCH – Create a sturdy foldaway work surface for garage, workshop, laundry, RV, apartment or home office use. Built for buyers needing folding workbench, folding work bench, folding work table, foldable work table, foldable work bench, folding work bench table, fold down work bench, wall mounted folding work table and wall mounted workbench utility in one compact 40 x 18 in setup.
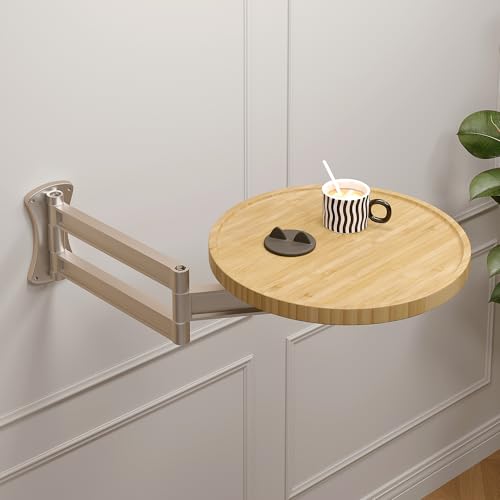
【Perfect for Gifting & Versatile Use】This wall mounted folding table adds instant extra space for your drinks, snacks, phone, keys, remote, glasses, tablets, and more. Mount it beside your bed, sofa, cabinet, or balcony—ideal for bedrooms, living rooms, kitchens,RVs, offices, cafes, small apartments or many other small spaces,save space and make it more concise. Beautifully packaged, it makes a thoughtful gift for family, friends, or classmates.
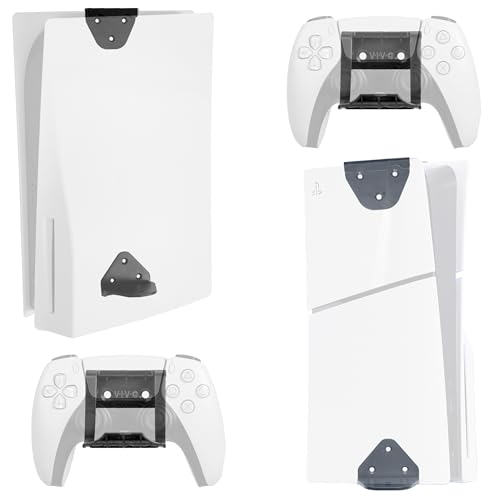
Wall Mount for PS5: Designed specifically for the PS5 and PS5 Slim (Both Digital Edition and Standard *not compatible with PS5 Pro*), this plastic wall mount securely holds your gaming console in a convenient location on the wall or under your desk (PS5 not included)
Step 6: Prepare for Mounting
Editor’s Choice

Stud Finder Wall Scanner – 5 in 1 Stud Finder Tool w/Smart Chip and HD L…
2Pcs Heavy Duty Shelf Bracket Countertop Support Brackets 16″x12″ Wall M…
Step 7: Install Wall Brackets
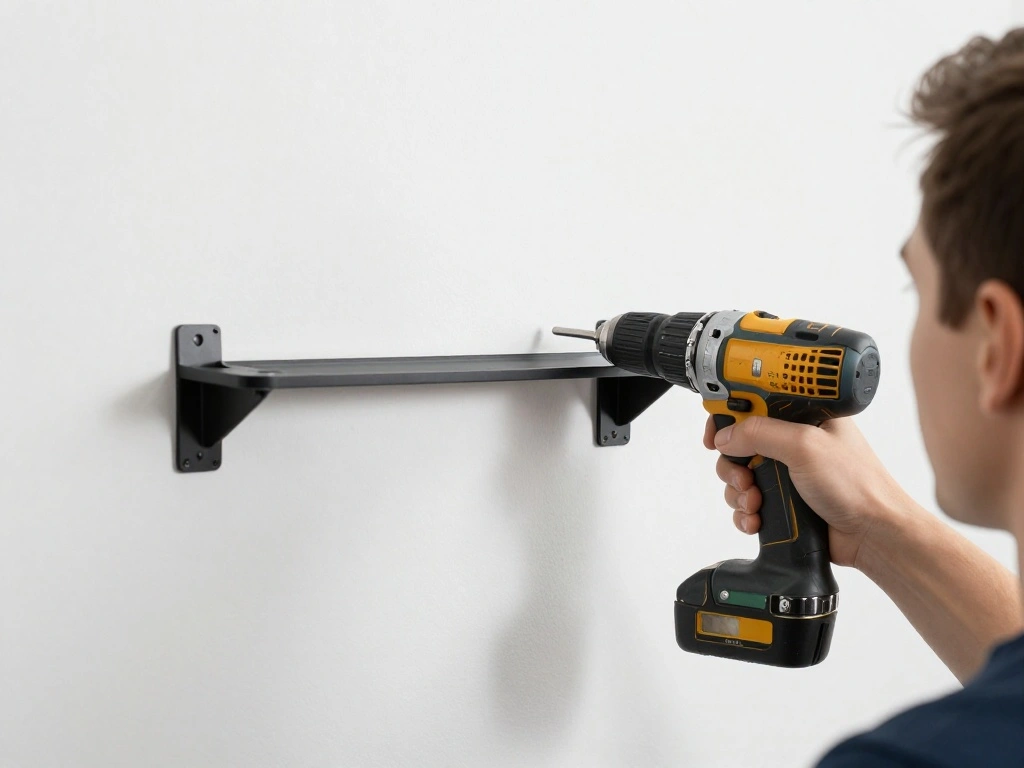
Now it’s time to install the wall brackets that will support your floating desk.
- Align the brackets with the marked locations on the wall.
- Using a drill, secure the brackets with wood screws.
- Make sure each bracket is level before fully tightening the screws.
Pro Tip: Use a level to ensure brackets are perfectly horizontal.
Why this matters: Level brackets provide a stable and aesthetically pleasing desk.
Time estimate for this step: 30 minutes.
Recommended Products

Baby Safety Guard: Let your little one explore and climb to their heart's content! Baby proof furniture anchors help keep furniture secure from the potential tip-over hazard of curious children. This anchor will help keep furniture upright even if your children pull out the dresser drawer to form a ladder and climb onto the dresser for fun.

PREMUIM QUALITY ZINC ALLOY – This heavy duty drywall anchor made of high-quality zinc alloy is of high strength, high scratch resistance and rush resistance. We use superior heavy-duty steel for the galvanized screws set to ensure its strength. What’s more, the galvanized screws are corrosion resistant, which makes their service life even longer. The Zinc alloy wall anchor can load up to 50lbs.

Premium Corrosion-Resistant Construction:Carbon steel anchors with zinc shielding combat rust and wear. Reinforced design engages fully when tightened, delivering rock-solid stability in hollow walls.Load capacity: approximately 80 pounds
Step 7: Install Wall Brackets
Editor’s Choice

Wood Screws Assortment Kit, FIXLINK 240 PCS High Hardness Flat Head Wood…
2Pcs Heavy Duty Shelf Bracket Countertop Support Brackets 16″x12″ Wall M…
Step 8: Mount the Desk
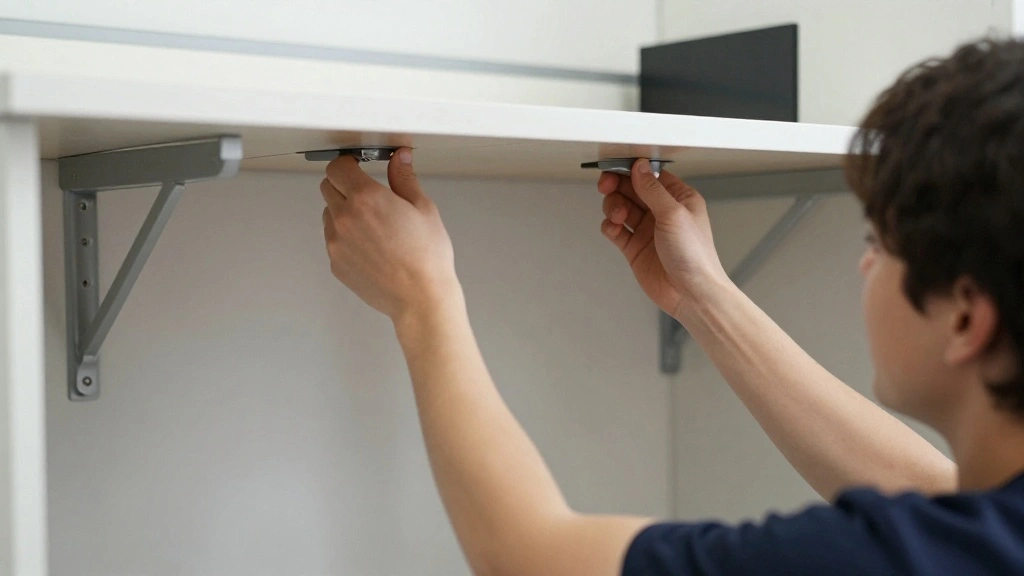
It’s time to mount your desk onto the installed brackets, completing your floating desk project!
- Lift the desk and align it with the wall brackets.
- Secure the desk to the brackets using screws provided.
- Double-check the stability of the desk before use.
Pro Tip: Have a friend help you lift the desk for easier installation.
Why this matters: Proper mounting ensures your desk is safe and functional.
Time estimate for this step: 30 minutes.
Step 8: Mount the Desk
Editor’s Choice

VIVO Steel Reinforcement Bracket Mount Plate for Thin, Glass, and Other …

Worx Nitro 20V SwitchDriver 2.0, 2-in-1 Brushless Cordless Drill Driver,…

JOREST 40Pcs Small Precision Screwdriver Set with Torx Triwing Phillips,…
Pro Tips
- Choose the Right Location: Pick a spot with good lighting and minimal distractions.
- Customize Your Desk: Add personal touches like plants or artwork to make it your own.
- Consider Cable Management: Use cable clips to keep cords organized and out of sight.
- Use Quality Materials: Invest in high-quality wood and brackets for better durability.
- Check Weight Limits: Ensure the brackets can support the weight of your desk and items on it.
Common Mistakes to Avoid
Warning: Not measuring accurately can lead to a desk that doesn’t fit.
Always double-check your measurements before cutting.
Warning: Skipping wall studs when mounting can cause the desk to fall.
Always use a stud finder to locate strong points on the wall.
Warning: Using the wrong type of screws can compromise stability.
Make sure to use screws designed for the brackets and wall type.
Common Mistakes to Avoid
Editor’s Choice

MYWISH (20Sets) 1/4″ x 2″ Hex Head Lag Bolts, Heavy Duty Lag Screws with…
CRAFTSMAN 25-Ft Tape Measure with Fraction Markings, Retractable, Self-L…

Franklin Sensors Prosensor M210 Stud Finder With 13-Sensors, Wood & Meta…
Troubleshooting Section
Problem: The desk is wobbling.
Solution: Check that all screws are tightened and that the brackets are level.
Problem: The desk is too high or low.
Solution: Remove the desk and adjust the height of the brackets accordingly.
Problem: There’s a gap between the wall and desk.
Solution: Check if the brackets are installed correctly and adjust as needed.
Troubleshooting Section
Editor’s Choice
JOREST 40Pcs Small Precision Screwdriver Set with Torx Triwing Phillips,…
NEODROP 8-Pack 12 Inch Heavy Duty Shelf Brackets, Large Wall Bracket for…

Klein Tools 935DAG Digital Electronic Level and Angle Gauge, Measures 0 …
Variations/Alternative Methods
Consider these alternate methods for your floating desk:
- Use a Foldable Design: Ideal for small spaces, allowing you to fold the desk when not in use.
- Incorporate Shelves: Add shelves above or beside the desk for extra storage.
- Use Different Materials: Consider using metal or laminate for a modern look.
Variations/Alternative Methods
Editor’s Choice

Edge Supply Mahogany Wood Veneer Sheet Flat Cut, 24” x 48”, Non Glue…

HOMCOM Foldable Convertible Writing Table, Wall Mounted Space-Saving Com…
FAQs
What if I don’t have a stud finder?
Use a knock test to locate studs; knock on the wall and listen for a solid sound, indicating a stud’s presence.
How long should I wait for the finish to dry?
Follow the manufacturer’s instructions, but usually, a few hours is sufficient for most stains and paints.
Is it safe to mount a desk on drywall?
It is not safe unless you anchor it to the studs for support.
What if my desk is not level?
Adjust the brackets or use shims to ensure the desk is level.
FAQs
Editor’s Choice

Varathane Water-Based Crystal-Clear Ultimate Polyurethane | Interior Woo…

Stud Finder Wall Scanner – 5 in 1 Stud Finder Tool w/Smart Chip and HD L…
Conclusion

Congratulations! You’ve successfully built your very own floating desk. Not only have you created a beautiful workspace, but you’ve also gained valuable DIY skills in the process!
Now that your desk is complete, consider personalizing it with decor or organizing your workspace for maximum productivity. Share your creation with friends and enjoy your new space!