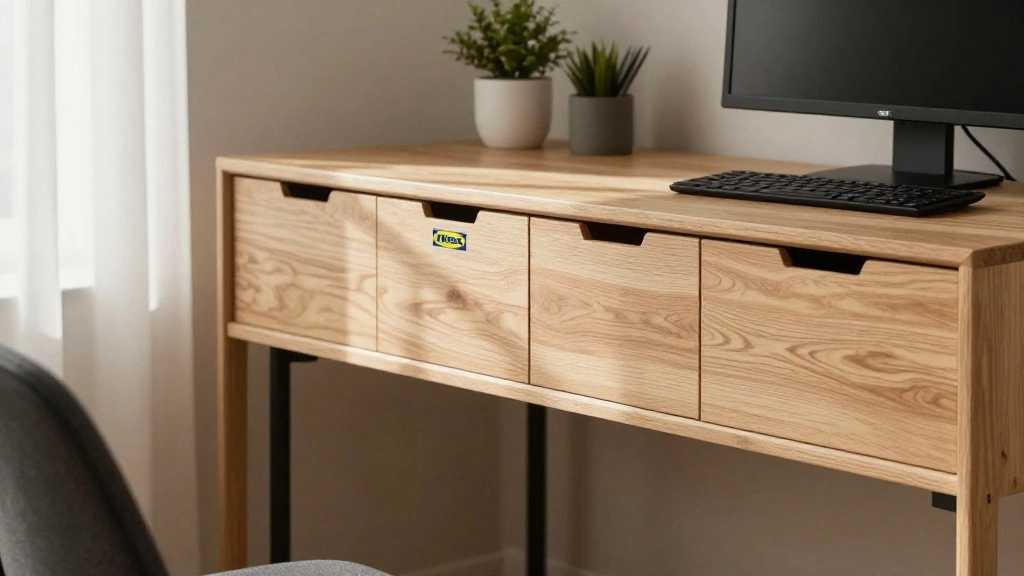
If you’re struggling to find a functional workspace that fits your style, you’re not alone. Many people face the challenge of creating an inviting, productive desk area without breaking the bank. The solution? Transform IKEA’s Alex drawers into a stylish and practical desk that suits your needs.
In this guide, you’ll learn how to repurpose IKEA Alex drawers into a functional desk that can enhance your workspace aesthetics and usability. You’ll feel accomplished as you create a custom solution that meets your requirements. By the end, you’ll have a beautiful desk that combines storage and style!
This project is rated as intermediate and should take around 2-3 hours to complete. Prepare to unleash your creativity while learning practical skills along the way. Let’s dive in!
TL;DR Summary
- Transform IKEA Alex drawers into a functional desk.
- Follow six clear steps to complete the project.
- Estimated time: 2-3 hours.
- Intermediate skill level required.
TL;DR Summary
Editor’s Choice

Bush Business Furniture Series C 60W x 24D Credenza Desk in Hansen Cherr…

Clear Table Cover Protector 24 x 48 Inch, 2mm Thick Clear Desk Mat, Plas…
Prerequisites/Materials Needed
- IKEA Alex Drawers: 2 units
- Desk Top: 1 piece (size will depend on your desired desk dimensions)
- Wood Screws: 8-10 screws
- Wood Glue: 1 small bottle
- Sandpaper: 1 pack (medium to fine grit)
- Drill: 1 unit
- Measuring Tape: 1 unit
- Level: 1 unit
Prerequisites/Materials Needed
Editor’s Choice

BLACK+DECKER 20V MAX POWERCONNECT Power Drill Cordless Drill Driver Elec…

225pcs Screws and Nuts Assortment Kit,M4 M5 M6 Phillips Pan Head Assorte…
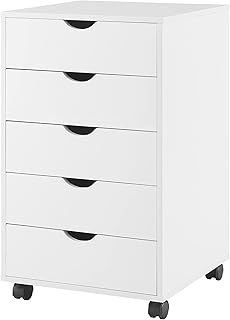
5 Drawer Storage Cabinet with Rolling Wheels, Organizer Unit with Handle…
Skill Level & Time Estimate
Skill Level: intermediate
Total Time Estimate: 2-3 hours
Breakdown:
- Gather materials: 30 minutes
- Assemble drawers: 1 hour
- Attach desk top: 1 hour
- Finishing touches: 30 minutes
Skill Level & Time Estimate
Editor’s Choice


TSJ OFFICE Small Desktop Whiteboard -Glass Dry Erase Board Computer Keyb…
Step 1: Gather Your Materials
Before diving into the project, ensure you have all your materials at hand. This will save you time and prevent interruptions during assembly. Follow these sub-steps:
- Check that you have the required IKEA Alex drawers.
- Purchase or cut your desk top to the desired size.
- Collect all necessary tools and supplies, including screws and wood glue.
Pro Tip: Take a moment to organize your workspace. A clutter-free area will make the assembly process smoother. Warning: Ensure your desk top is sturdy enough to support the weight of your items.
Time estimate: 30 minutes.
Step 1: Gather Your Materials
Editor’s Choice

Halifax 5-Drawer Storage Cabinet, Black (20519)

Gorilla Wood Glue, 8 oz., Water Resistant PVA Wood Glue for Indoor & Out…

Marsail Table Top, 55″ x 28″ Inch Standing Desk Top, 4″ Extra Wide, Rect…
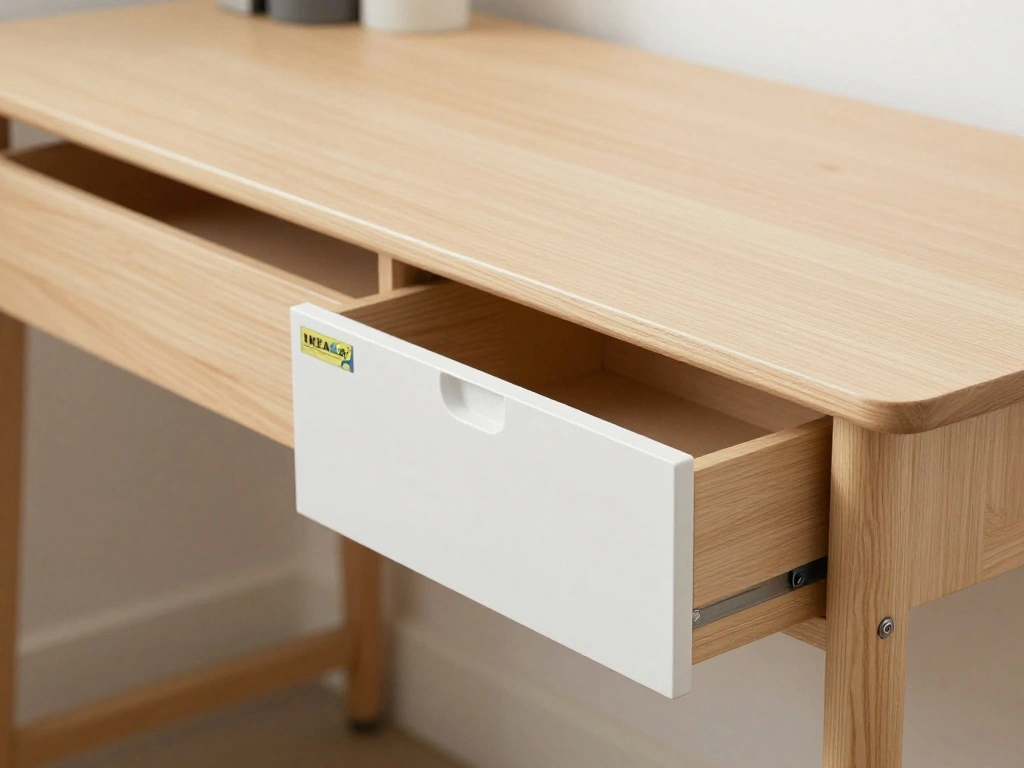
Step 2: Assemble the IKEA Alex Drawers
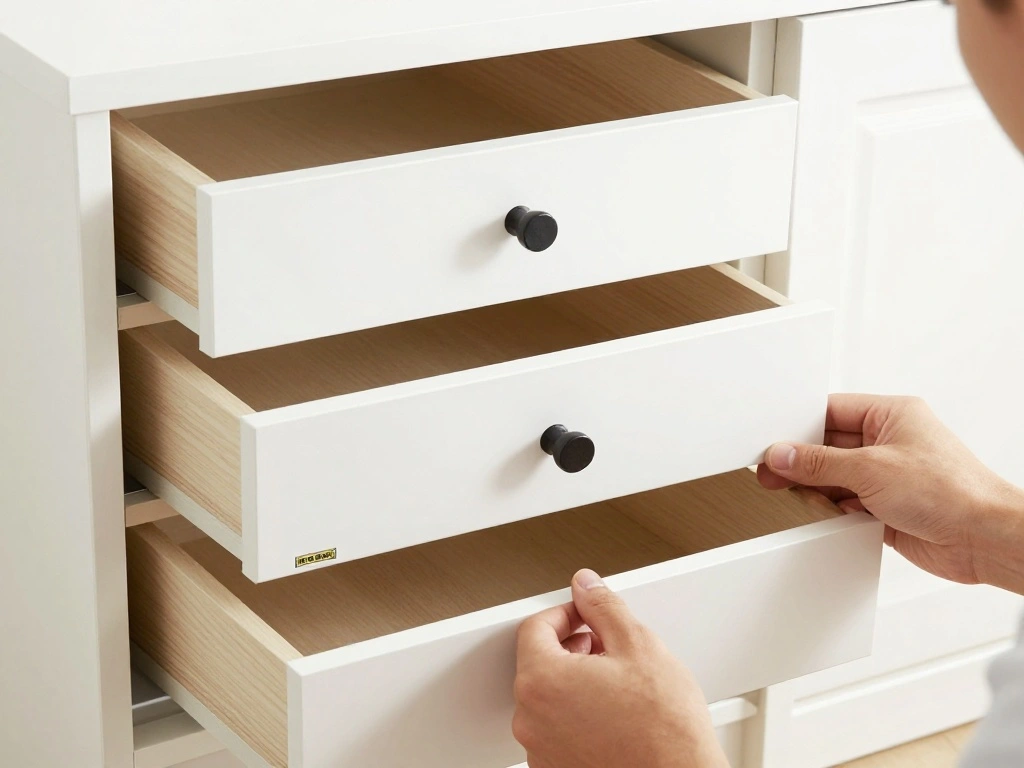
Now it’s time to assemble the IKEA Alex drawers according to the manufacturer’s instructions. Follow these steps:
- Lay out all the drawer components and identify each part.
- Start with the main structure; connect the sides, back, and bottom according to the instructions.
- Attach the drawer fronts and ensure they are aligned properly.
Pro Tip: Use a level to ensure your drawers are even. This will help with stability when the desk is completed. Warning: Make sure to tighten all screws securely; loose components can lead to instability.
Time estimate: 1 hour.
Step 2: Assemble the IKEA Alex Drawers
Editor’s Choice

Fixa Tool Kit 17-Piece, Home Tool Kit, Tool Box, Perfect for Home Come w…

CRAFTSMAN Screwdriver Set, Bi-Material, 8 Piece Set (CMHT65075N)

10-Inch Digital Torpedo Level and Protractor | Neodymium Magnets | Brigh…
Step 3: Prepare the Desk Top
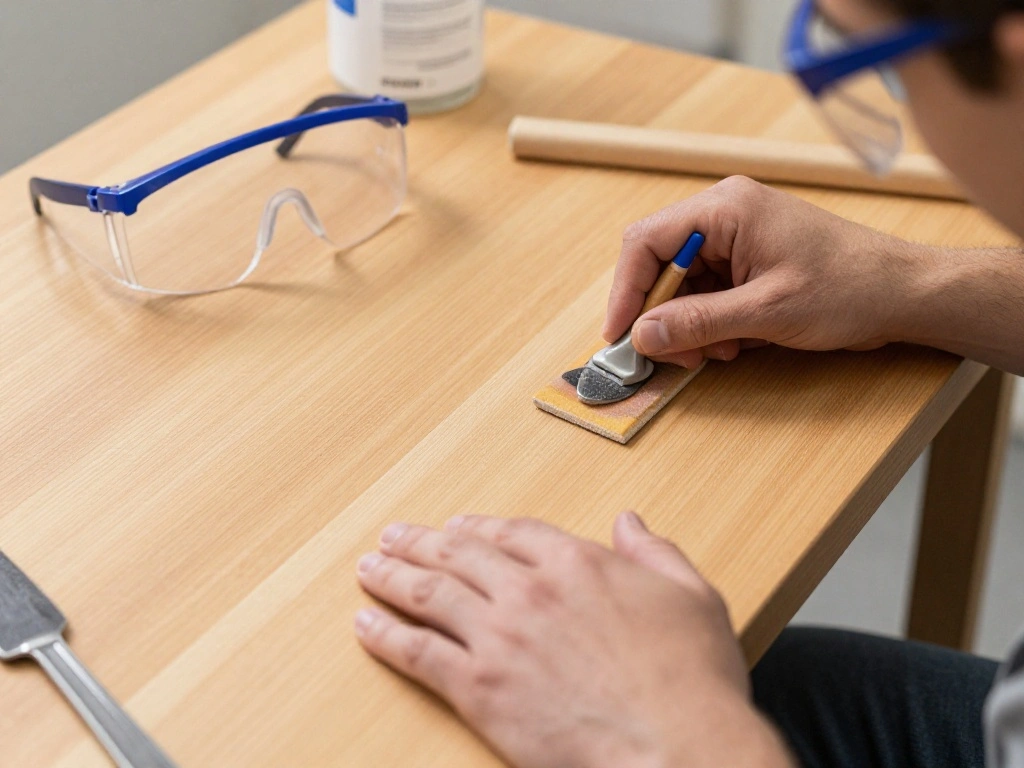
With your drawers assembled, it’s time to prepare the desk top for attachment. Follow these steps:
- Sand the edges of the desk top to avoid splinters.
- Measure the height of the drawers to determine where to attach the top.
- Set the desk top upside down on a flat surface.
Pro Tip: Test the fit of the desk top on the drawers before securing anything. Adjust measurements if necessary. Warning: Use proper safety gear when sanding to protect your eyes and lungs.
Time estimate: 30 minutes.
Step 3: Prepare the Desk Top
Editor’s Choice

SKIL 5” Random Orbital Sander with Cyclonic Dust Box & 3pc Sanding She…

CRAFTSMAN 25-Ft Tape Measure with Fraction Markings, Retractable, Self-L…
Step 4: Attach the Desk Top to the Drawers
Now, it’s time to attach the desk top to the drawers, creating a unified workspace. Follow these steps:
- Position the drawers in their desired location.
- Lift the desk top and place it on top of the drawers.
- Using screws, secure the desk top to the drawers from underneath.
Pro Tip: Use a level to ensure the desk top is perfectly flat before securing it. Warning: Ensure your screws do not protrude through the top surface of the desk.
Time estimate: 1 hour.
Step 4: Attach the Desk Top to the Drawers
Editor’s Choice

Wood Screws Assortment Kit, FIXLINK 240 PCS High Hardness Flat Head Wood…

Torpedo Level Magnetic, Firecore 9 Inch Shockproof Small Leveler Tool wi…

Kaboon 48×18 inches Tabletop, Solid One-Piece Desktop for Sit Stand Desk…
Step 5: Finish the Desk’s Aesthetics
With your desk assembled, it’s time to add some finishing touches to enhance its aesthetics. Follow these steps:
- Apply a wood finish or paint if desired, allowing it to dry completely.
- Add drawer organizers or decorative elements to personalize your space.
- Consider adding a mat or desk pad for added flair.
Pro Tip: Choose colors or finishes that match your room decor for a cohesive look. Warning: Ensure any finishes used are suitable for indoor use to avoid harmful fumes.
Time estimate: 30 minutes.
Step 5: Finish the Desk’s Aesthetics
Editor’s Choice

Hupeyna Wood Furniture Repair Kit, 12 Colors Wood Repair Kit, Wood Touch…

Aothia Non-Slip Waterproof PU Leather Desk Pad Protector for Mouse, Writ…

Vtopmart 25 PCS Clear Plastic Drawer Organizers Set, 4-Size Versatile Ba…
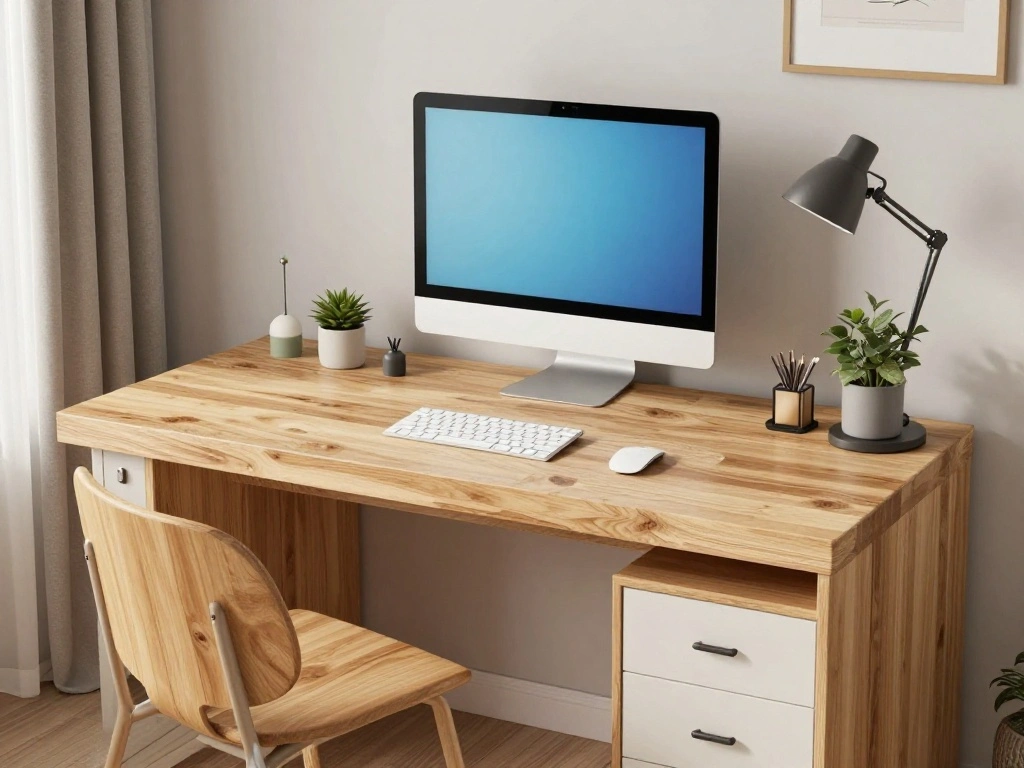
Step 6: Organize Your Workspace

Finally, it’s time to organize your new desk space for optimal productivity. Follow these steps:
- Arrange your computer and peripherals on the desk.
- Organize office supplies in the drawers for easy access.
- Personalize the space with plants or artwork that inspires you.
Pro Tip: Keep your workspace clutter-free by regularly assessing what you need on the desk. Warning: Avoid overloading your desk with items that can cause distractions.
Time estimate: 30 minutes.
Step 6: Organize Your Workspace
Editor’s Choice

Vtopmart 12 Pack Drawer Dividers for Clothes, 4″ High 10.2″-16.5″ Adjust…
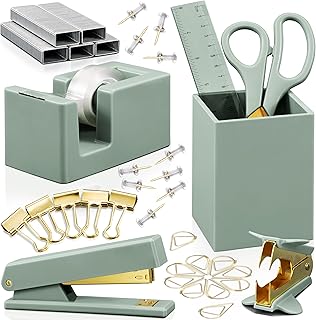
Aesthetic Desk Accessories Set – A Complete Desktop Organizer Set For Wo…
Pro Tips
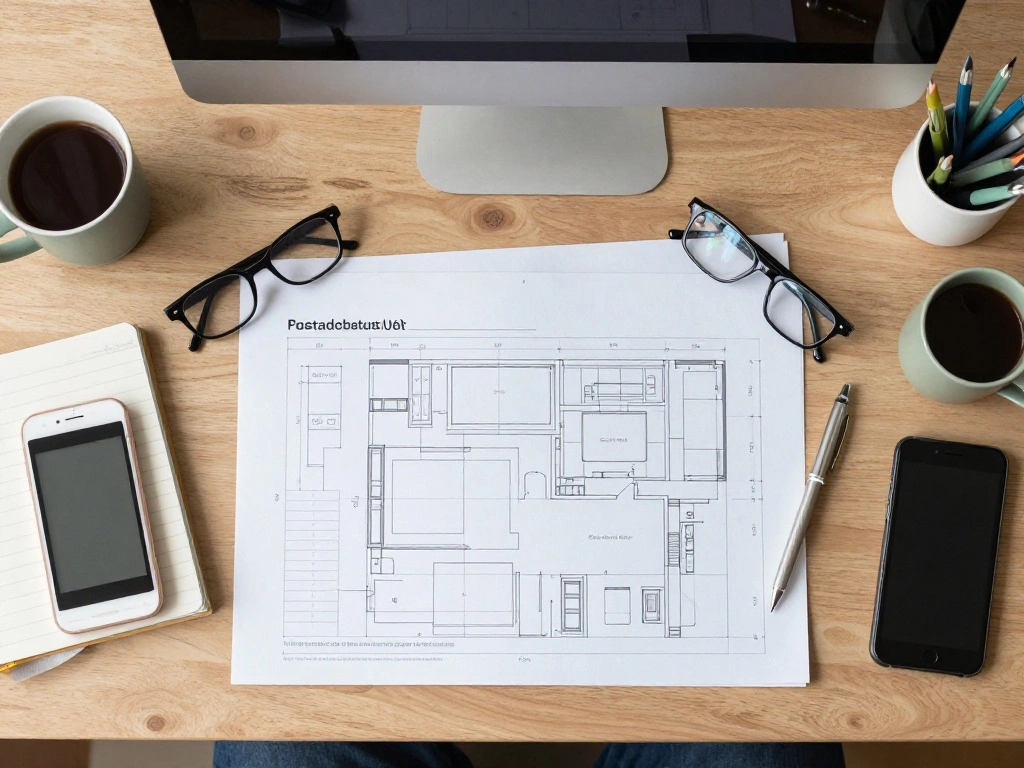
- Measure Twice: Always double-check your measurements before cutting or attaching anything.
- Use Quality Tools: Invest in a good quality drill and screws to ensure a stable desk.
- Consider Cable Management: Think about how you will manage cables to keep your desk tidy.
- Customize Storage: Use drawer organizers to maximize storage efficiency.
- Seek Inspiration: Look online for design inspirations to personalize your desk further.
Pro Tips
Editor’s Choice

12 Pack Drawer Organizer Clothes, Foldable Fabric Dresser Organizer Clos…

Under Desk Cable Management Tray No Drill, Metal Mesh Cable Management U…
BLACK+DECKER 20V MAX POWERCONNECT Power Drill Cordless Drill Driver Elec…
Common Mistakes to Avoid
Warning: Skipping measurements can lead to an ill-fitting desk. Always measure before cutting or assembling.
Warning: Over-tightening screws may cause damage to the drawers. Tighten just enough to secure them.
Warning: Forgetting to sand edges can lead to splinters. Always sand before finishing.
Warning: Using the wrong finish can lead to long drying times or harmful fumes. Always choose appropriate products.
Warning: Ignoring stability can result in a wobbly desk. Ensure all components are securely attached and level.
Common Mistakes to Avoid
Editor’s Choice

Sandpaper Assortment 120/220/400/600/800/1000/2000 Grit, 21 Sheets, 9 x …

Klein Tools 80209 Precision Multi-Bit Screwdriver Set, 31-Piece, Cushion…
CRAFTSMAN 25-Ft Tape Measure with Fraction Markings, Retractable, Self-L…
Troubleshooting Section
Problem: Desk wobbles or feels unstable.
Solution: Check all screws and ensure they are tightened. Use a level to confirm the desk is even.
Problem: Drawers do not open smoothly.
Solution: Ensure all components are aligned and check for any obstructions.
Problem: Desk top feels uneven.
Solution: Re-check the attachment of the desk top and adjust as necessary.
Problem: Paint or finish not drying correctly.
Solution: Ensure proper ventilation and consider applying at a different temperature or humidity level.
Problem: Drawers are difficult to pull out.
Solution: Check for misalignment and adjust the drawer slides accordingly.
Troubleshooting Section
Editor’s Choice

3/8″ Threaded Leveling Feet Adjustable Table/Furniture Feet Levelers Scr…

1 Pair Full Extension Drawer Slides Side Mount 8 10 12 14 16 18 20 22 24…
Variations/Alternative Methods
1. Use a different desk top material: Instead of wood, consider using a glass top for a modern look.
2. Customize drawer fronts: Paint or add wallpaper to the drawer fronts for unique designs.
3. Add wheels: Attach wheels to the bottom of the drawers for easy mobility.
Variations/Alternative Methods
Editor’s Choice

Rust-Oleum 1993502 Painter’s Touch Ultra Cover Multi-Purpose Brush-On Pa…

Neos Modern Furniture Bent Glass Computer Desk, Rectangular Shaped PC La…

Black Stainless Steel Self Adhesive Caster Wheels – 4 Pack Large Profi…
FAQs
What if I don’t have IKEA Alex drawers? You can use similar drawer units or any sturdy storage solution that fits your space.
How long should I wait for the finish to dry? Check the manufacturer’s instructions, but generally, allow at least 24 hours for a complete cure.
Is it safe to attach the desk top on my own? Yes, as long as you follow the instructions carefully and use appropriate tools.
What if my desk top is too heavy? Ensure that the drawers can support the weight, or consider using a lighter material.
Can I use this setup for gaming? Absolutely! Just make sure to organize your cables effectively for a clean gaming environment.
FAQs
Editor’s Choice
5 Drawer Storage Cabinet with Rolling Wheels, Organizer Unit with Handle…
TSJ OFFICE Small Desktop Whiteboard -Glass Dry Erase Board Computer Keyb…

HOTO 25-Piece Upgraded Electric Screwdriver Kit, 1/4” Hex, Magnetic Lid…
Conclusion

Congratulations! You’ve successfully transformed IKEA Alex drawers into a stunning desk tailored to your needs. You should feel proud of your accomplishment. This desk not only meets your functional requirements but also adds a personal touch to your workspace.
Now that you’ve completed this project, consider exploring additional hacks or DIY projects to further personalize your space. The possibilities are endless, and you have the skills to make it happen. Let’s keep creating!