Are you struggling with productivity due to a cramped workspace? Dual monitors can be a game-changer, allowing you to multitask efficiently. Setting up a dual-monitor docking station not only enhances your work efficiency but also transforms your work environment into a more organized and comfortable space. In this guide, you will learn how to connect and configure dual monitors using a docking station.
By the end of this article, you’ll successfully set up your dual-monitor docking station, enabling you to view multiple applications simultaneously. This setup is crucial for professionals who need to manage numerous tasks or projects at once. We will walk you through each step with straightforward instructions, ensuring you can complete the process with ease.
This guide is designed for beginners and will take approximately 30-45 minutes to complete. You’ll gain practical skills and insights into configuring your workspace effectively. Let’s get started!
TL;DR Summary
- Gather all necessary materials for the setup.
- Connect your monitors to the docking station.
- Configure display settings on your computer.
- Optimize your workspace for better productivity.
TL;DR Summary
Editor’s Choice

Anker Laptop Docking Station Dual Monitor, 8-in-1 USB C Hub, 4K Dual Mon…

Highwings 8K 10K 4K HDMI Cable 48Gbps 6.6FT/2M, Certified Ultra High Spe…
Prerequisites/Materials Needed
- Hardware:
- 1 Docking Station
- 2 Monitors (compatible with docking station)
- 1 Laptop or Desktop Computer
- 2 Monitor Cables (HDMI, DisplayPort, or VGA)
- Power Cables for each Monitor
- Software:
- Latest Drivers for Docking Station
- Operating System Updates (Windows/Mac)
Prerequisites/Materials Needed
Editor’s Choice

BENFEI 4K DisplayPort to HDMI Adapter, Uni-Directional DP 1.2 Computer t…
Anker Laptop Docking Station Dual Monitor, 8-in-1 USB C Hub, 4K Dual Mon…
Highwings 8K 10K 4K HDMI Cable 48Gbps 6.6FT/2M, Certified Ultra High Spe…
Skill Level & Time Estimate
Skill Level: beginner
Total time estimate: 30-45 minutes
Step breakdown:
- Gather materials: 5 minutes
- Connect monitors: 10-15 minutes
- Configure settings: 10-15 minutes
- Optimize workspace: 5 minutes
Skill Level & Time Estimate
Editor’s Choice
Highwings 8K 10K 4K HDMI Cable 48Gbps 6.6FT/2M, Certified Ultra High Spe…

Anker Nano Laptop Docking Station Dual Monitor, 8-in-1 USB C Dock with 4…
Step 1: Gather Your Materials
Begin by collecting all the materials you need for the setup. This step ensures you have everything at your fingertips, making the process smooth and efficient. Follow these sub-steps:
- Check the compatibility of your monitors with the docking station.
- Gather all necessary cables: two monitor cables and power cables for each monitor.
- Ensure your laptop or desktop is ready with the latest drivers installed.
Pro Tip: Keeping your workspace organized will help you work faster and avoid frustration later on.
Why this matters: Having all components ready prevents delays and confusion during the setup process.
Time estimate: 5 minutes.
Step 1: Gather Your Materials
Editor’s Choice

UL Approved 10ft Universal Power Cord (5 Pack) – IEC C13 to NEMA 5-15P C…
Anker Laptop Docking Station Dual Monitor, 8-in-1 USB C Hub, 4K Dual Mon…

Cable Matters VGA Cable with Ferrites – 10ft, VGA Cord for Computer Moni…
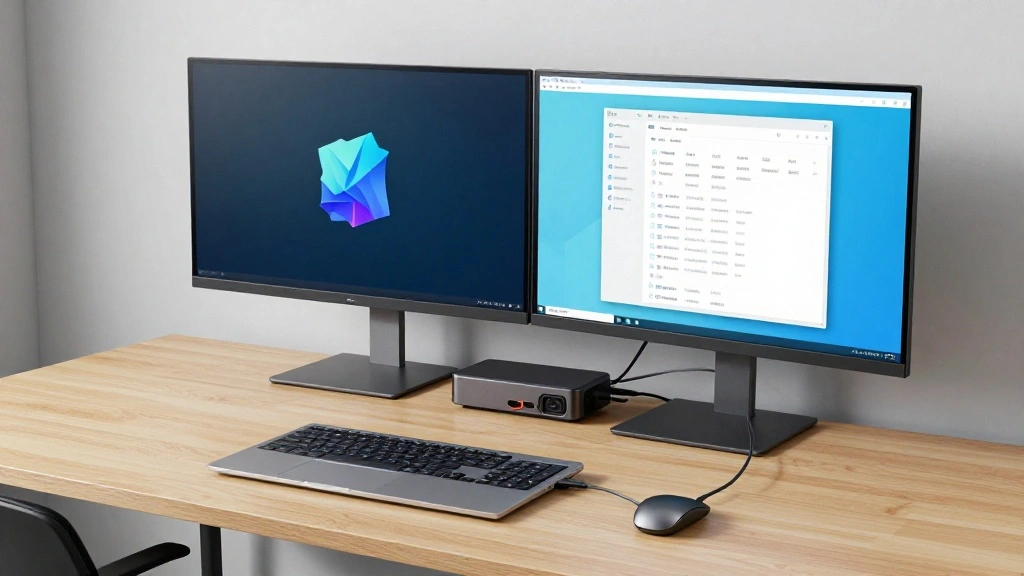
Step 2: Connect Your Monitors to the Docking Station
Next, connect your monitors to the docking station. This step is essential for establishing a connection between your displays and your computer. Follow these steps:
- Identify the video output ports on your docking station.
- Connect the first monitor to the docking station using the appropriate cable.
- Repeat the process for the second monitor.
Warning: Ensure that the monitors are powered off while connecting to avoid any electrical issues.
Why this matters: Properly connecting your monitors ensures they work seamlessly with your docking station and your computer.
Time estimate: 10-15 minutes.
Step 2: Connect Your Monitors to the Docking St…
Editor’s Choice
Anker Laptop Docking Station Dual Monitor, 8-in-1 USB C Hub, 4K Dual Mon…
IVANKY VESA Certified DisplayPort Cable, 6.6ft DP Cable 1.2, [4K@60Hz, 2…

4K HDMI Cable 3 FT 10-Pack, 3FT HDMI Cord 4K@60Hz, Shielded HDMI Cord Su…
Step 3: Power On Your Monitors
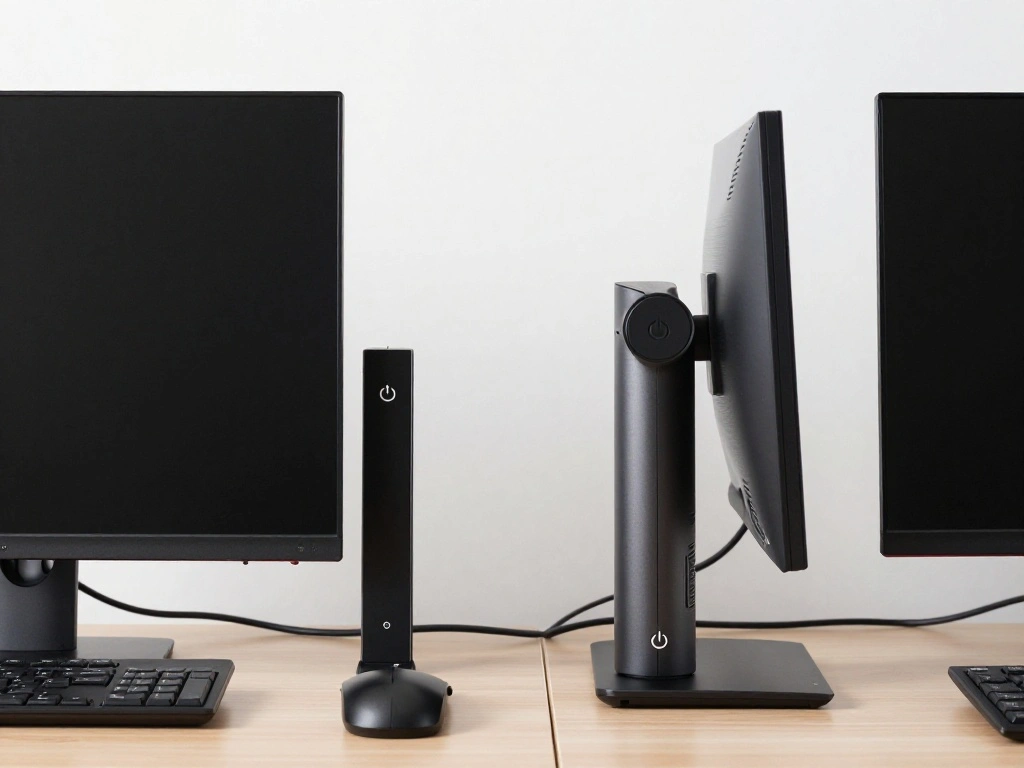
After connecting your monitors to the docking station, it’s time to power them on. This step is critical for initializing the display settings. Follow these sub-steps:
- Plug the power cables into the monitors.
- Turn on each monitor using the power button.
Pro Tip: Position your monitors at eye level for a comfortable viewing experience.
Why this matters: Turning on the monitors allows your computer to detect them, enabling the next steps of configuration.
Time estimate: 5 minutes.
Step 3: Power On Your Monitors
Editor’s Choice

ErGear Single Monitor Arm, Fully Adjustable Monitor Mount for 13–34 In…
Highwings 8K 10K 4K HDMI Cable 48Gbps 6.6FT/2M, Certified Ultra High Spe…
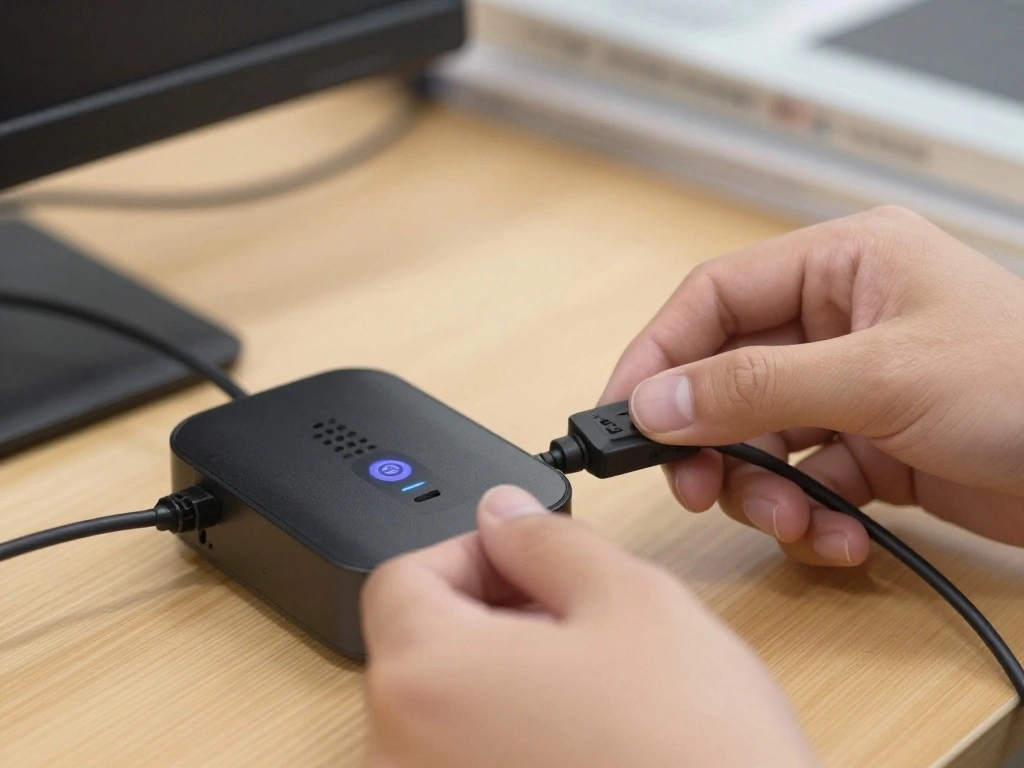
Step 4: Connect the Docking Station to Your Computer
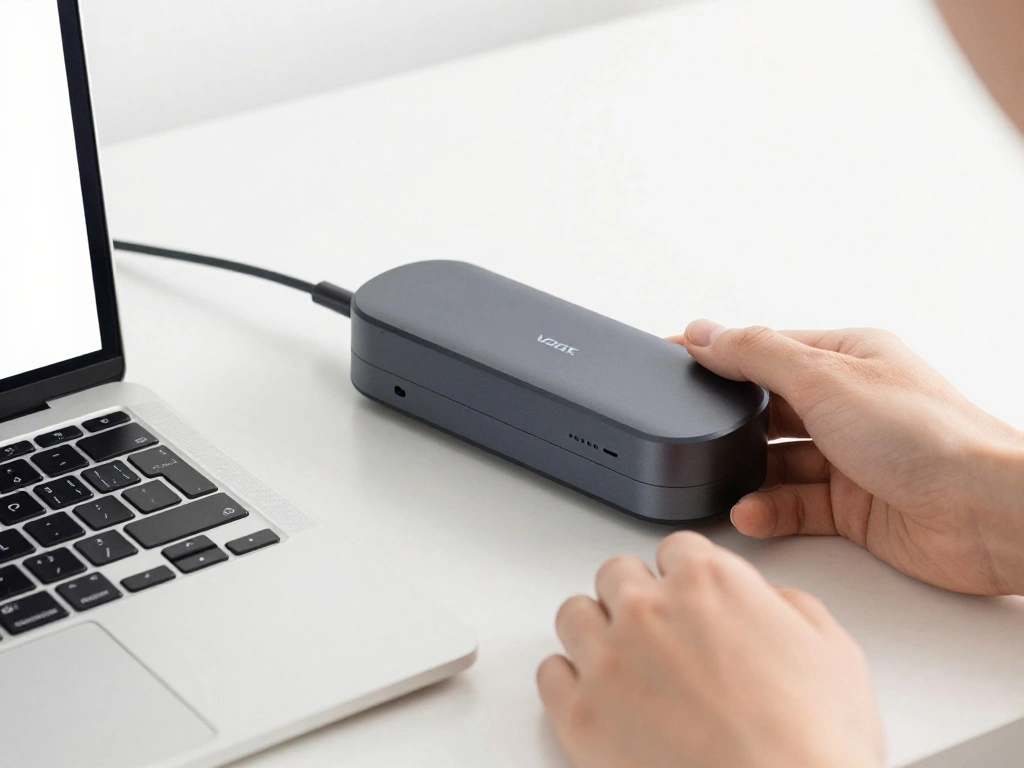
Now, connect your docking station to your computer. This step links your monitors to your system, allowing for display configuration. Here’s how to do it:
- Locate the USB or Thunderbolt port on your laptop or desktop.
- Connect the docking station using the appropriate cable.
Warning: Make sure to use the correct port, as using the wrong one can cause connectivity issues.
Why this matters: Establishing this connection is crucial for your computer to recognize the dual monitors for configuration.
Time estimate: 5 minutes.
Step 4: Connect the Docking Station to Your Com…
Editor’s Choice

Acer USB C Docking Station Dual Monitor With 2 HDMI, 9-IN-1 Laptop Docki…

Belkin Thunderbolt 3 Dock Pro w/ Thunderbolt 3 Cable – USB-C Hub – USB-C…
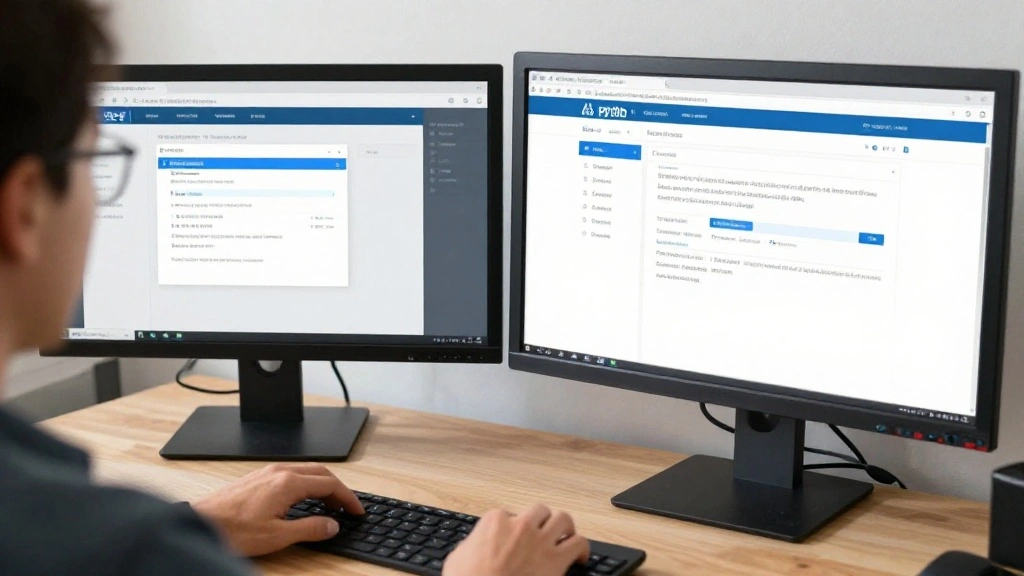
Step 5: Configure Display Settings on Your Computer
Once everything is connected, it’s time to configure the display settings on your computer. This step is essential for setting up how your monitors will work together. Follow these steps:
- Right-click on your desktop and select ‘Display settings.’
- Identify the monitors; they will be labeled as ‘1’ and ‘2.’
- Select ‘Extend these displays’ from the multiple displays dropdown menu.
- Adjust the resolution and orientation as needed.
Pro Tip: You can drag and drop the monitor icons to match their physical arrangement on your desk.
Why this matters: Proper configuration ensures that both monitors function as intended and enhance productivity.
Time estimate: 10-15 minutes.
Step 5: Configure Display Settings on Your Comp…
Editor’s Choice
Anker Nano Laptop Docking Station Dual Monitor, 8-in-1 USB C Dock with 4…
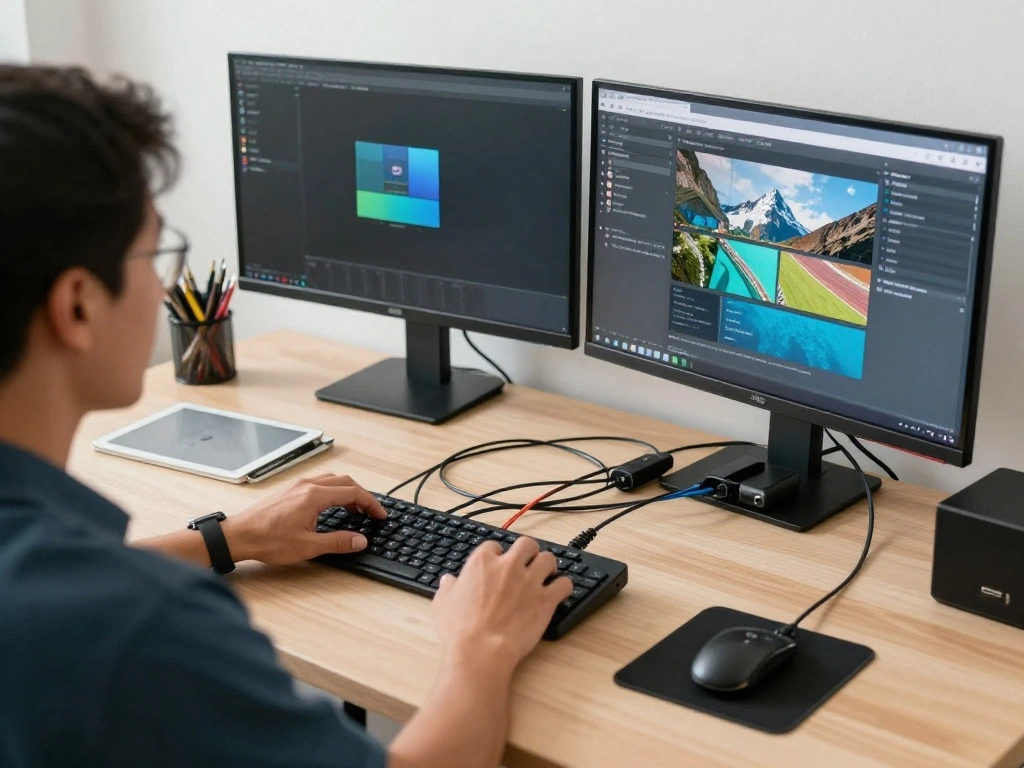
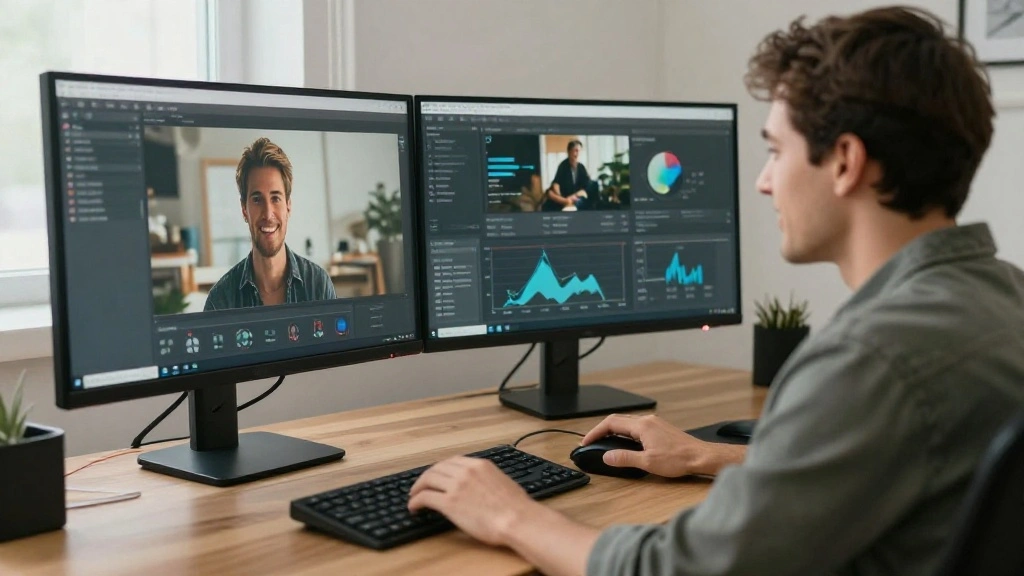
Step 6: Arrange Your Workspace for Efficiency
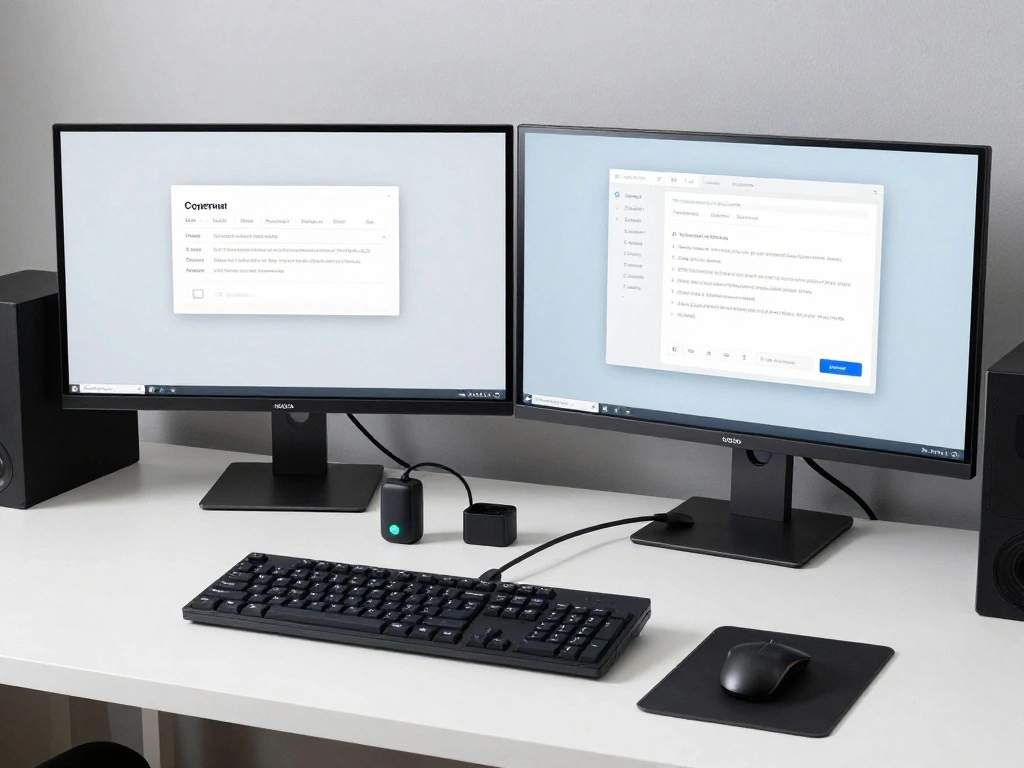
Now that your dual monitors are set up, it’s important to arrange your workspace for efficiency. A well-organized workspace can significantly improve your productivity. Follow these steps:
- Position the monitors at eye level and at an angle that minimizes neck strain.
- Ensure that your keyboard and mouse are comfortably reachable.
- Declutter your desk by organizing cables and removing unnecessary items.
Pro Tip: Use cable management solutions to keep your workspace tidy and professional.
Why this matters: An organized workspace fosters a more productive and comfortable working environment.
Time estimate: 5 minutes.
Step 6: Arrange Your Workspace for Efficiency
Editor’s Choice

Wireless Keyboard and Mouse Combo, 2.4G Full Size Wave Keys Ergonomic Ke…
Step 7: Test Your Setup
Finally, it’s time to test your dual-monitor setup to ensure everything is functioning correctly. This step helps identify any issues before you start working. Follow these steps:
- Open different applications on each monitor to test functionality.
- Adjust display settings if needed based on performance.
- Check for any lag or display issues.
Warning: If you notice any problems, revisit the previous steps to troubleshoot your setup.
Why this matters: Testing ensures that your monitors are fully operational and ready for your needs.
Time estimate: 5-10 minutes.
Step 7: Test Your Setup
Editor’s Choice

Highwings 4K Display Port to HDMI Adapter, Uni-Directional DP 1.2 Comput…

HUANUO FlowLift™ Dual Monitor Stand, Fully Adjustable Gaming Monitor D…
Pro Tips
- Display Arrangement: Arrange your monitors to match your workflow; for example, place the primary monitor in front of you.
- Keyboard Shortcuts: Learn keyboard shortcuts to switch between applications quickly.
- Color Calibration: Calibrate your monitors for color accuracy if you work with graphics.
- Task Management: Use tools like virtual desktops to manage projects across multiple screens.
- Ergonomics: Invest in an ergonomic keyboard and mouse to reduce strain during long working hours.
Pro Tips
Editor’s Choice

Digital Shortcut Keys Reference Poster for Programmers and Modern Minima…

HUANUO FlowLift™ Dual Monitor Stand, Fully Adjustable Gaming Monitor D…
Common Mistakes to Avoid
Warning: Avoid these common mistakes to ensure a successful dual-monitor setup:
- Incorrect Cable Type: Using the wrong type of cable can lead to display issues. Always check compatibility.
- Misconfigured Settings: Failing to set the right display mode can cause confusion. Ensure you select ‘Extend these displays.’
- Poor Monitor Placement: Incorrect placement can lead to neck strain. Position monitors at eye level.
Common Mistakes to Avoid
Editor’s Choice
Highwings 8K 10K 4K HDMI Cable 48Gbps 6.6FT/2M, Certified Ultra High Spe…

Single LCD Computer Monitor Free-Standing Desk Stand Mount Riser for 13 …

USB C to USB C Hub Dual Monitor, USBC Splitter with 4K@60Hz DP Alt Mode …
Troubleshooting Section
Problem: One monitor is not detected.
Solution: 1. Check the cable connections. 2. Restart your computer. 3. Ensure the monitor is powered on.
Problem: Display resolution is incorrect.
Solution: 1. Right-click on your desktop and select ‘Display settings.’ 2. Adjust the resolution for each monitor.
Problem: Monitors are not extending.
Solution: 1. Go to ‘Display settings.’ 2. Select ‘Extend these displays.’
Problem: Flickering or lagging display.
Solution: 1. Check cable connections. 2. Update your graphics drivers. 3. Adjust display settings.
Problem: Poor color quality.
Solution: 1. Calibrate your monitors. 2. Adjust brightness and contrast settings.
Variations/Alternative Methods
There are various methods for setting up dual monitors. Here are some alternatives:
- Direct Connection: Connect monitors directly to your computer if it supports multiple outputs. This is simpler but may not offer features of a docking station.
- Wireless Display: Use wireless display technology for a cable-free setup. This is convenient but may introduce latency.
- Using a KVM Switch: A KVM switch allows control of multiple computers with one keyboard and mouse, ideal for users with multiple systems.
Variations/Alternative Methods
Editor’s Choice
Anker Laptop Docking Station Dual Monitor, 8-in-1 USB C Hub, 4K Dual Mon…

UGREEN HDMI KVM Switch 2 Monitors 2 Computers 4K@60Hz, with 4 USB 3.0 Po…

2027 Upgraded Wireless HDMI Display Dongle Adapter, Transmitter Streamin…
FAQs
- What if I don’t have enough ports on my laptop? Consider using a docking station or a USB to HDMI adapter to add extra ports.
- How long should I expect the setup to take? The setup typically takes about 30-45 minutes.
- Is it safe to use different monitor brands? Yes, as long as they support the same resolution and connection type.
- What if my monitors flicker? Check the cable connections and update your graphics drivers.
- Can I use one monitor for gaming and the other for work? Absolutely! You can set up your desktop to utilize both monitors for different tasks.
FAQs
Editor’s Choice
Highwings 8K 10K 4K HDMI Cable 48Gbps 6.6FT/2M, Certified Ultra High Spe…
Conclusion
Congratulations on successfully setting up your dual-monitor docking station! You’ve taken a significant step towards a more productive workspace. With your new setup, you can work more efficiently and manage multiple tasks with ease.
As a next step, explore software tools that can enhance your dual-monitor experience, such as window management applications. Keep your workspace organized and enjoy the benefits of your new dual-monitor setup!