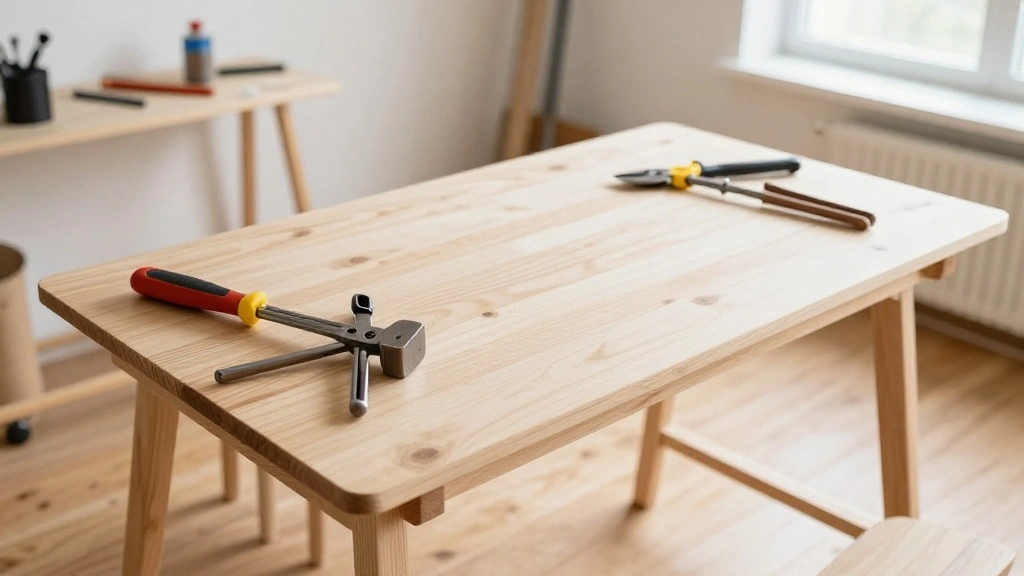
Are you tired of working at a makeshift table or cramped space? Building a desk can seem daunting, especially without power tools, but it’s a rewarding project that can enhance your productivity and workspace aesthetics. With just a few affordable materials and some basic hand tools, you can create a custom desk that fits your style and needs. In this guide, you will learn how to build a sturdy desk using only manual tools!
This beginner-level project will teach you essential woodworking skills such as measuring, cutting, and assembling materials. You will gain confidence in your abilities as you watch your vision come to life. Whether you need a simple workspace for your home office or a stylish desk for your study, by the end of this tutorial, you will have a desk that is uniquely yours.
This project will take approximately 3-5 hours to complete, depending on your pace and experience. Gather your materials, roll up your sleeves, and let’s get started on building your desk without any power tools!
TL;DR Summary
- Build a custom desk without power tools in 3-5 hours.
- Gather basic materials and hand tools.
- Follow 7 simple steps from planning to assembly.
- Learn essential woodworking skills along the way.
TL;DR Summary
Editor’s Choice

HORUSDY 8-Pack Bar Clamps for Woodworking, 12″ and 6″ Bar Clamps, Wood W…

RUITOOL Japanese Hand Saw 6 Inch Double Edge Sided Pull Saw Ryoba SK5 Fl…

Titebond Original Wood Glue 5063, Industry Standard for Woodworking, Fur…
Prerequisites/Materials Needed
- Materials:
- Wood planks (1×4 inches or similar, lengths will vary)
- Wood screws (1.5 inches long)
- Wood glue
- Sandpaper (medium and fine grit)
- Wood finish or paint (optional)
- Tools:
- Hand saw
- Measuring tape
- Square
- Hammer
- Screwdriver
- Clamps (optional but recommended)
Prerequisites/Materials Needed
Editor’s Choice
RUITOOL Japanese Hand Saw 6 Inch Double Edge Sided Pull Saw Ryoba SK5 Fl…

Howard Products RF4016 RF3016 Restor-A-Finish, 16 oz, Walnut, 16 Fl Oz
HORUSDY 8-Pack Bar Clamps for Woodworking, 12″ and 6″ Bar Clamps, Wood W…
Skill Level & Time Estimate
Skill Level: beginner
The total time estimate for this project is approximately 3-5 hours. Below is a breakdown of the time by major steps:
- Planning and measuring: 30 minutes
- Cutting and sanding: 1-2 hours
- Assembling the desk: 1-2 hours
- Finishing touches: 30 minutes
Skill Level & Time Estimate
Editor’s Choice
Titebond Original Wood Glue 5063, Industry Standard for Woodworking, Fur…
RUITOOL Japanese Hand Saw 6 Inch Double Edge Sided Pull Saw Ryoba SK5 Fl…

Sand Paper, 48 PCS Sandpaper, 120 to 5000 Assorted Grit Sandpaper Sheets…
Step 1: Plan Your Desk Design
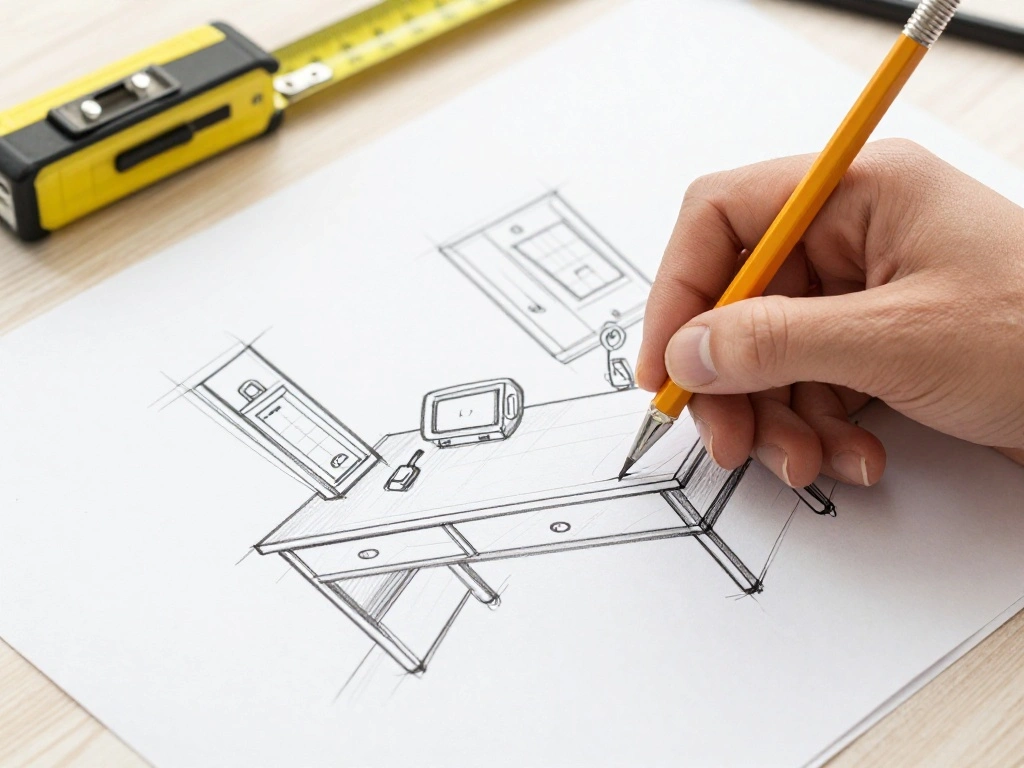
To build your desk, start by planning its design. Consider dimensions based on your space and needs. Here’s how to do it:
- Measure the intended space where the desk will go.
- Decide on the height (standard desk height is about 30 inches).
- Determine the width and depth (typically 24-30 inches for depth).
- Sketch a simple design to visualize the layout.
Why this matters: Proper planning ensures that your desk fits the designated space and meets your functional requirements. Warning: Avoid choosing dimensions that are too large for your space, as this can lead to a cramped area. Time estimate: 30 minutes.
Step 1: Plan Your Desk Design
Editor’s Choice
RUITOOL Japanese Hand Saw 6 Inch Double Edge Sided Pull Saw Ryoba SK5 Fl…

Gorilla Max Strength Construction Adhesive, 2.5 oz (Pack of 1), Clear, W…
HORUSDY 8-Pack Bar Clamps for Woodworking, 12″ and 6″ Bar Clamps, Wood W…
Step 2: Gather and Prepare Materials
Once you have a plan, gather all necessary materials. Follow these steps:
- Acquire all wood planks as per your design.
- Inspect the wood for any defects or warping.
- Cut the wood to the required lengths using a hand saw, following your design.
- Sand the edges and surfaces of each piece to avoid splinters.
Why this matters: Quality materials and proper preparation are crucial for a sturdy and smooth desk finish. Pro Tip: Use clamps to hold your wood pieces steady while cutting. Time estimate: 1-2 hours.
Step 2: Gather and Prepare Materials
Editor’s Choice

Romeda 8-Pack Sanding Sponge, Four Grits Per Pack 60/80/120/220, Washabl…
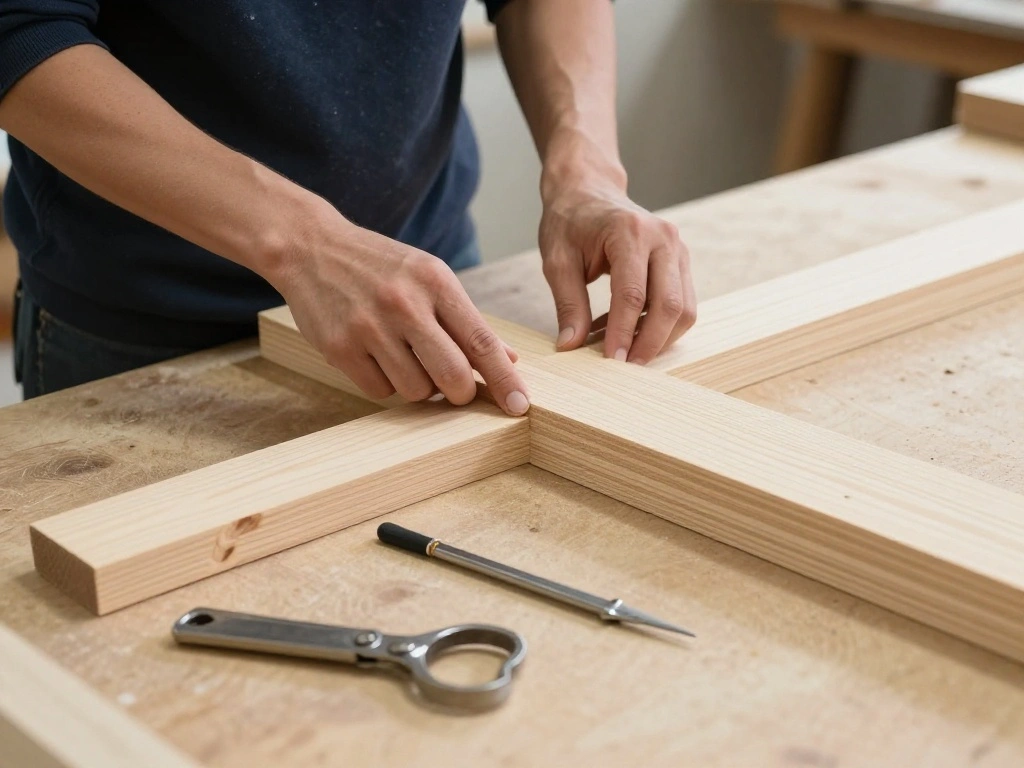
Step 3: Assemble the Desk Frame
Next, create the desk frame, which supports the tabletop. Follow these steps:
- Lay out the side and back pieces of the frame on a flat surface.
- Use wood screws to attach the side pieces to the back, forming a rectangular shape.
- Ensure everything is square by measuring diagonally across the corners.
- Clamp the frame while the glue sets, if using.
Why this matters: A solid frame is essential for the durability of your desk. Warning: Ensure your frame is square; otherwise, the tabletop will not sit properly. Time estimate: 1 hour.
Step 3: Assemble the Desk Frame
Editor’s Choice
Gorilla Max Strength Construction Adhesive, 2.5 oz (Pack of 1), Clear, W…
HORUSDY 8-Pack Bar Clamps for Woodworking, 12″ and 6″ Bar Clamps, Wood W…

Power Pro Premium Exterior Wood Screws, #9 x 3 Inch All-Purpose Deck Scr…
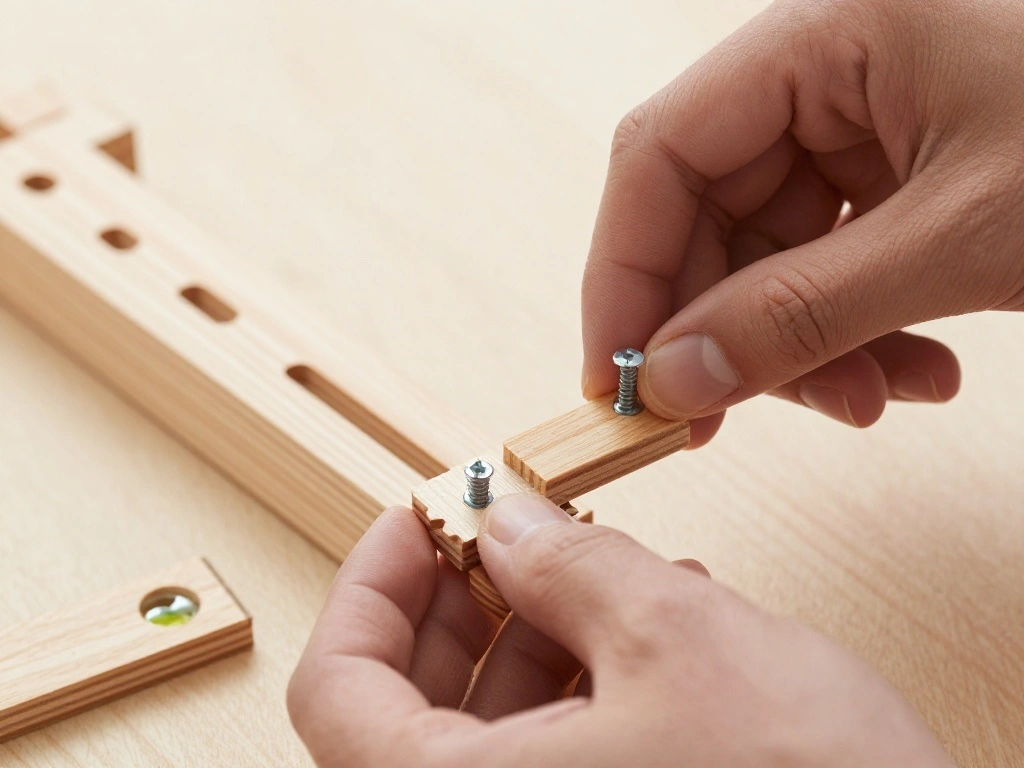
Step 4: Attach the Desk Surface
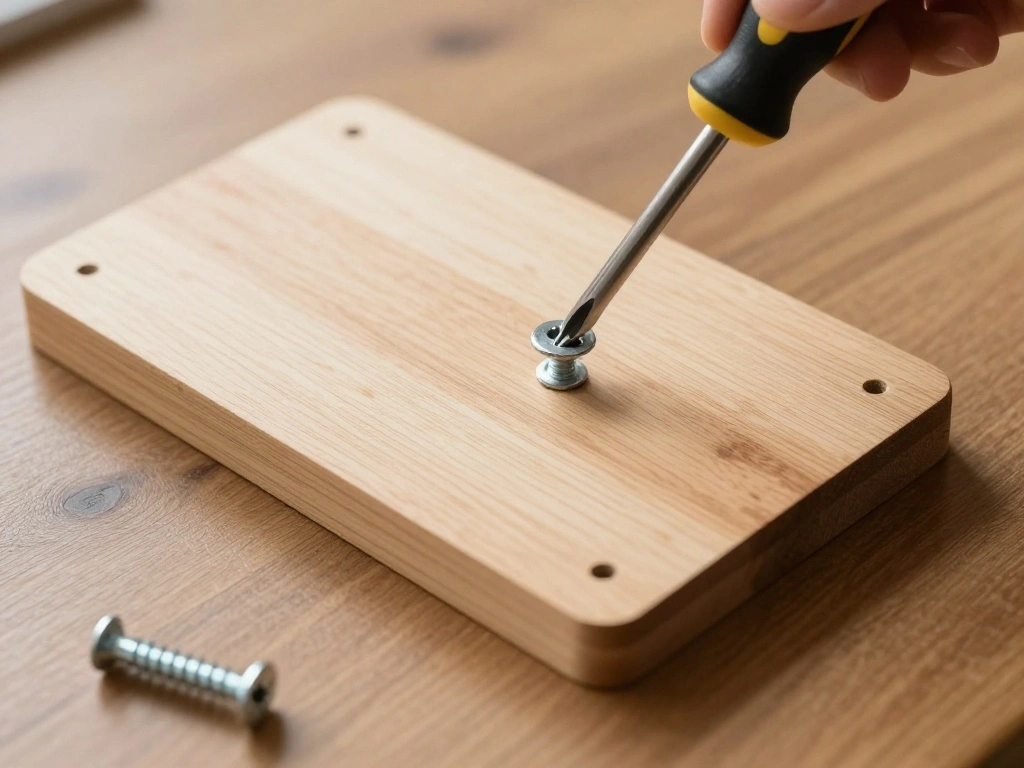
Now it’s time to attach the tabletop. Here’s how:
- Place the tabletop on top of the frame you just built.
- Center the tabletop to ensure equal overhang on all sides.
- Secure the tabletop to the frame using screws, ensuring they do not protrude.
- Check for stability and make adjustments as needed.
Why this matters: A well-secured tabletop ensures the desk is stable and functional. Pro Tip: Pre-drill holes for screws to avoid splitting the wood. Time estimate: 1 hour.
Step 4: Attach the Desk Surface
Editor’s Choice

Gorilla Wood Glue, 8 oz., Water Resistant PVA Wood Glue for Indoor & Out…

Amartisan 10-Piece Magnetic Screwdrivers Set, 5 Phillips and 5 Slotted T…
Step 5: Sand and Finish the Desk
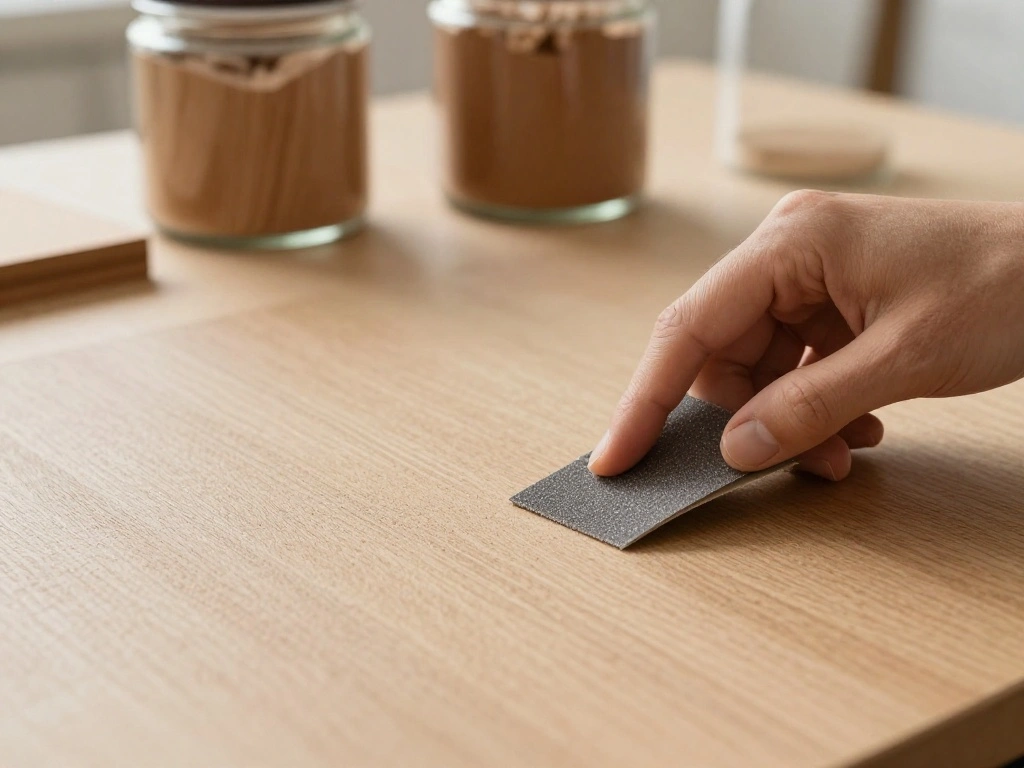
With the desk assembled, it’s time to finish the surface. Follow these steps:
- Use medium-grit sandpaper to smooth the entire surface of the desk.
- Switch to fine-grit sandpaper for a finer finish.
- Remove dust with a damp cloth and let it dry.
- Apply your choice of wood finish or paint, following the manufacturer’s instructions.
Why this matters: Sanding and finishing enhance the appearance of your desk and protect it from damage. Warning: Allow sufficient drying time for paint or finish; rushing can ruin the look. Time estimate: 1 hour.
Step 5: Sand and Finish the Desk
Editor’s Choice

3M Aluminum Oxide Sandpaper, 5 Sheets, Assorted Grit 100-150-220, 9-in x…

3M Sandpaper, 220 Grit, 5 Sheets, 9 in x 11 in, Sands Paint, Wood & Meta…
Step 6: Add Final Touches
Once the finish is dry, it’s time to add any final touches. Do the following:
- Inspect the desk for any rough spots and sand lightly if needed.
- Add drawer pulls or knobs if your desk design includes storage.
- Consider attaching felt pads to the bottom of the legs to protect your floors.
- Step back and admire your handiwork!
Why this matters: These final touches enhance both functionality and aesthetics, making your desk truly yours. Pro Tip: Personalize your desk with decorations or plants to create a welcoming workspace. Time estimate: 30 minutes.
Step 6: Add Final Touches
Editor’s Choice

Hand Sanding Block Set of 16,Interchangeable Assorted Contoured Profile …

Felt Furniture Pads X-PROTECTOR 133 PCS Premium Furniture Pads – Felt Pa…

Biaungdo 6 Pcs Light Blue Vintage Round Drawer Decorative Knobs and Pull…
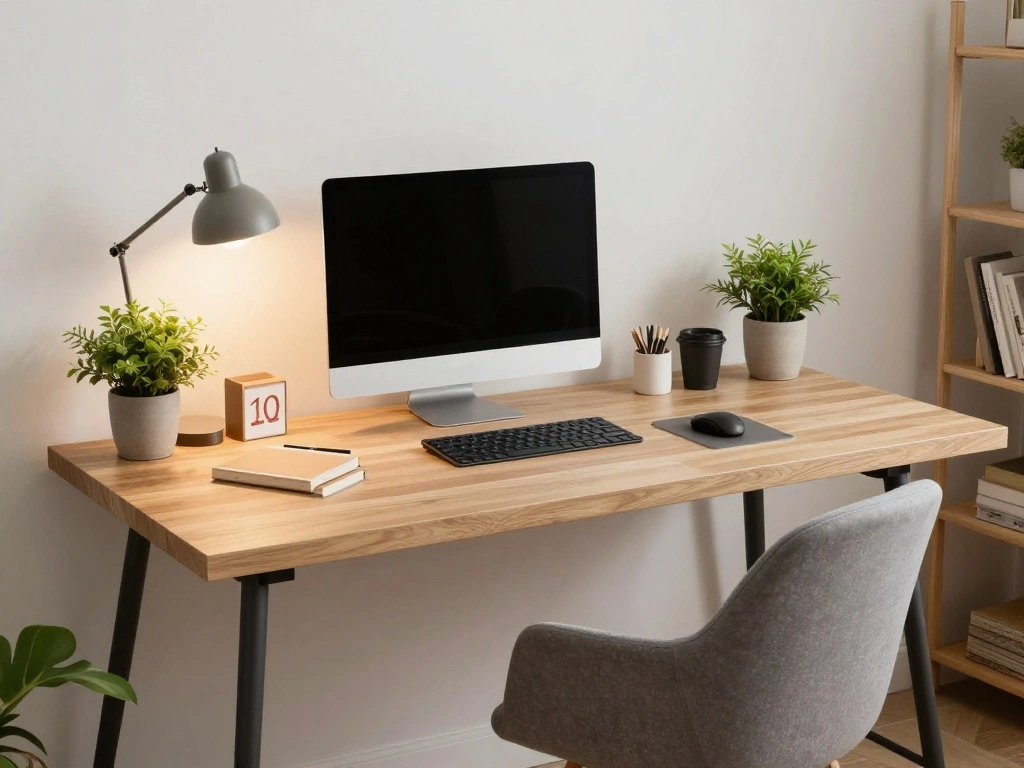
Step 7: Enjoy Your New Desk

Your desk is now complete! To wrap up:
- Move the desk to its final location in your workspace.
- Organize your work materials on the desk.
- Test the stability and comfort of your workspace.
- Take a moment to appreciate your accomplishment!
Why this matters: Enjoying your new desk is the best reward for your hard work. It’s now a functional part of your daily life. Warning: Make sure the desk is stable before placing heavy items on it. Time estimate: 30 minutes.
Step 7: Enjoy Your New Desk
Editor’s Choice
HORUSDY 8-Pack Bar Clamps for Woodworking, 12″ and 6″ Bar Clamps, Wood W…

Titebond Original Wood Glue 5063, Industry Standard for Woodworking, Fur…
Pro Tips
- Measure Twice, Cut Once: Always double-check your measurements to avoid wasting materials.
- Use Quality Wood: Invest in good quality wood to ensure durability and a better finish.
- Take Breaks: Don’t rush through the project; take breaks to maintain focus and prevent mistakes.
- Involve Friends: Building a desk can be more fun with a friend; they can help with heavy lifting and ideas.
- Customize Your Design: Feel free to modify the design to suit your personal style or specific needs.
Pro Tips
Editor’s Choice

JORGENSEN 20 Inch Black Coated Pro Hand Saw, 11 TPI Fine-Cut Ergonomic N…

iBayam 2 Pack Tape Measure Measuring Tape for Body Fabric Sewing Tailor …
Gorilla Max Strength Construction Adhesive, 2.5 oz (Pack of 1), Clear, W…
Common Mistakes to Avoid
Warning: Don’t skip sanding before finishing, as it can leave a rough surface. Always sand thoroughly to achieve a smooth finish. Warning: Avoid using screws that are too long, which can protrude and cause injury. Always use the correct size for your wood thickness. Warning: Don’t rush the drying time of paint or finish; it can lead to a tacky surface. Patience pays off!
Common Mistakes to Avoid
Editor’s Choice

Polyurethane Wood Finish Water Based Polyurethane Clear Gloss Wood Prote…
Sandpaper Holder with Sponge Handle, 36 Pack 120 to 3000 Assorted Grit D…

Wood Screws Assortment Kit, FIXLINK 240 PCS High Hardness Flat Head Wood…
Troubleshooting Section
Problem: Desk wobbles after assembly.
Solution: Check all screws to ensure they are tight. If necessary, adjust the legs or add felt pads for balance.
Problem: Finish appears uneven.
Solution: Lightly sand the uneven areas and apply an additional coat of finish, ensuring even coverage.
Problem: Desk is too tall or short.
Solution: If the height is off, consider adjusting the legs or adding a riser.
Problem: Splinters from rough edges.
Solution: Sand down any rough edges until smooth.
Problem: Difficulty in assembling parts.
Solution: Ensure all pieces are correctly aligned and use clamps to hold them in place while securing.
Troubleshooting Section
Editor’s Choice

Adjustable Table Legs 28″-43″ – 1 Pc Breakfast Bar Legs, Kitchen Worktop…
3M Sandpaper, 220 Grit, 5 Sheets, 9 in x 11 in, Sands Paint, Wood & Meta…

NiHome 5-Inch Wood Conditioner, Wax & Oil Applicator 4-Pack, Reusable Mi…
Variations/Alternative Methods
You can customize your desk in several ways:
- Use Reclaimed Wood: For a rustic look, consider using reclaimed wood.
- Adjustable Height: Incorporate adjustable legs for an ergonomic design.
- Built-in Storage: Add shelves or drawers for additional storage options.
Each variation can enhance the functionality and appearance of your desk, so choose what best fits your needs!
Variations/Alternative Methods
Editor’s Choice

Wlrrcwdttc 4 Pcs Metal Adjustable Furniture Legs 4.72-7.87 inch, Adjusta…

Multifunction Unfinished Wood, Wood for Crafts, Signs, Wall Decorations,…

Romeda 18 Piece Drawer Hardware – Black 30mm Cabinet Knobs & Pulls for D…
FAQs
- What if I don’t have clamps? You can use heavy objects to hold pieces in place temporarily while the glue dries.
- How long should I wait before using the desk? Allow at least 24 hours for any finishes to fully cure before heavy use.
- Is it safe to use second-hand wood? Yes, just ensure it’s clean and free from pests or rot.
- What if my desk is uneven? Check the legs and use felt pads or shims to level it out.
- Can I paint over the finish? Yes, but lightly sand the surface first for better adhesion.
FAQs
Editor’s Choice

Felt Furniture Pads, Non Slip Self Adhesive Cuttable Felt Tape Black Hea…
RUITOOL Japanese Hand Saw 6 Inch Double Edge Sided Pull Saw Ryoba SK5 Fl…

Gorilla Wood Glue, 8 oz., Water Resistant PVA Wood Glue for Indoor & Out…
Conclusion
Congratulations! You have successfully built your desk without the use of power tools. Take pride in your accomplishment and enjoy your new workspace. Building furniture by hand not only saves money but also allows for a personal touch that store-bought options can’t provide.
As you continue to explore woodworking, consider trying out other projects like shelves or tables. There are countless resources available to help you expand your skills. Remember, every piece of furniture tells a story, and yours is just beginning!