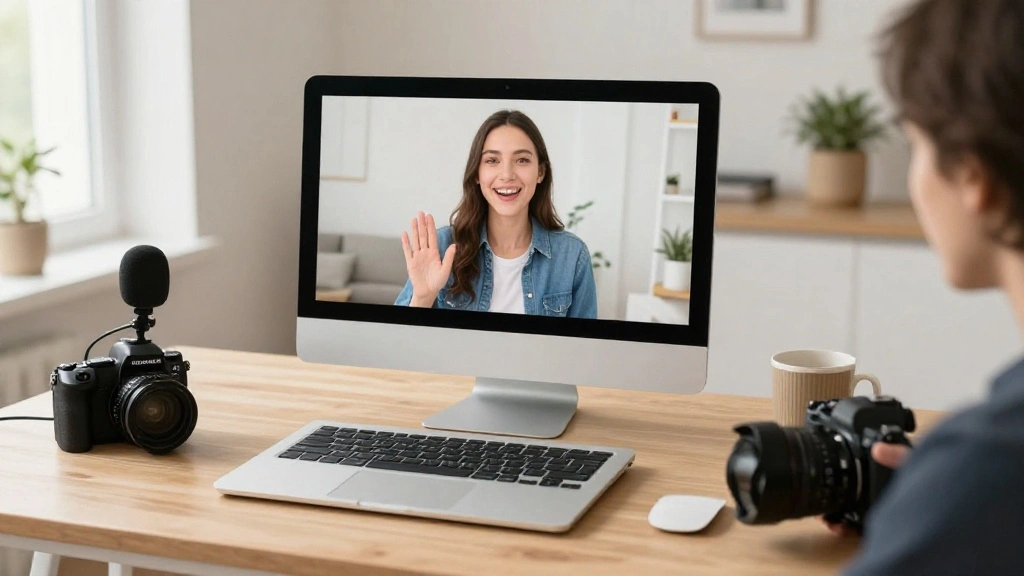
In today’s digital world, effective communication is crucial. With many people working from home, poor video call setups can lead to miscommunication and frustration. It’s essential to ensure your tech is ready for seamless video conferencing, yet many beginners struggle with this setup, leading to awkward silences and technical difficulties during important meetings.
This guide will help you create a professional video call environment right from your home. You will learn how to set up your camera, microphone, lighting, and background effectively. By following these steps, you will be fully prepared for your next video call, making a great impression on colleagues and clients.
Specifically, you will learn about the necessary equipment, ideal setups, and essential settings to focus on for audio and visual clarity. This guide is designed for beginners and will take approximately 30-60 minutes to complete. Let’s ensure your next video call is smooth and professional!
TL;DR Summary
- Gather the necessary equipment for video calls.
- Set up your camera, microphone, and lighting correctly.
- Choose an appropriate background and minimize distractions.
- Test your setup before the call for best results.
TL;DR Summary
Editor’s Choice

Logitech Brio 101 Full HD 1080p Webcam for Meetings, Streaming, Desktop,…

Cyezcor Video Conference Lighting Kit, Ring Light for Monitor Clip On,fo…

Acoustic Foam Panels Sound Absorbing 12 Pack – 1″ X 12″X 12″ Sound Proof…
Prerequisites/Materials Needed
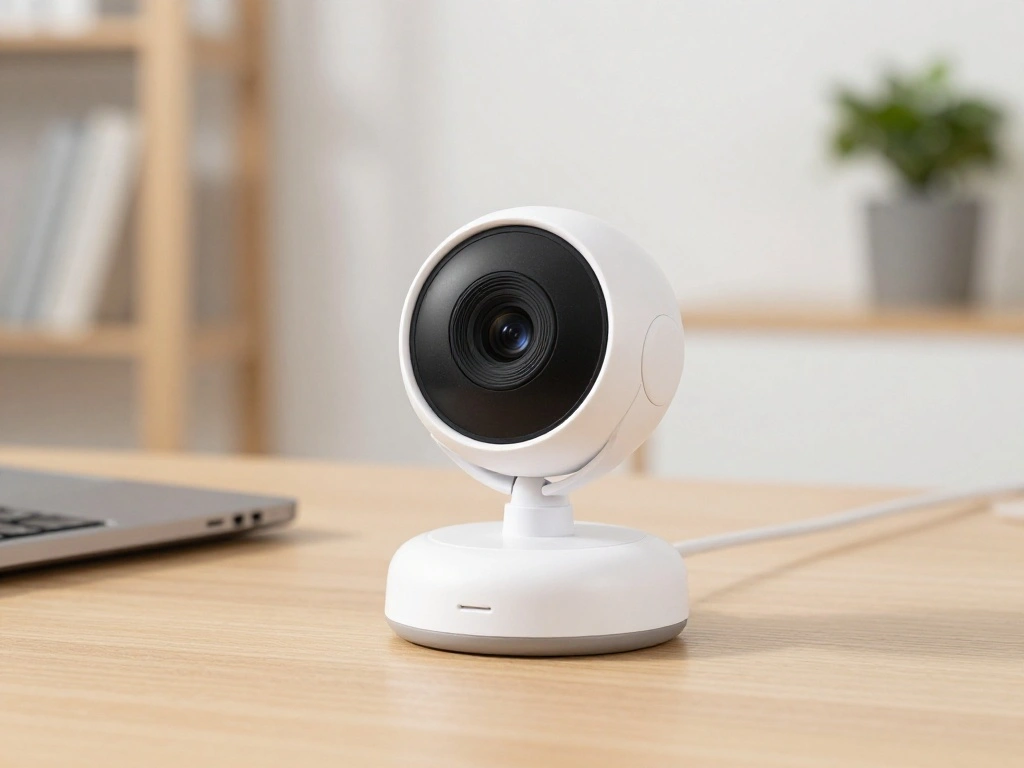
- Camera (webcam or built-in laptop camera)
- Microphone (external USB microphone preferred)
- Lighting (ring light or natural light source)
- Stable internet connection (minimum 5 Mbps)
- Headphones (optional, for better audio)
- Computer or device (with video conferencing software installed)
Prerequisites/Materials Needed
Editor’s Choice

Logitech C920x HD Pro PC Webcam, Full HD 1080p/30fps Video, Clear Audio,…

FIFINE USB Microphone, Metal Condenser Recording Microphone for MAC OS, …

Ring Light 18inch Kit: 55W 5600K Professional LED with Stand and Phone H…
Skill Level & Time Estimate
Skill Level: beginner
Total time estimate: 30-60 minutes
Breakdown of time:
- Gathering materials: 10-15 minutes
- Setting up equipment: 15-20 minutes
- Testing your setup: 5-10 minutes
Skill Level & Time Estimate
Editor’s Choice

Zoom Lighting for Computer, Adjustable Desk Lighting for Video Calls, 30…

ZealSound Podcast Microphone for PC, Noise Cancellation USB Mic with Gai…
Logitech Brio 101 Full HD 1080p Webcam for Meetings, Streaming, Desktop,…
Step 1: Gather Your Equipment
Start by collecting all necessary equipment for your video calls. This includes a camera, microphone, lighting, and a stable internet connection. Follow these sub-steps:
- Gather your camera: If you have a webcam, use it; otherwise, your laptop’s camera should suffice.
- Get a microphone: An external USB microphone will provide better audio quality than built-in options.
- Ensure you have a good lighting source: A ring light or natural light works best.
- Check your internet connection: Use a speed test tool to ensure you have at least 5 Mbps upload speed.
Warning: Ensure all devices are charged or plugged in before your call. Why this matters: Having the right equipment ensures clear communication and a professional appearance.
Time estimate for this step: 10-15 minutes.
Step 1: Gather Your Equipment
Editor’s Choice
Cyezcor Video Conference Lighting Kit, Ring Light for Monitor Clip On,fo…

TONOR Conference USB Microphone, Omnidirectional Condenser PC Mic for Vi…
Logitech Brio 101 Full HD 1080p Webcam for Meetings, Streaming, Desktop,…
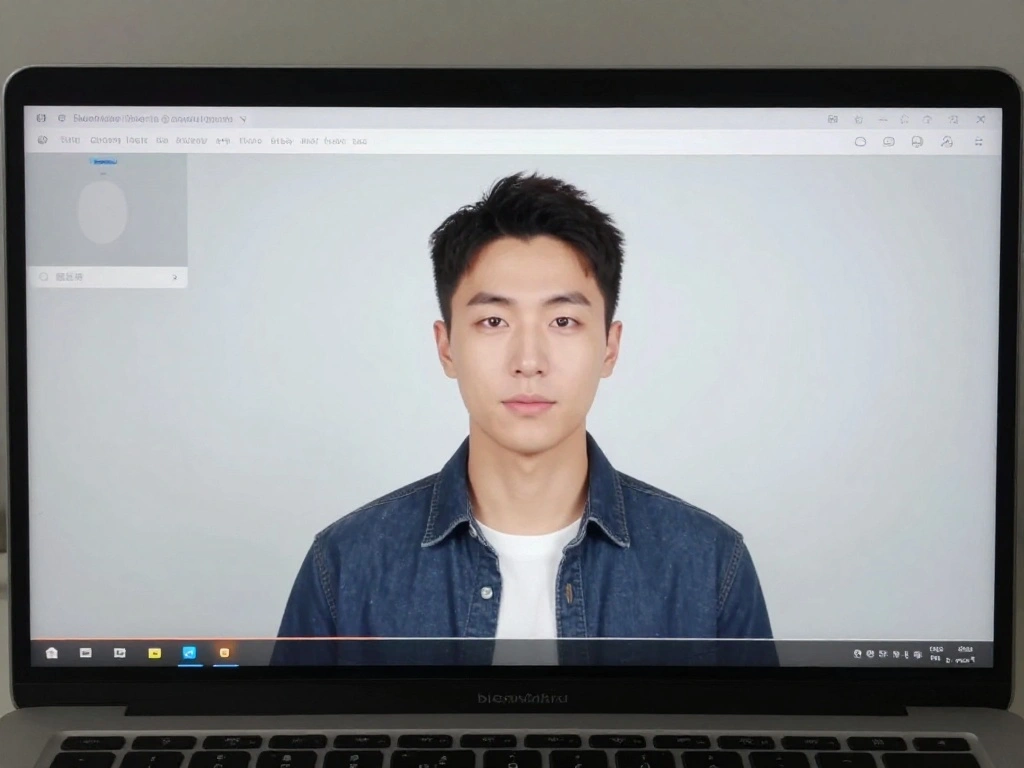
Step 2: Set Up Your Camera
Position your camera at eye level to create a natural viewing angle. Follow these steps:
- Place the camera on a stable surface, such as a desk or tripod.
- Adjust the height so that the lens is at eye level.
- Angle the camera slightly downwards if necessary to avoid looking up your nose.
- Connect the camera to your computer, if it’s external, using USB.
Pro Tip: Use a stack of books if you don’t have a tripod to elevate your camera. Why this matters: Proper camera placement helps build rapport by creating a more engaging conversation.
Time estimate for this step: 10-15 minutes.
Step 2: Set Up Your Camera
Editor’s Choice

VIVO 16 inch Above/Behind VESA Monitor Livestream Device Shelf Mount, Ho…

Webcam Tripod Stand Extendable Desktops Tripod for Camera/Phone/Webcam, …
Logitech Brio 101 Full HD 1080p Webcam for Meetings, Streaming, Desktop,…
Step 3: Position Your Microphone

Your microphone should be placed close enough to capture clear audio without picking up background noise. Follow these steps:
- Position the microphone about 6-12 inches from your mouth.
- Use a pop filter or windscreen if available to reduce noise from breathing.
- Connect the microphone to your computer via USB.
- Test the sound levels in your video conferencing software settings.
Warning: Avoid placing the microphone too close to other electronic devices to prevent interference. Why this matters: Good audio quality is crucial for effective communication.
Time estimate for this step: 10-15 minutes.
Step 3: Position Your Microphone
Editor’s Choice

Mudder 5 Pack Foam Mic Cover Handheld Microphone Windscreen (5 Pack)

CMTECK USB Computer Microphone G009, Noise-Cancelling Recording Desktop …

Aokeo Professional Microphone Pop Filter Mask Shield For Blue Yeti and A…
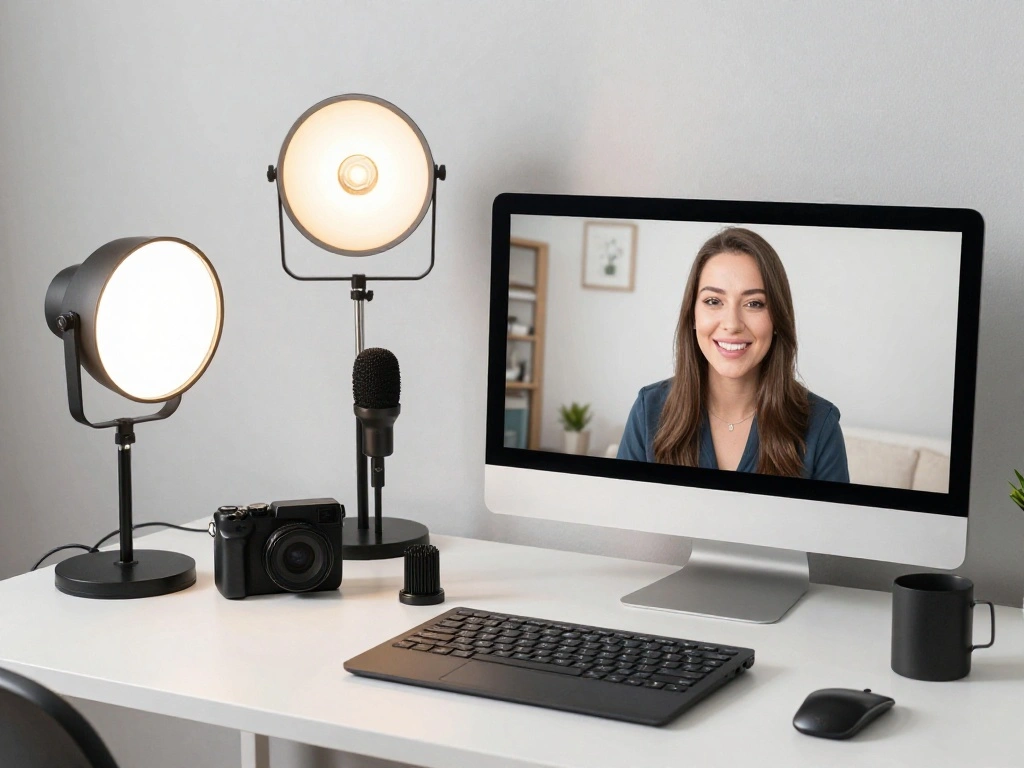
Step 4: Optimize Your Lighting
Good lighting can significantly enhance your video quality. Here’s how to set it up:
- Identify your primary light source: natural light from a window is best.
- Position yourself facing the light source to illuminate your face.
- If using a ring light, place it in front of you, slightly above eye level.
- Adjust the brightness level to avoid harsh shadows.
Pro Tip: Use a white sheet or curtain to diffuse harsh light for a softer look. Why this matters: Proper lighting makes you more visually appealing and professional during calls.
Time estimate for this step: 10-15 minutes.
Step 4: Optimize Your Lighting
Editor’s Choice

Torjim Softbox Photography Lighting Kit, 16” x 16” Professional Softbo…

UBeesize 12” LED Ring Light with 62” Tripod Stand, Selfie Ring Light f…

Torjim Softbox Photography Lighting Kit, 16” x 16” Professional Softbo…
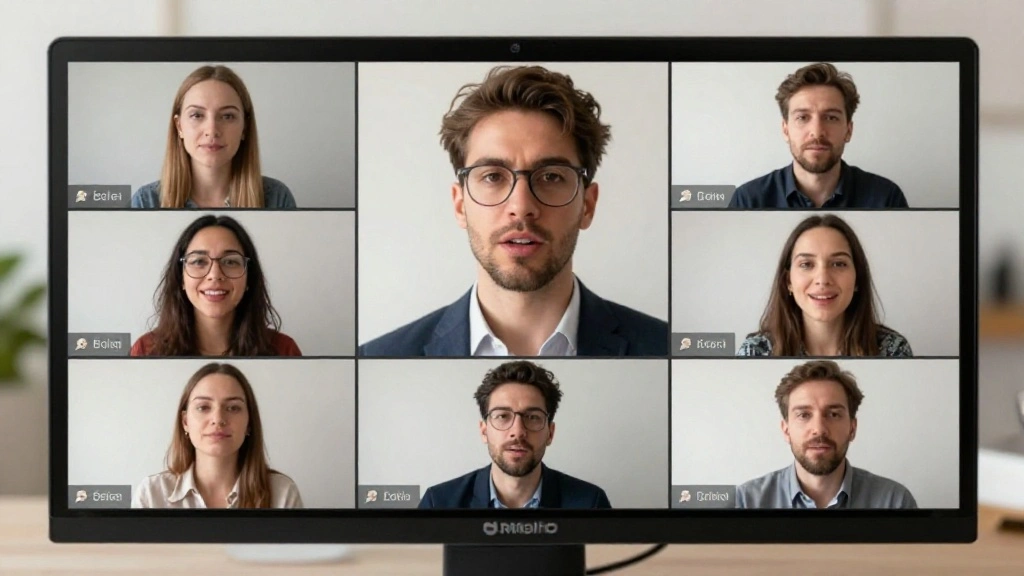
Step 5: Choose Your Background
The background of your video calls can say a lot about you. Here’s how to choose or set it up:
- Identify a clean, uncluttered wall or space in your home.
- Remove distracting elements like laundry or personal items.
- If necessary, use a virtual background using your video conferencing software.
- Test the background to ensure it’s visually appealing and professional.
Warning: Avoid having bright patterns or moving objects in the background that could distract viewers. Why this matters: A professional background enhances your credibility and focus during calls.
Time estimate for this step: 10-15 minutes.
Step 5: Choose Your Background
Editor’s Choice

Green Screen Backdrop Kit with Stand, 5X6.5ft Portable Green Screen Back…
UBeesize 12” LED Ring Light with 62” Tripod Stand, Selfie Ring Light f…
Step 6: Adjust Your Software Settings
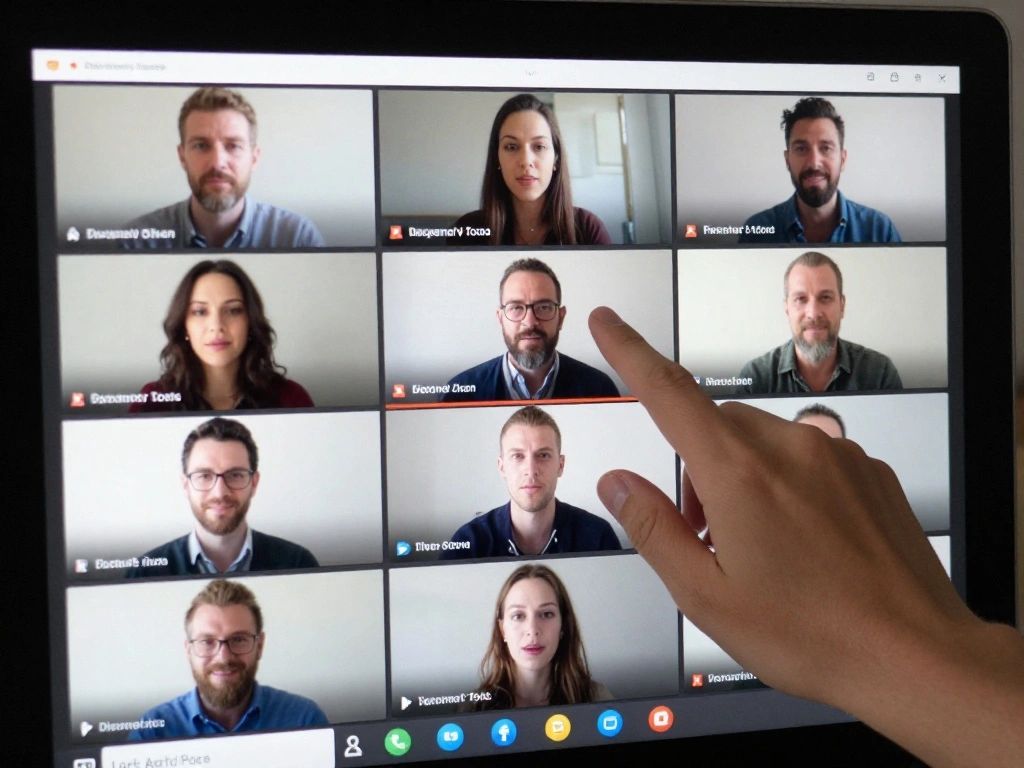
Before starting the video call, ensure your software settings are optimized:
- Open your video conferencing software and navigate to ‘Settings’ or ‘Preferences.’
- Select ‘Video’ and ensure the correct camera is selected.
- Go to ‘Audio’ settings and select your microphone and headphones.
- Test the video and audio before joining the call.
Pro Tip: Record a short video to review your setup before the actual call. Why this matters: Proper software settings help eliminate technical issues during your call.
Time estimate for this step: 5-10 minutes.
Step 6: Adjust Your Software Settings
Editor’s Choice

Logitech Zone 301 Wireless Bluetooth Headset with Noise-Canceling Microp…
Step 7: Test Your Setup
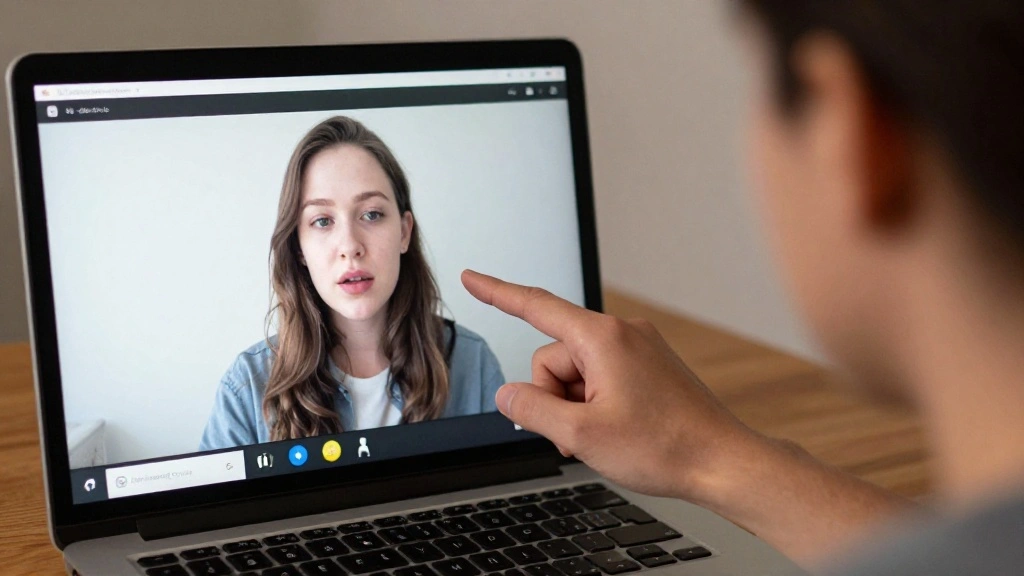
Before your call, it’s crucial to conduct a final test to ensure everything is functioning well:
- Start a test video call with a friend or use a test feature in your software.
- Check your video quality and ensure it’s clear.
- Verify your audio levels by speaking and listening to feedback.
- Adjust any settings as necessary based on the test.
Warning: Do not skip this step; it’s essential for a smooth experience. Why this matters: Testing your setup prevents last-minute issues that can disrupt your meeting.
Time estimate for this step: 5-10 minutes.
Pro Tips
- Camera Angle: Always position your camera at eye level for a more engaging experience.
- Lighting Check: Perform a lighting check at the same time you’ll be on your call to ensure consistency.
- Device Health: Regularly update your video conferencing software for the latest features and bug fixes.
- Quiet Space: Choose a quiet area for your calls to minimize background noise.
- Network Stability: Use a wired connection for more stability if available.
Pro Tips
Editor’s Choice
UBeesize 12” LED Ring Light with 62” Tripod Stand, Selfie Ring Light f…
Logitech Brio 101 Full HD 1080p Webcam for Meetings, Streaming, Desktop,…

FIFINE K688 Podcast Microphone Kit, USB/XLR Dynamic Microphone with Boom…
Common Mistakes to Avoid
Warning: Skipping the equipment test can lead to technical difficulties during your call. Make sure to test everything beforehand.
Warning: Don’t use distracting backgrounds. Always opt for a clean and professional backdrop.
Warning: Avoid poor lighting; ensure your face is well-lit to maintain engagement.
Warning: Don’t forget to mute your notifications. Silence alerts to prevent interruptions during the call.
Warning: Make sure your internet connection is stable before starting. Check speed to avoid disruptions.
Common Mistakes to Avoid
Editor’s Choice
Cyezcor Video Conference Lighting Kit, Ring Light for Monitor Clip On,fo…

EMART Green Screen Backdrop Kit with Reverse Folding Base, 5×6.5ft Photo…
TONOR Conference USB Microphone, Omnidirectional Condenser PC Mic for Vi…
Troubleshooting Section
Problem: Video is blurry.
Solution: Check your camera lens for smudges and adjust your camera settings for clarity.
Problem: Audio is not clear.
Solution: Ensure your microphone is positioned correctly and test with different audio settings.
Problem: No connection to the video call.
Solution: Verify your internet connection and restart your router if necessary.
Problem: Background noise is distracting.
Solution: Use noise-canceling headphones or mute yourself when not speaking.
Problem: Software crashes during the call.
Solution: Close unnecessary applications before the call to free up resources.
Troubleshooting Section
Editor’s Choice

Gohero Full HD 1080P Video Webcam, Noise Cancellation, Privacy Cover, Wi…
ZealSound Podcast Microphone for PC, Noise Cancellation USB Mic with Gai…
Variations/Alternative Methods
1. Virtual Backgrounds: If a clean background is hard to find, consider using virtual backgrounds available in your video conferencing software.
Pros: They can hide clutter. Cons: May reduce video quality on slower computers.
2. Noise-Canceling Headphones: Using headphones can improve audio clarity and reduce background noise.
Pros: Better sound quality. Cons: Extra cost involved.
3. Smartphone as a Camera: You can also use your smartphone as a webcam with the right apps.
Pros: Often higher quality than built-in laptop cameras. Cons: Requires additional setup.
Variations/Alternative Methods
Editor’s Choice
EMART Green Screen Backdrop Kit with Reverse Folding Base, 5×6.5ft Photo…

Sony WH-CH720N Noise Canceling Wireless Headphones Bluetooth Over The Ea…
Cyezcor Video Conference Lighting Kit, Ring Light for Monitor Clip On,fo…
FAQs
What if I don’t have a microphone? You can use your computer’s built-in microphone, but invest in an external one for better sound quality.
How long should I test my setup? Spend at least 5-10 minutes testing your video and audio settings before the call.
Is it safe to use public Wi-Fi for video calls? It’s not recommended; use a secure, private connection when possible.
What if my video call software crashes? Restart the application and reconnect. Always have a backup plan, like a phone call.
Can I use virtual backgrounds on my software? Yes, most video conferencing tools have this feature, but ensure your computer meets the requirements.
FAQs
Editor’s Choice
Logitech Brio 101 Full HD 1080p Webcam for Meetings, Streaming, Desktop,…

Ozeino 2.4GHz Wireless Gaming Headset for PC, Ps5, Ps4 – Lossless Audio …
FIFINE USB Microphone, Metal Condenser Recording Microphone for MAC OS, …
Conclusion
Congratulations! You have successfully set up your work-from-home tech for video calls. By following these steps, you should feel confident and prepared for any virtual meeting.
As a next step, consider refining your skills by practicing with friends or colleagues. Explore further resources on improving your presentation skills and virtual communication techniques.
Remember, the effort you put into your video call setup reflects your professionalism and dedication. Now, get ready to impress during your next call!